
Last night I started the work on fabricating the Mast Head bracket. The plan was simple, determine the length needed, layout a radius on each end of the bracket, cut and file the radiuses, and finally punch and drill the holes needed.
The layout of the bracket went well. Determining the length was pretty simple, and drawing the radiuses on the metal wasn’t too tedious, just enough to highlight that I don’t really have the proper tools to do metal work.
The layout of the bracket went well. Determining the length was pretty simple, and drawing the radiuses on the metal wasn’t too tedious, just enough to highlight that I don’t really have the proper tools to do metal work.
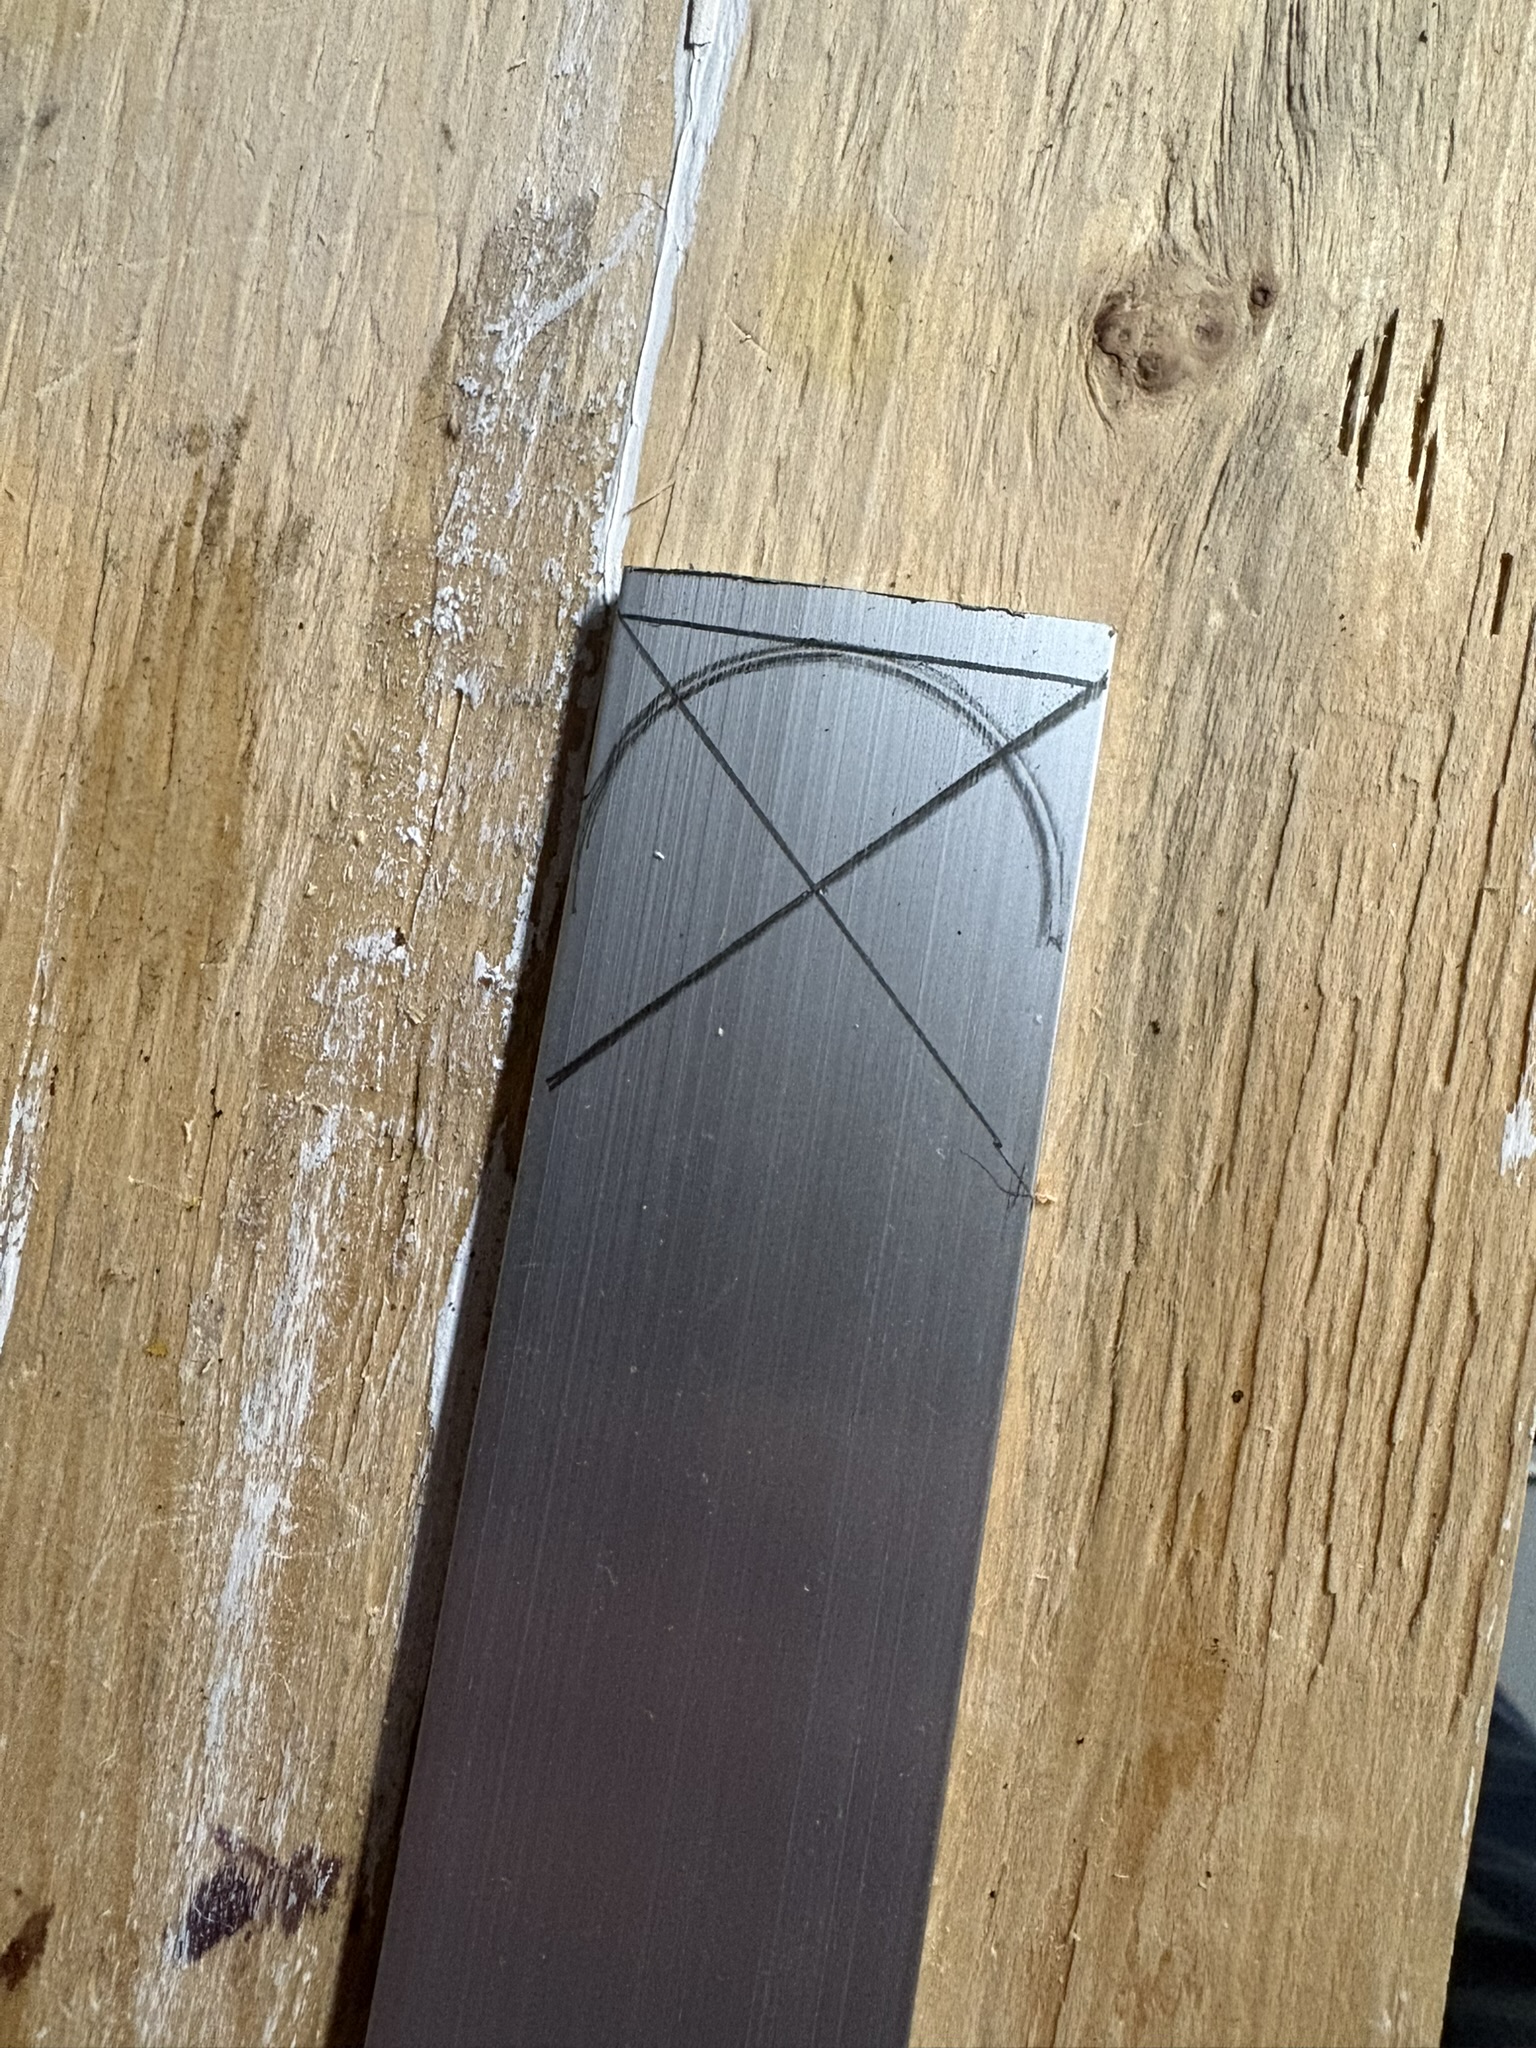
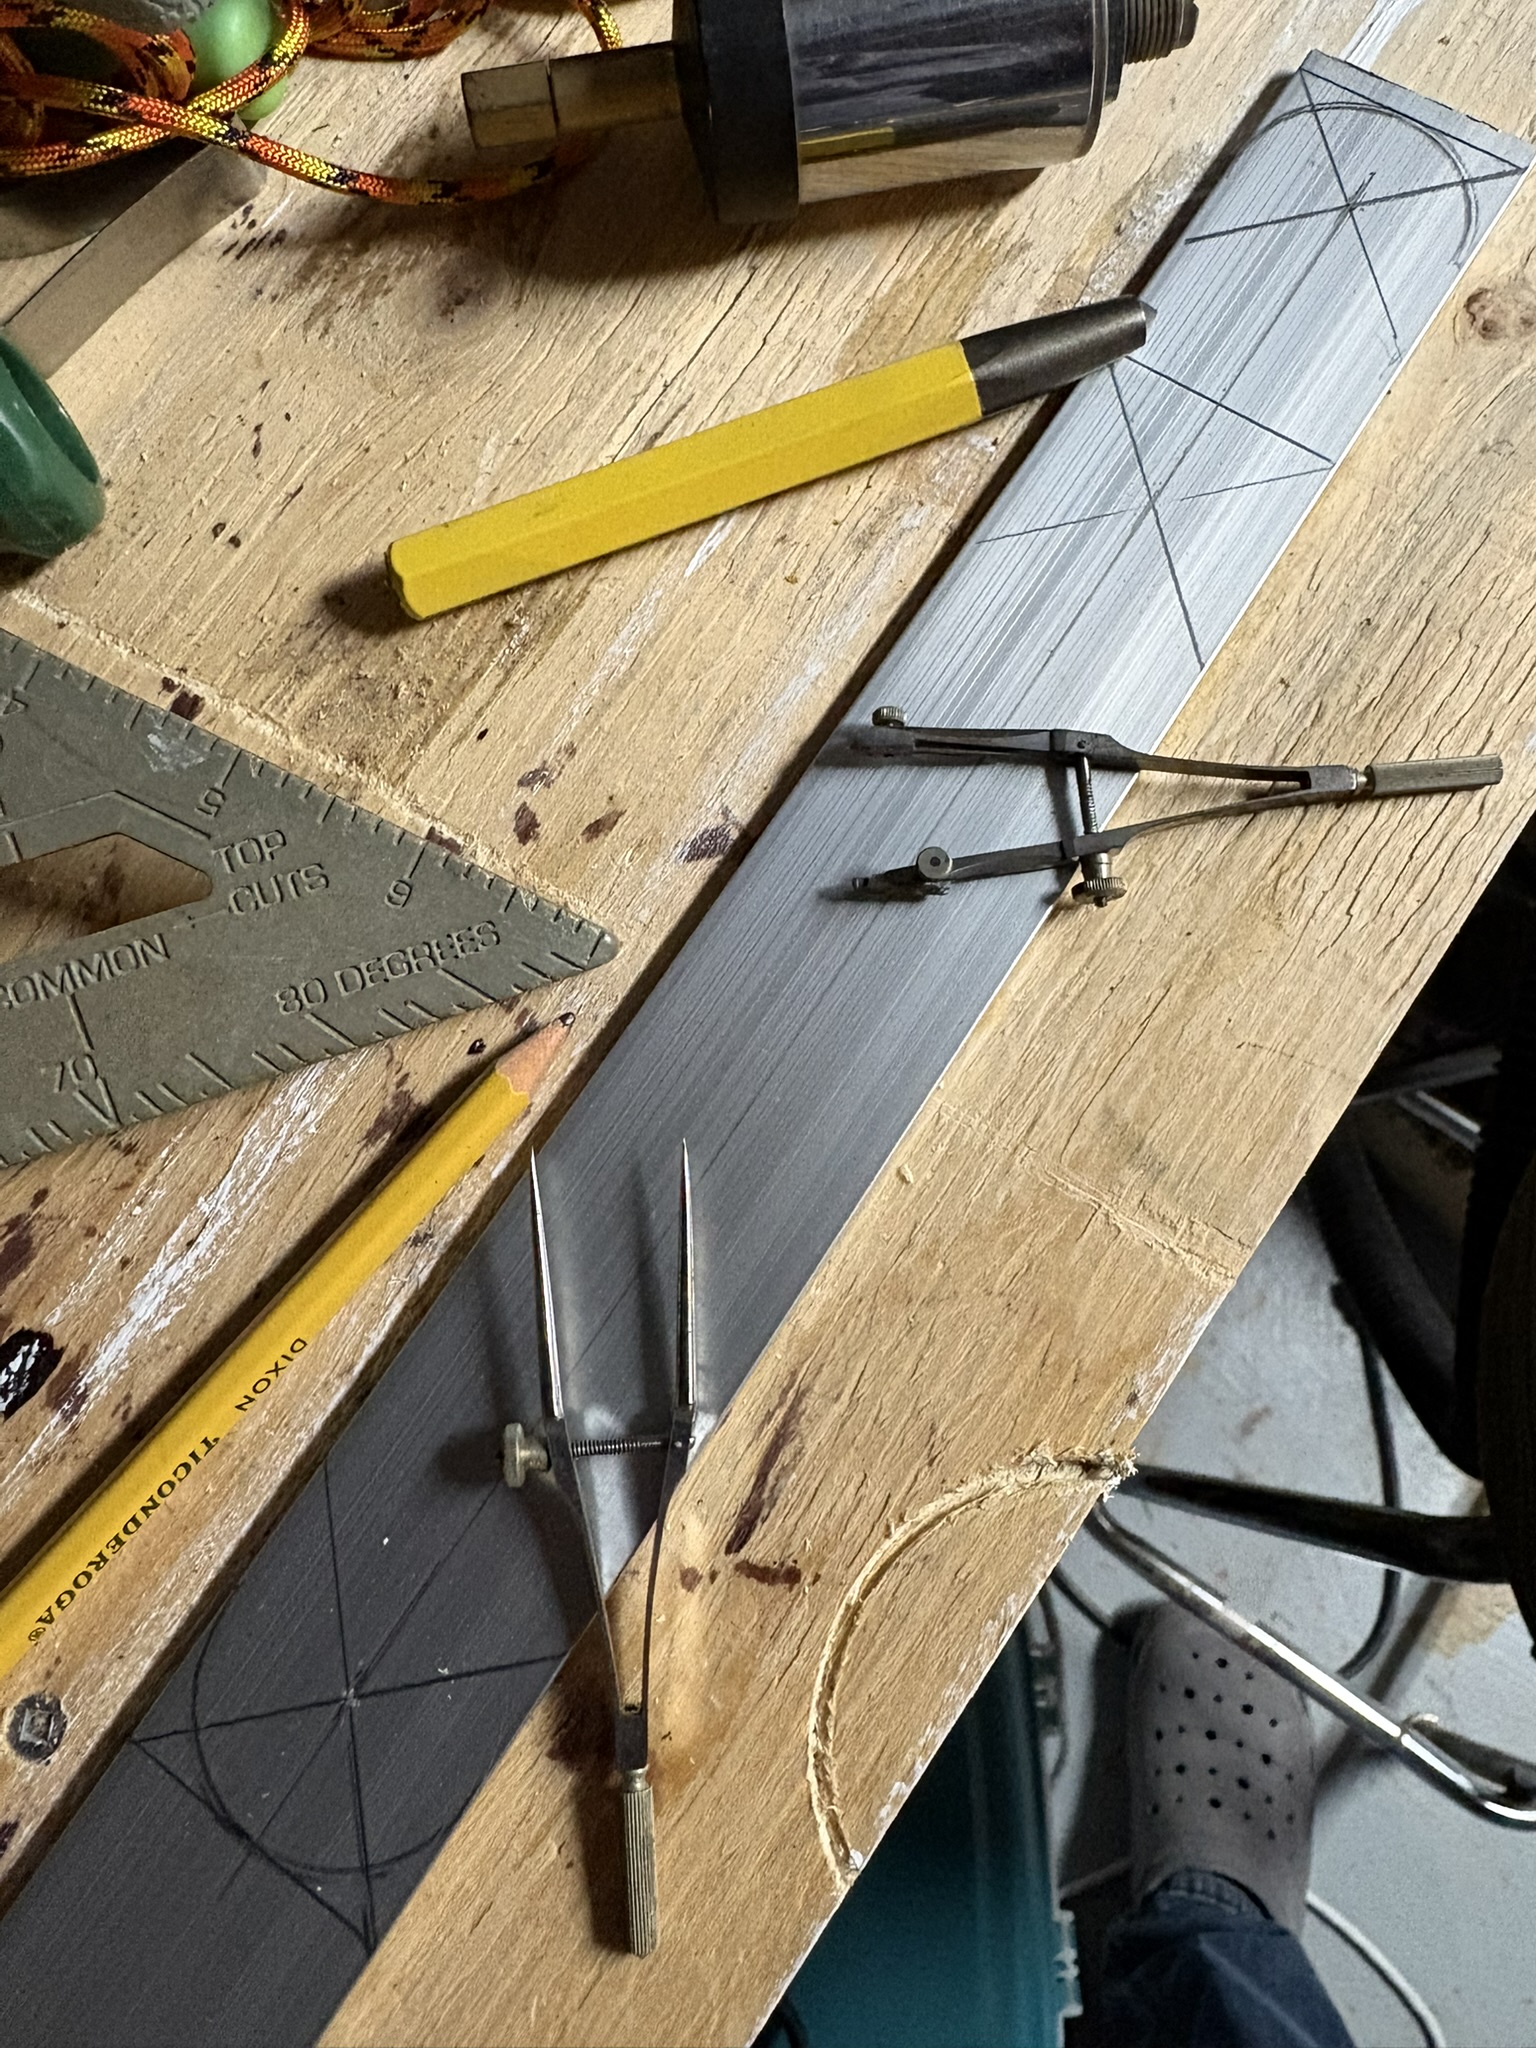
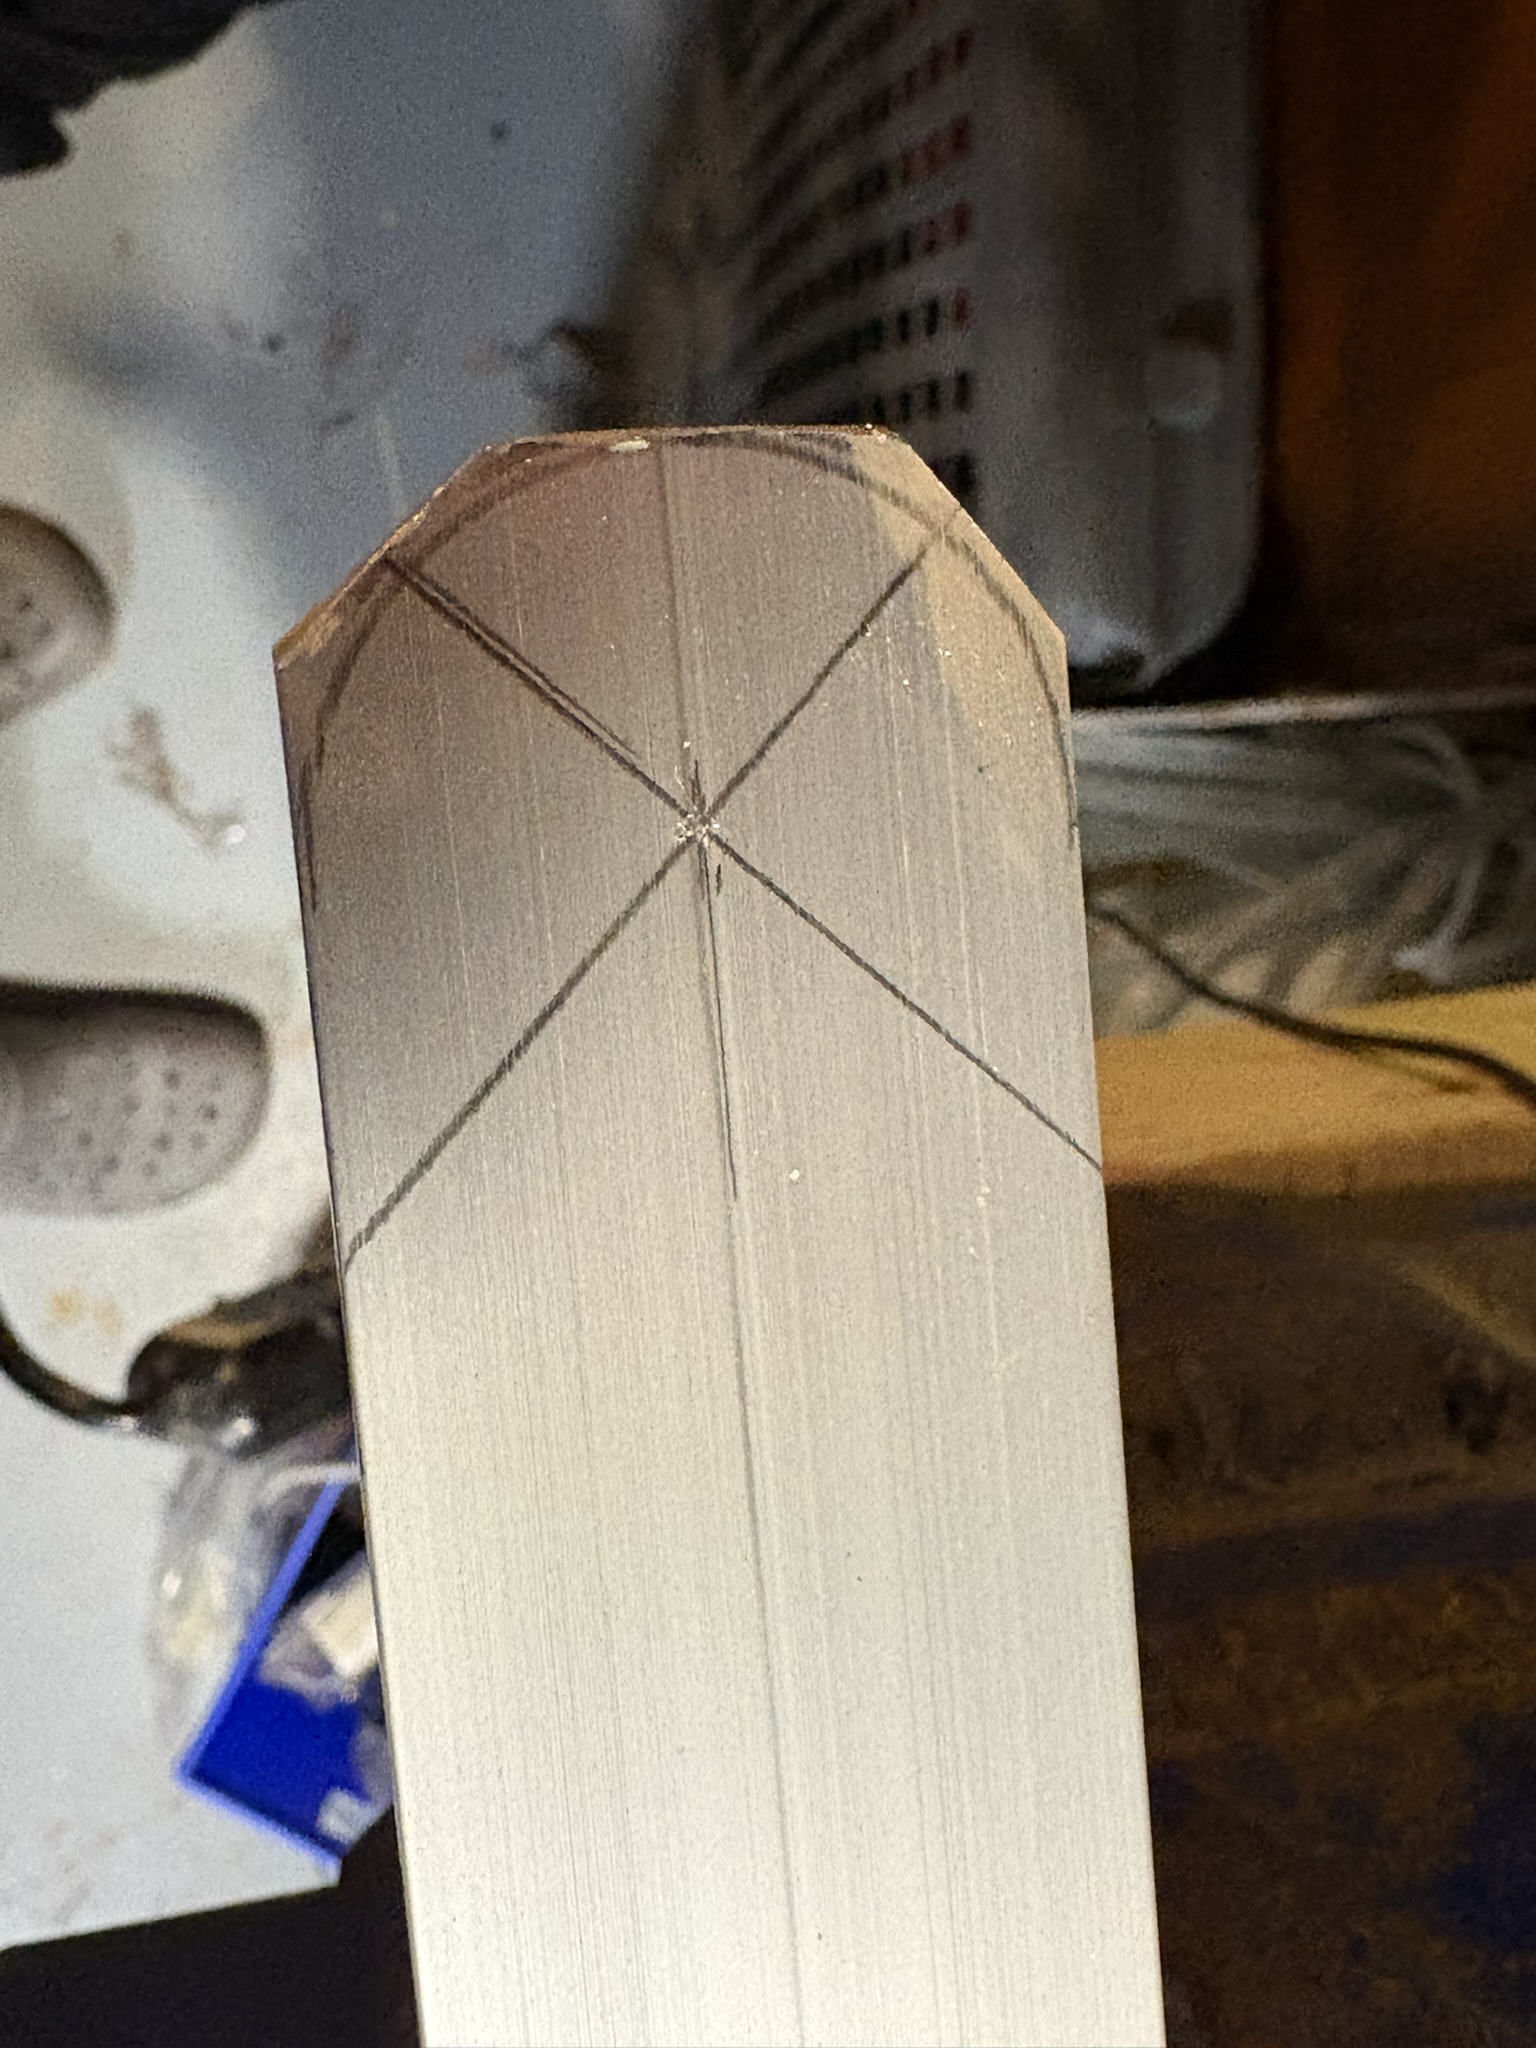
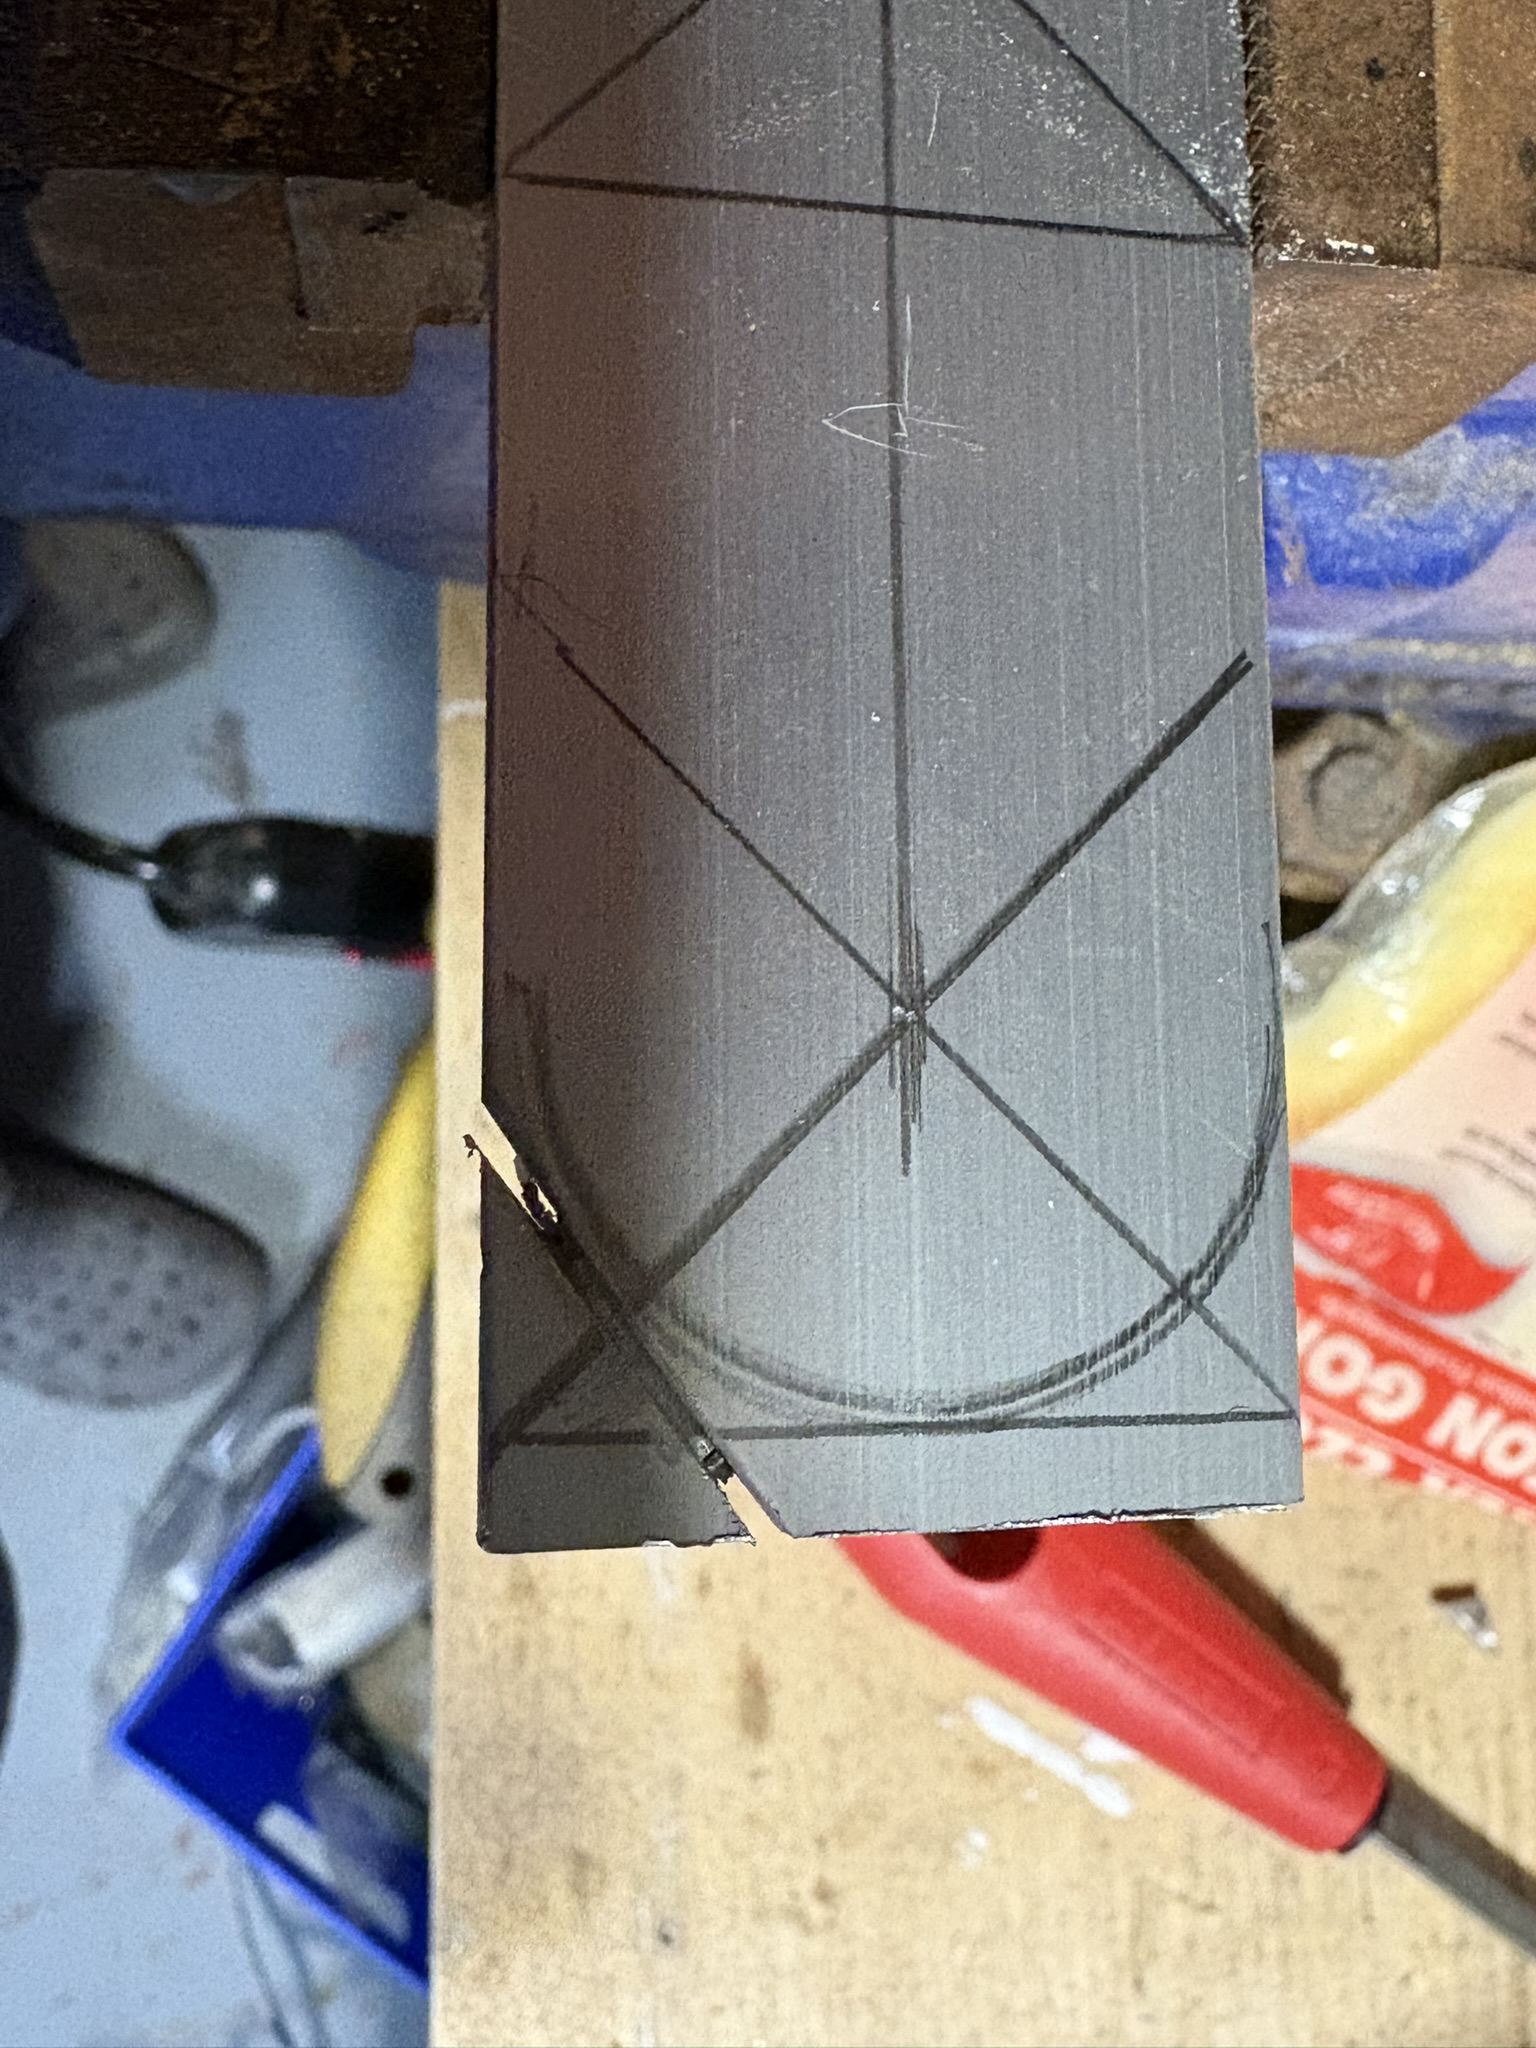
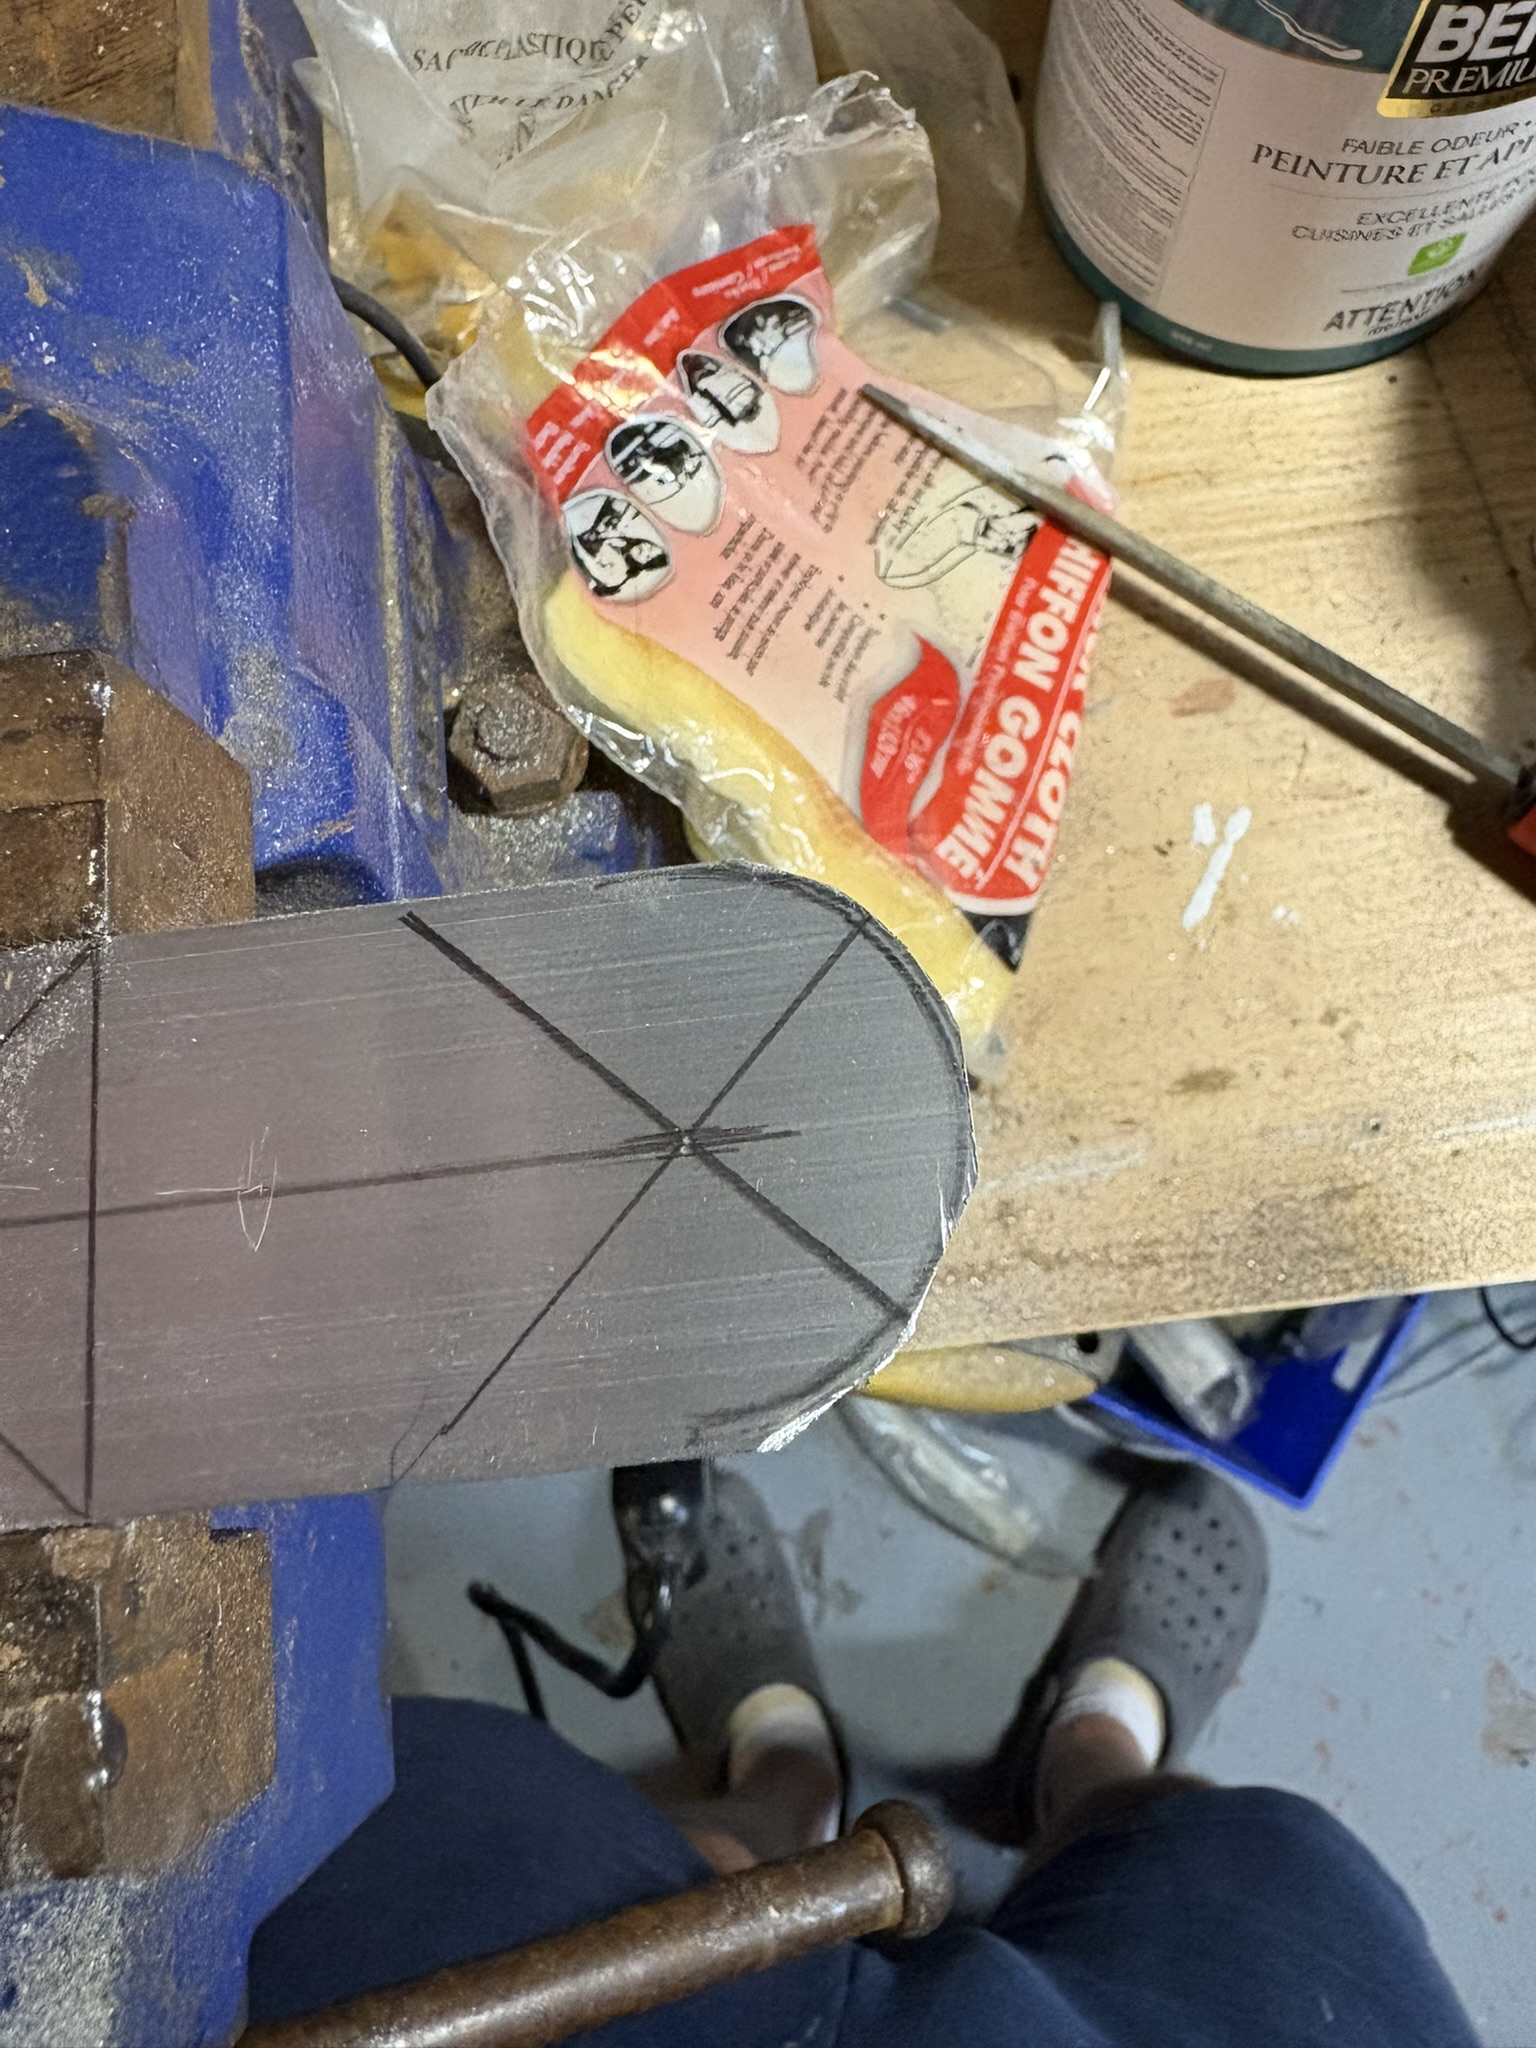
I started by marking a straight line using a speed square. From that straight line I used the speed square again to draw 2, 45o lines from the marked corners to locate the centre of the metal flat bar and also the center point for the radius. It took a few attempts but eventually I got a fairly decent looking radius drawn out. This is where having better tools would make things even better. If you look closely you can see that my 45o lines are not quite aligned with what will be the new end corners of the bar. Another problem I had was making sure the compass point didn’t wander when I was drawing the radius.
I decided that even though this fab was just a few small cuts that I would use my rotary tool with a cut off disc to cut the shape and then use the grinding attachment to shape the radius and finish it off. I forgot how quickly the cut off discs get consumed. Things were going well until suddenly they weren’t. I think that might become my new motto, it seems to be happening a lot lately. I must have upset the universe some how…..
Things were proceeding nicely. I watched as my rotary tool exchanged the cut off disc for cutting the metal. I successfully completed the rough cuts on one end and started cutting on the second end.
I went through about 6 standard cut off discs before I noticed I had one carbon fibre looking cut off disc. This disc is much stronger than the standard discs and it doesn’t wear down as fast.
After switching to the stronger disc I started cutting the second radius. I wasn’t pushing the tool, I let it cut so I wasn’t overloading it.
I suppose every tool has a life span, unfortunately this tool’s life ended mid cut. About halfway through the first cut on the second radius the rotary tools made a weird sound and then the disc stopped spinning. I lifted the tool and the disc started spinning, I tried cutting again and as soon as the disc touched the metal it stopped. Now when I say the disc stopped I mean just the disc and the chuck the spindle was in, the rotary tool was still running.
I took off my ear protection and noticed that the tool didn’t sound like it normally did. I turned the tool off and back on, same sound, disc spinning. I touched the spindle lightly and it stopped spinning. Something was definitely wrong.
I unplugged the rotary tool and opened it up.
I unplugged the rotary tool and opened it up. After a bit of exploring I discovered the issue.
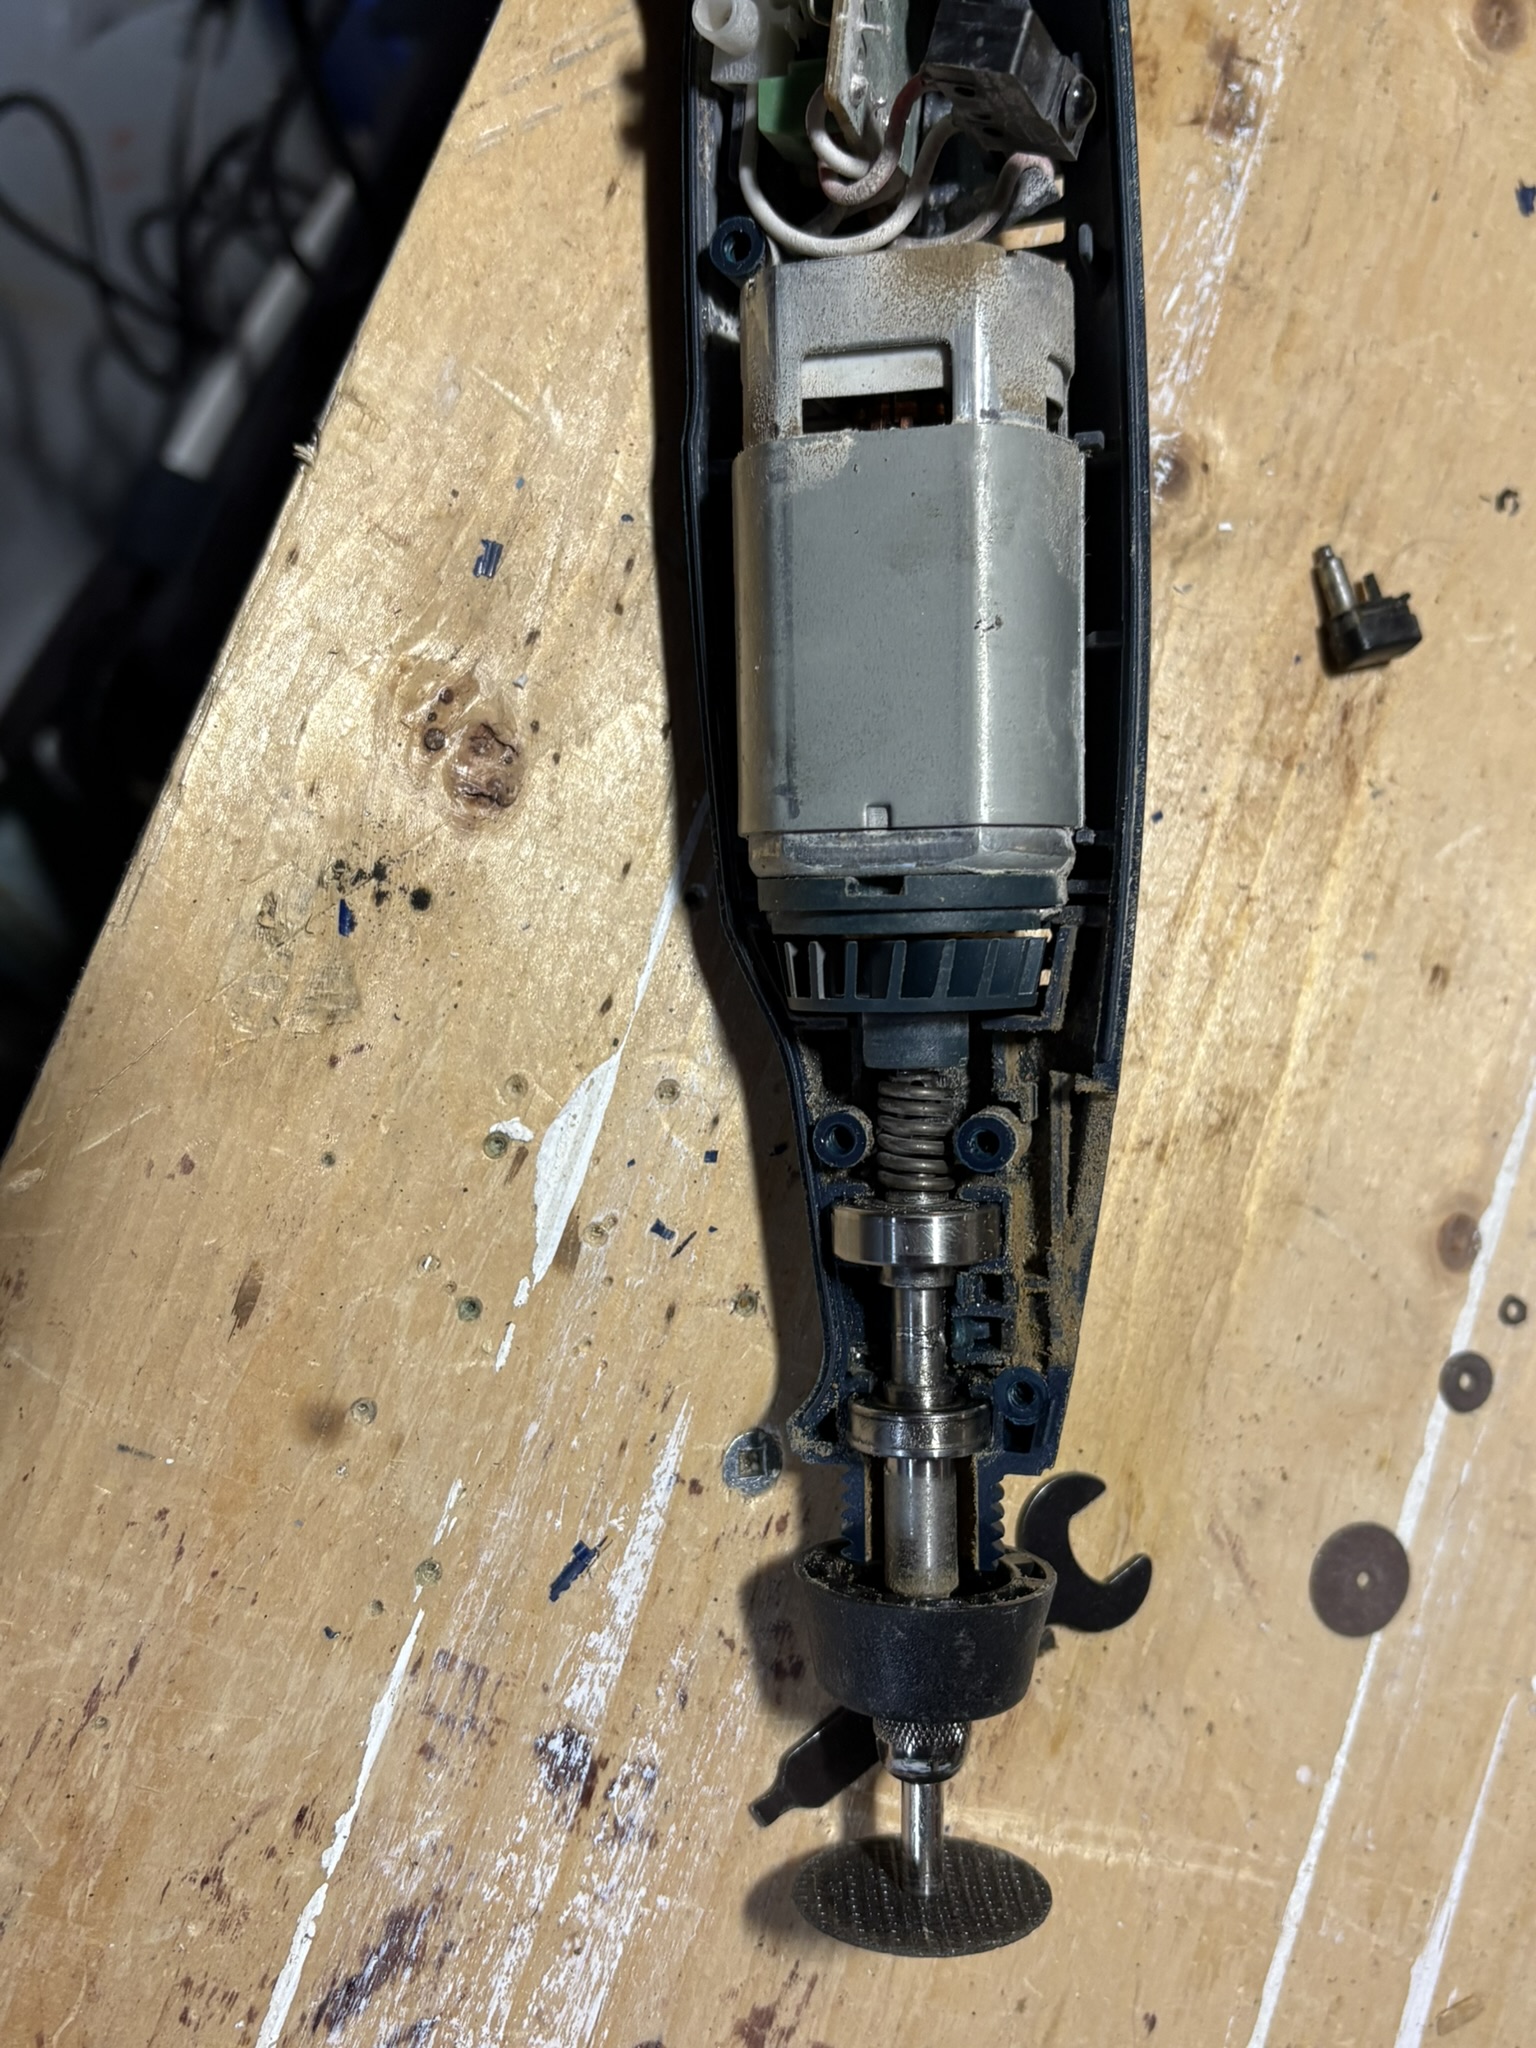
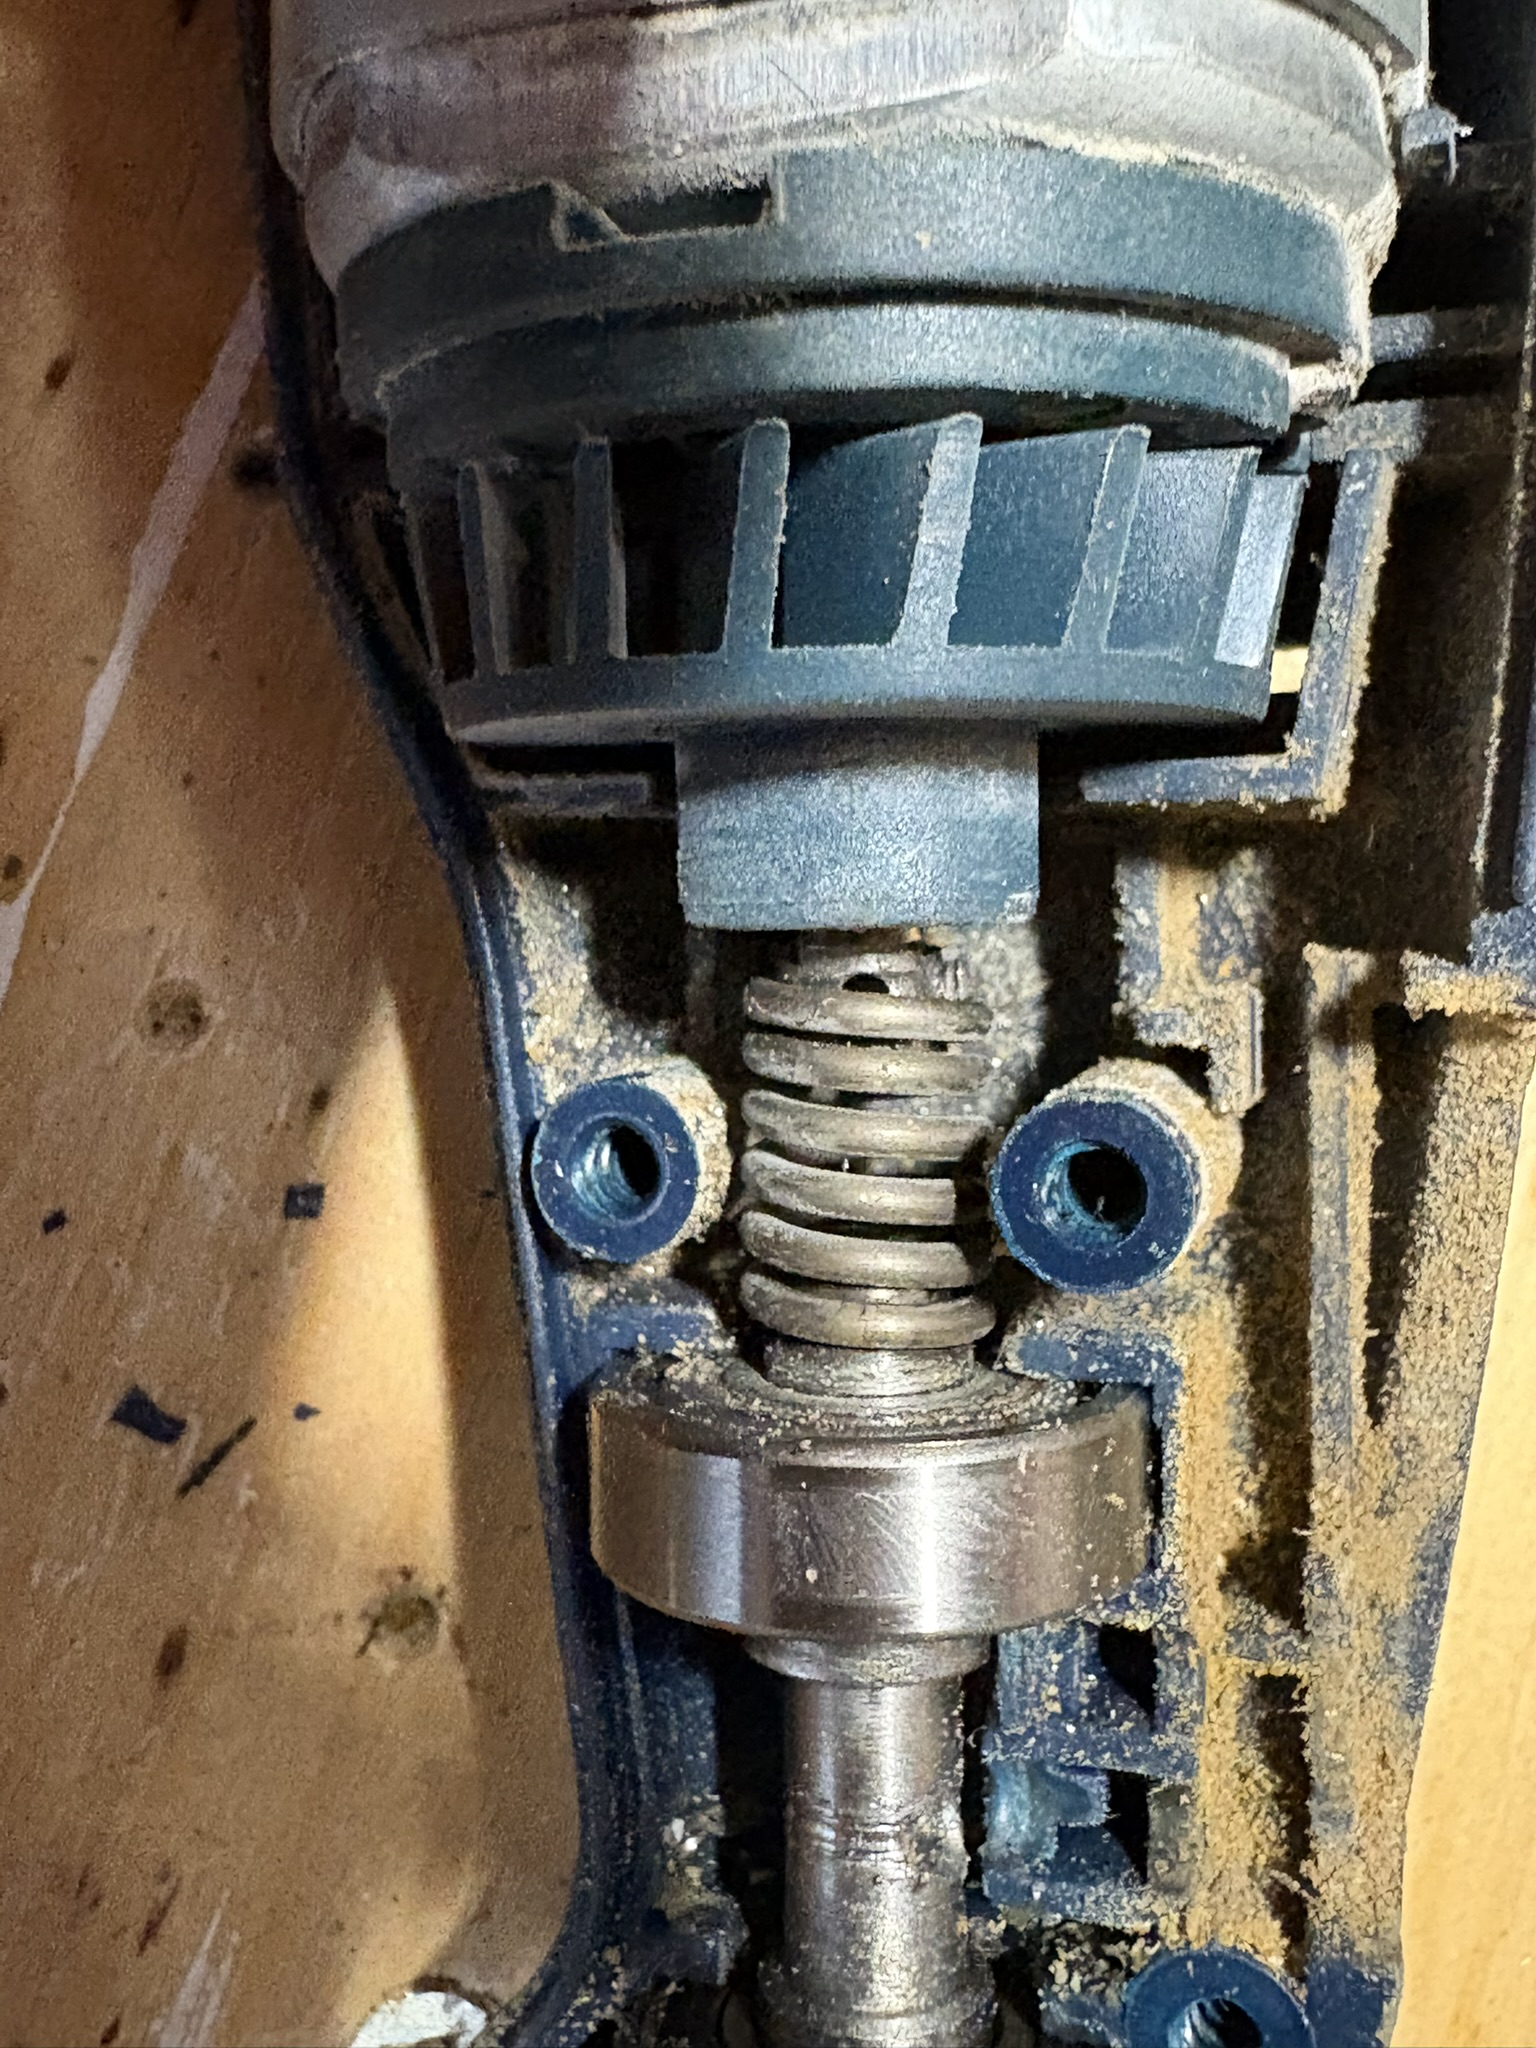
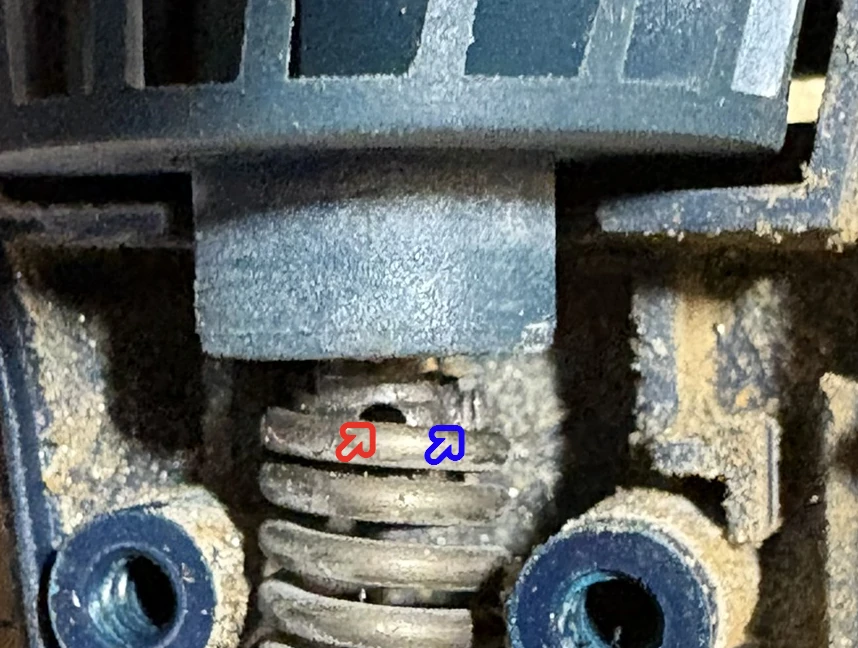
I don’t know if this is how all rotary tools are made but the drive shaft<?> from the motor is not a solid metal rod that the chuck is attached to. The shaft is actually 2 and they are attached with a metal coil.
I the photo the red arrow is pointing at a hole in the shaft attached to the motor. The blue arrow is pointing to where the bent end of the metal coil broke off. This bent end goes into the hole. The other end of the coil is attached to the chuck shaft in the same manner. The coil transfers the rotary motion from the motor shaft to the chuck shaft and I suppose it provides some shock protection to the motor.
With the coil busted and the tool being well over 20 years old I have no expectation of being able to repair it. Besides the shaft lock for changing the accessory being used was starting to fail. With a brief thank you I sent to tool off to be come something new. I will have to buy a new rotary tool as I have some cosmetic patch work on the boat that requires some precision grinding but for now it was time to break out the manual tools.
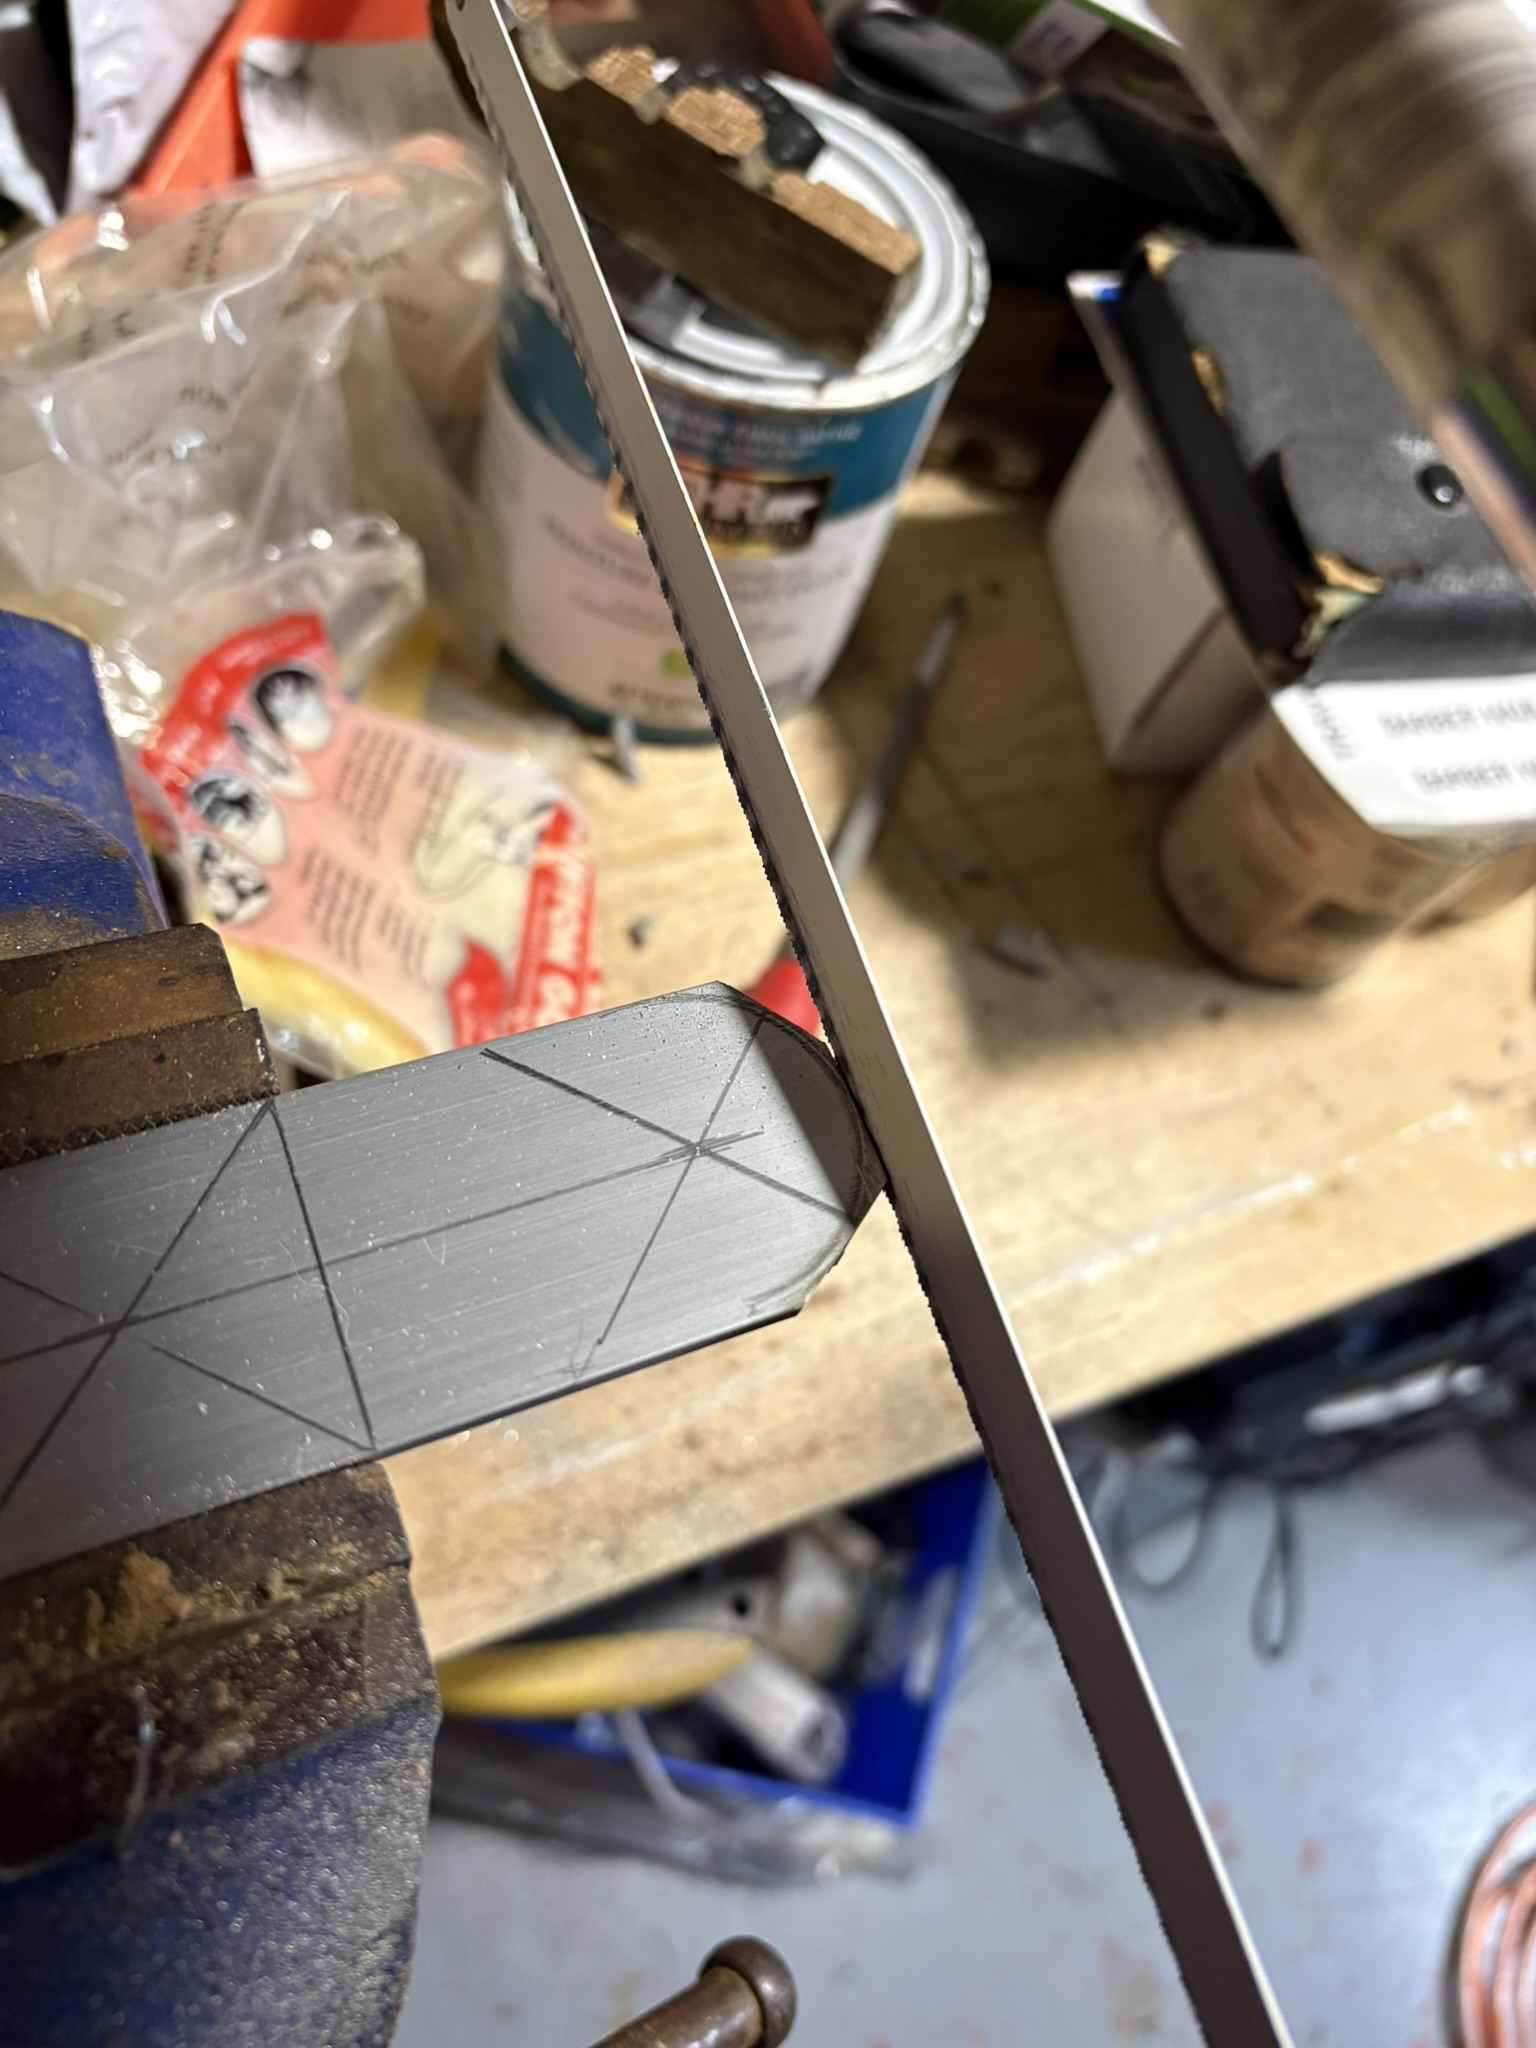
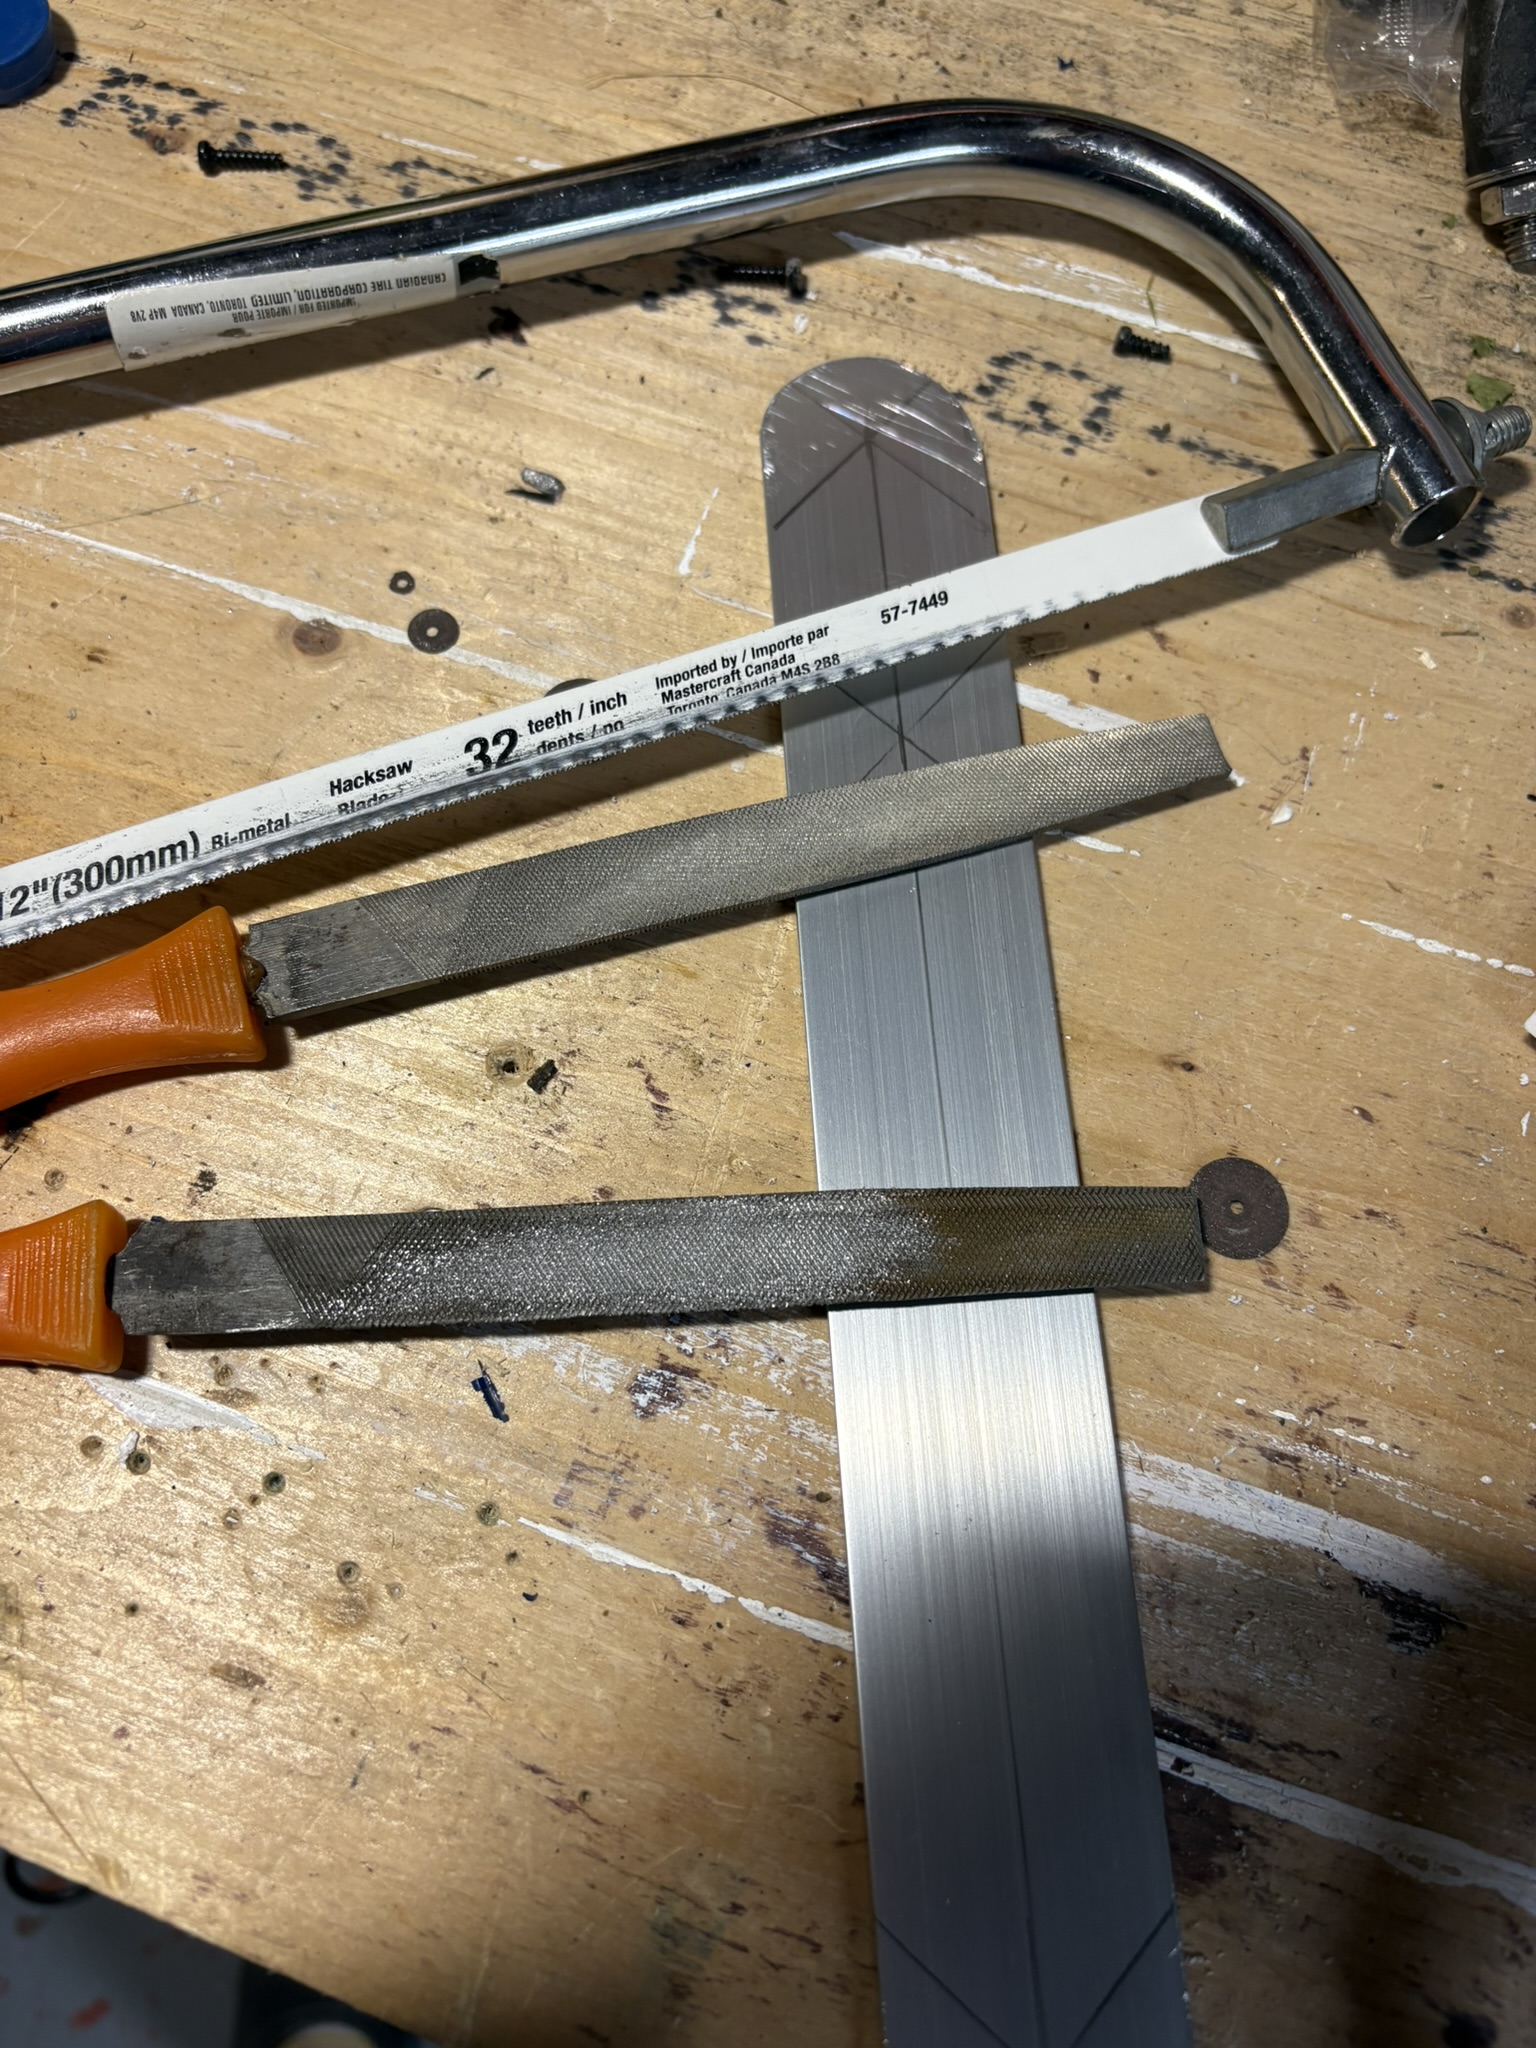
I pulled my hacksaw down, and got to work. Thank fully the hack saw didn’t try to mock me and made surprisingly quick work of completing the rough cuts for the second radius. I started wondering if I should have just used the hack saw in the first place, oh, I guess it did mock me… lol 🙂
After finishing the rough cuts I pulled out my file set and began to file the metal down to achieve the desired radiuses. The files made quick work of the aluminum and I am quite pleased with the results. I am not sure the rotary tool would have been easier or given me better results.
Use this link to read all the posts in the Mast Head Fabrication. Here is the first post in this series Many Things One Mount Point
