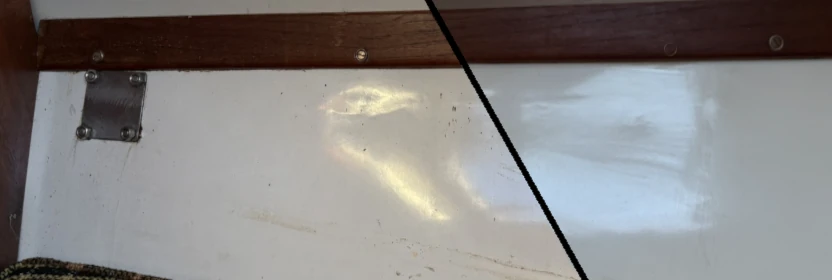
Miss Megan has been in need of a deep clean since I got her. Last season my main goal was to get her in the water and get sailing. Since I’ve been waiting for the mast light, anchor light, and marine wires to arrive, as well as removing the toilet, I decided now was the perfect time to do that deep clean.
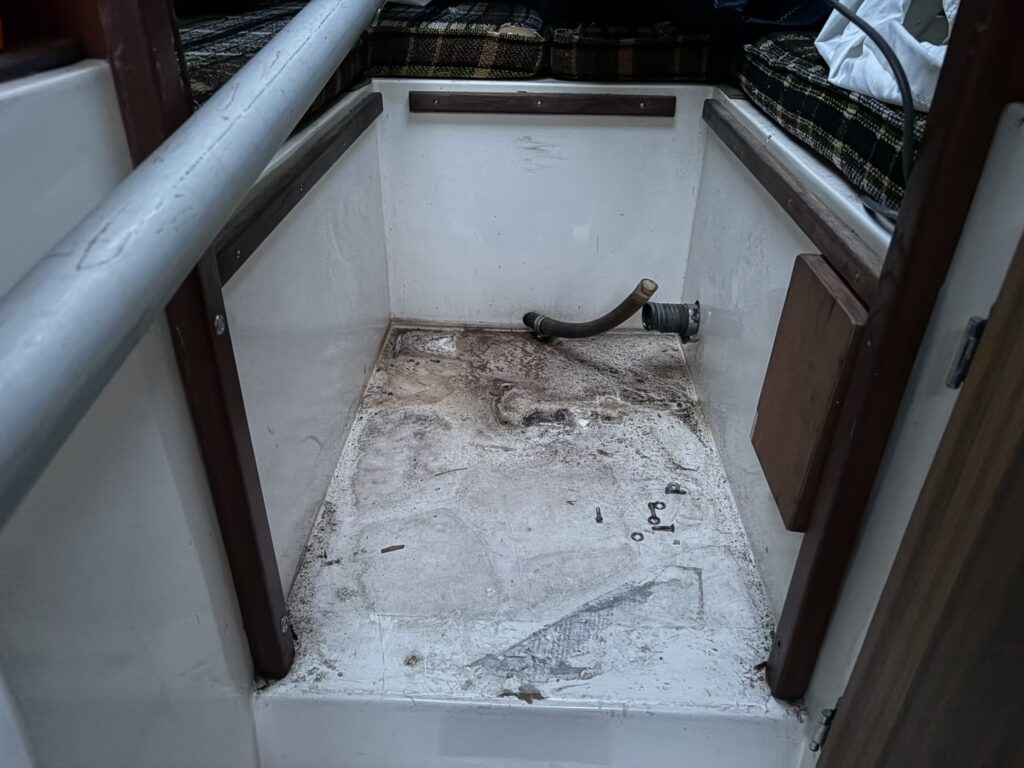
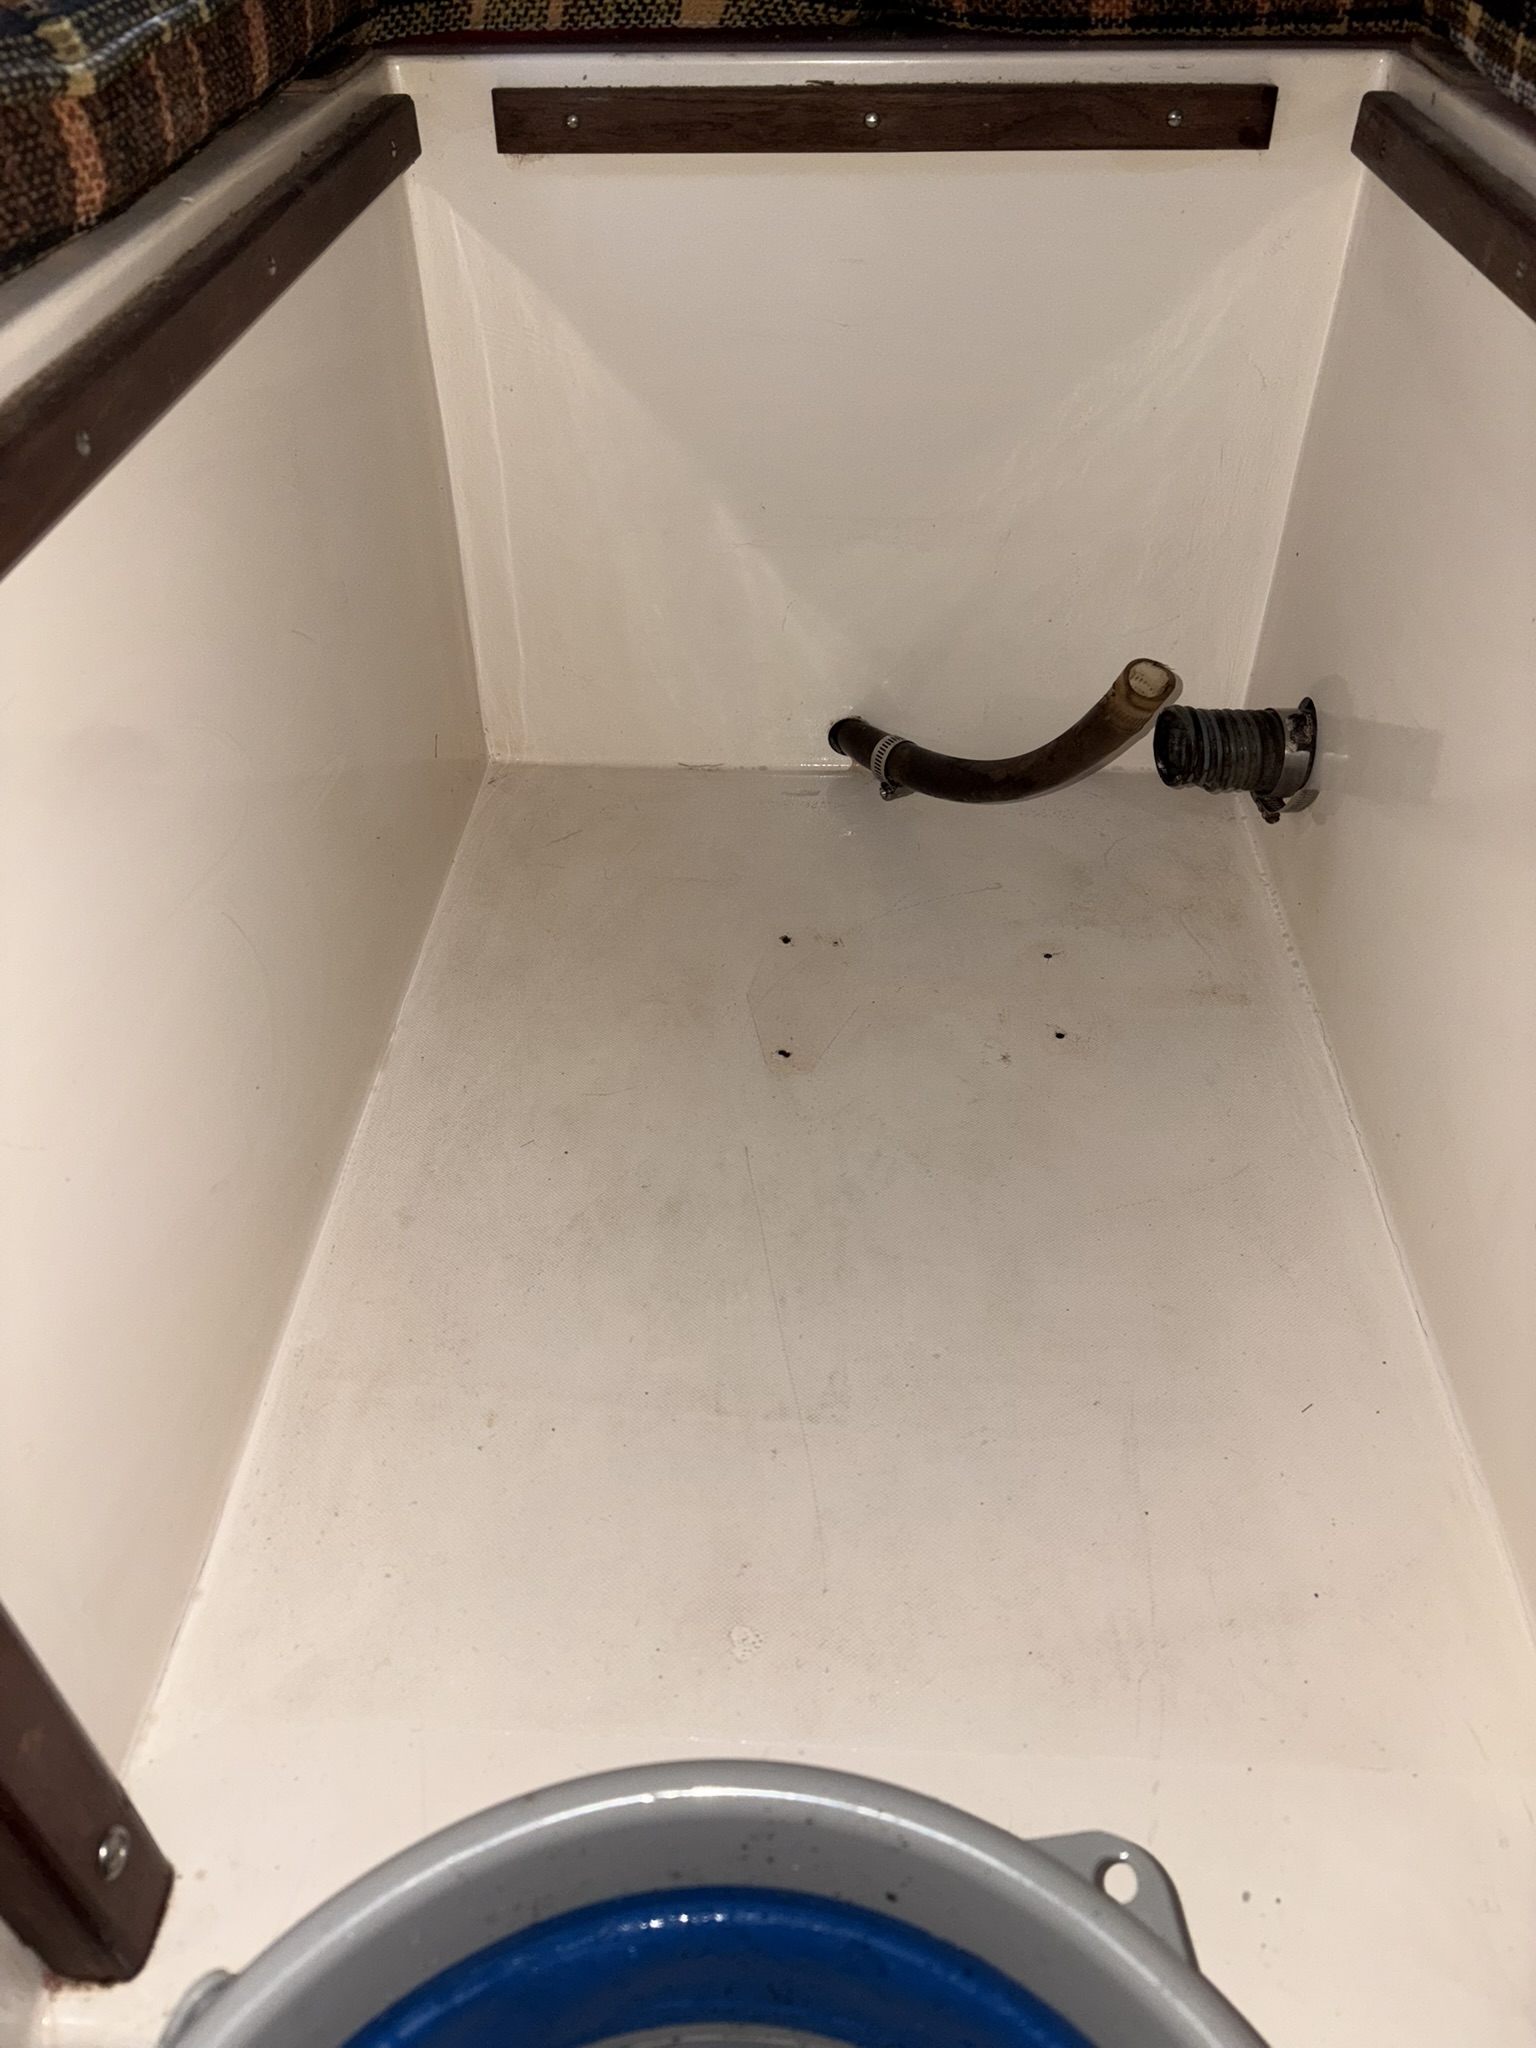
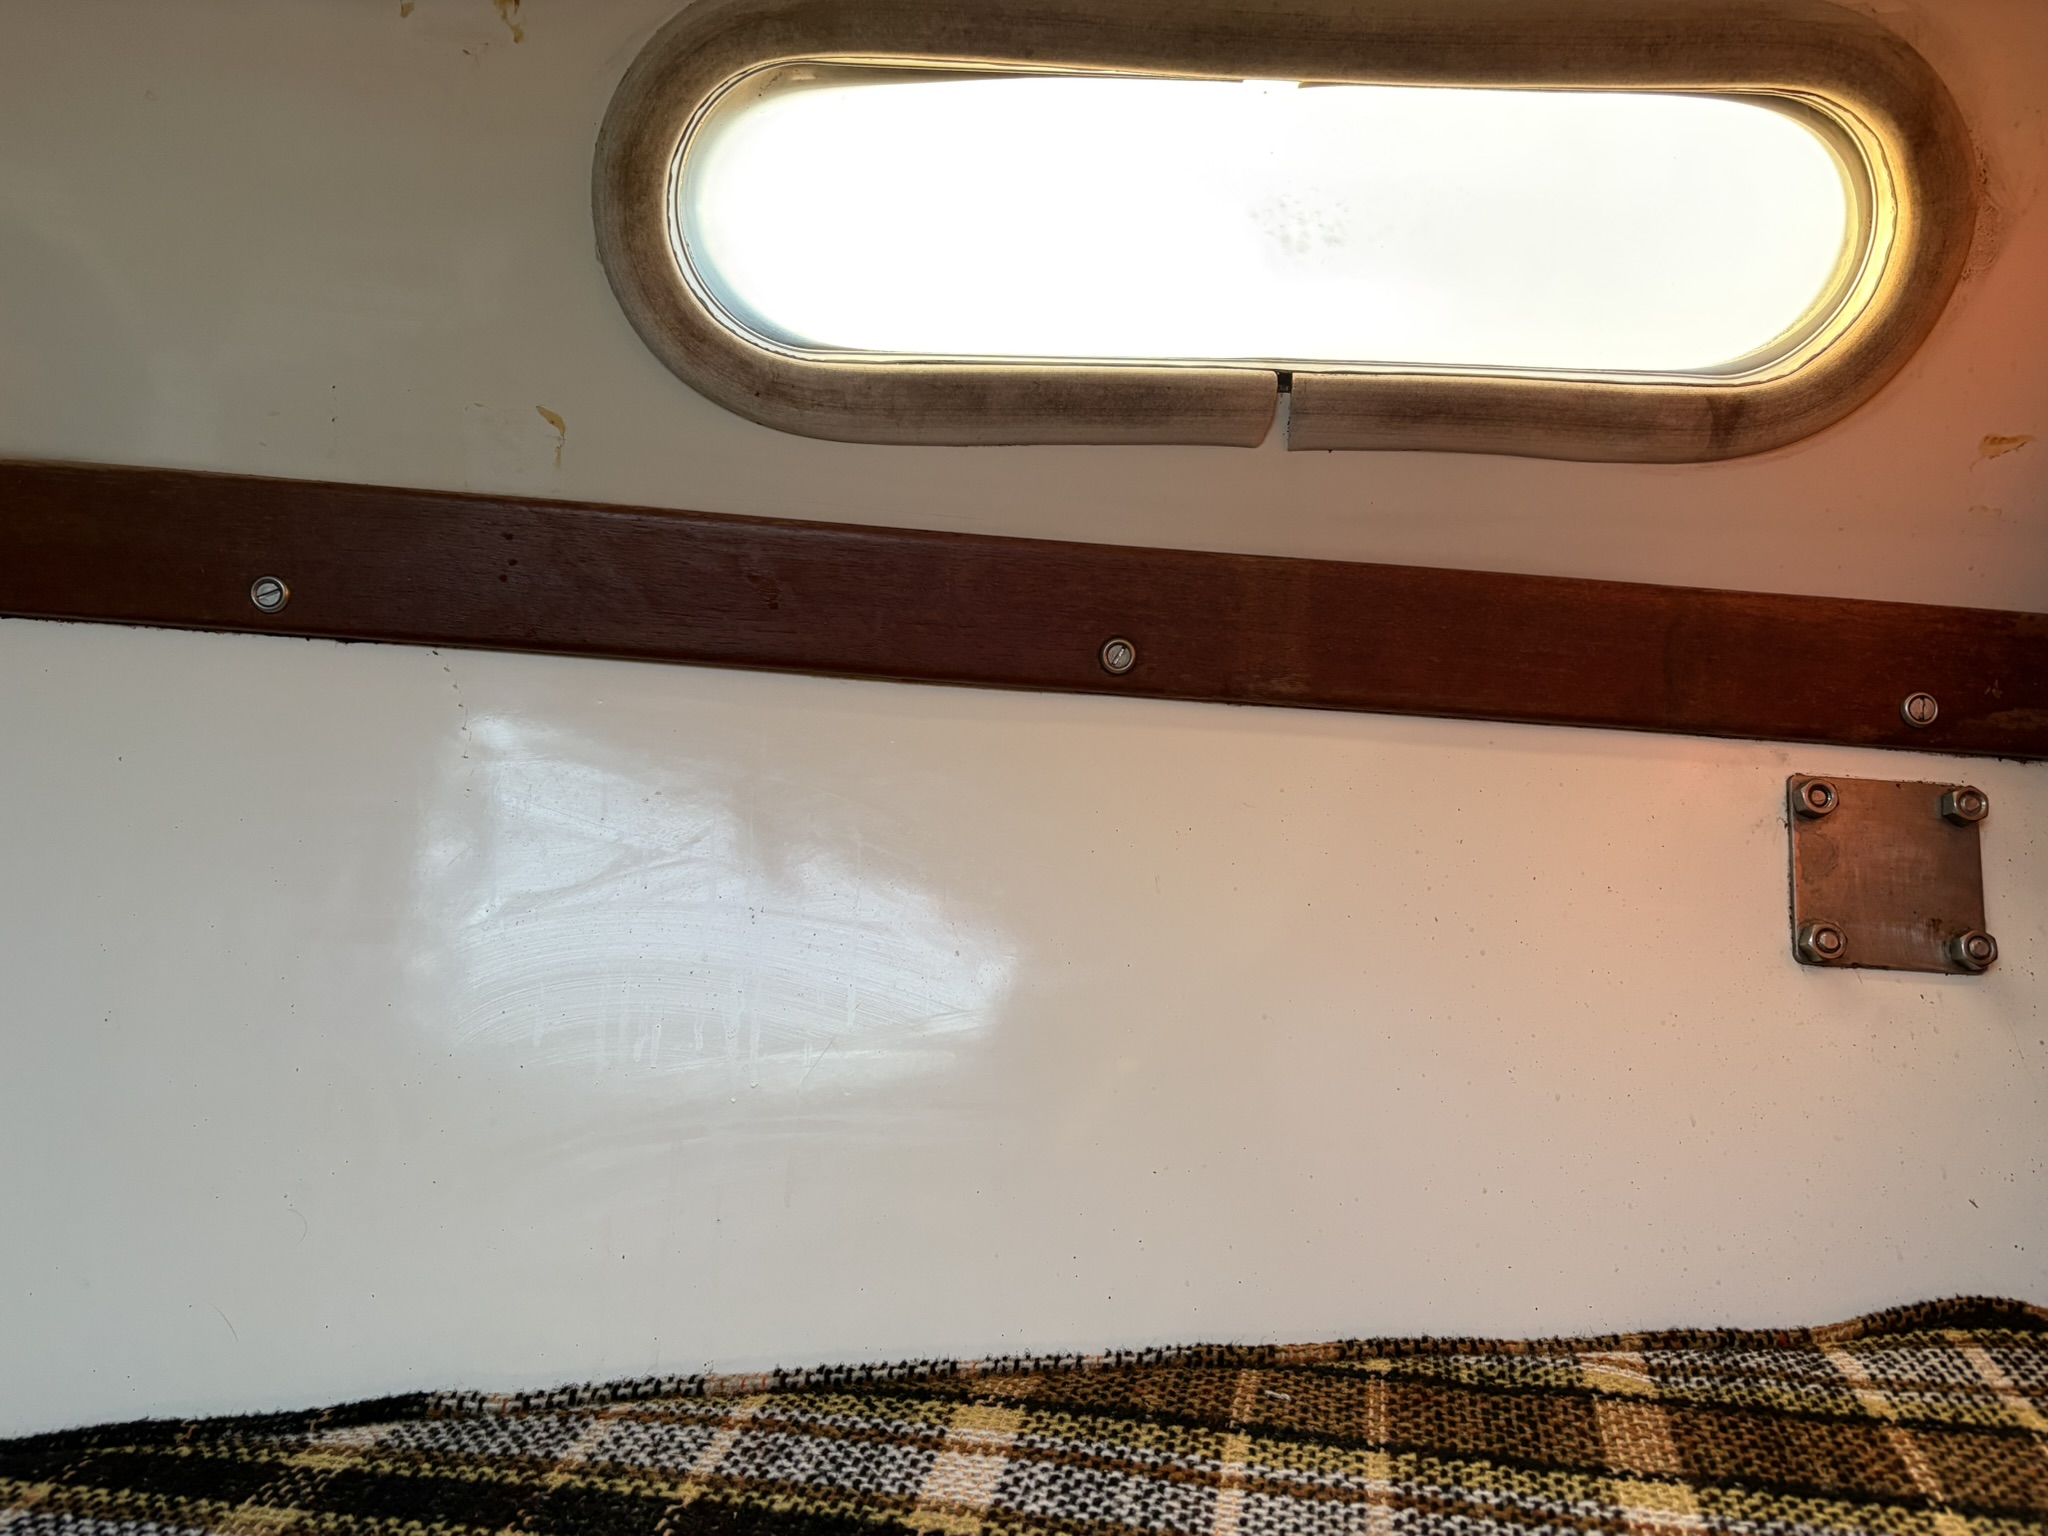
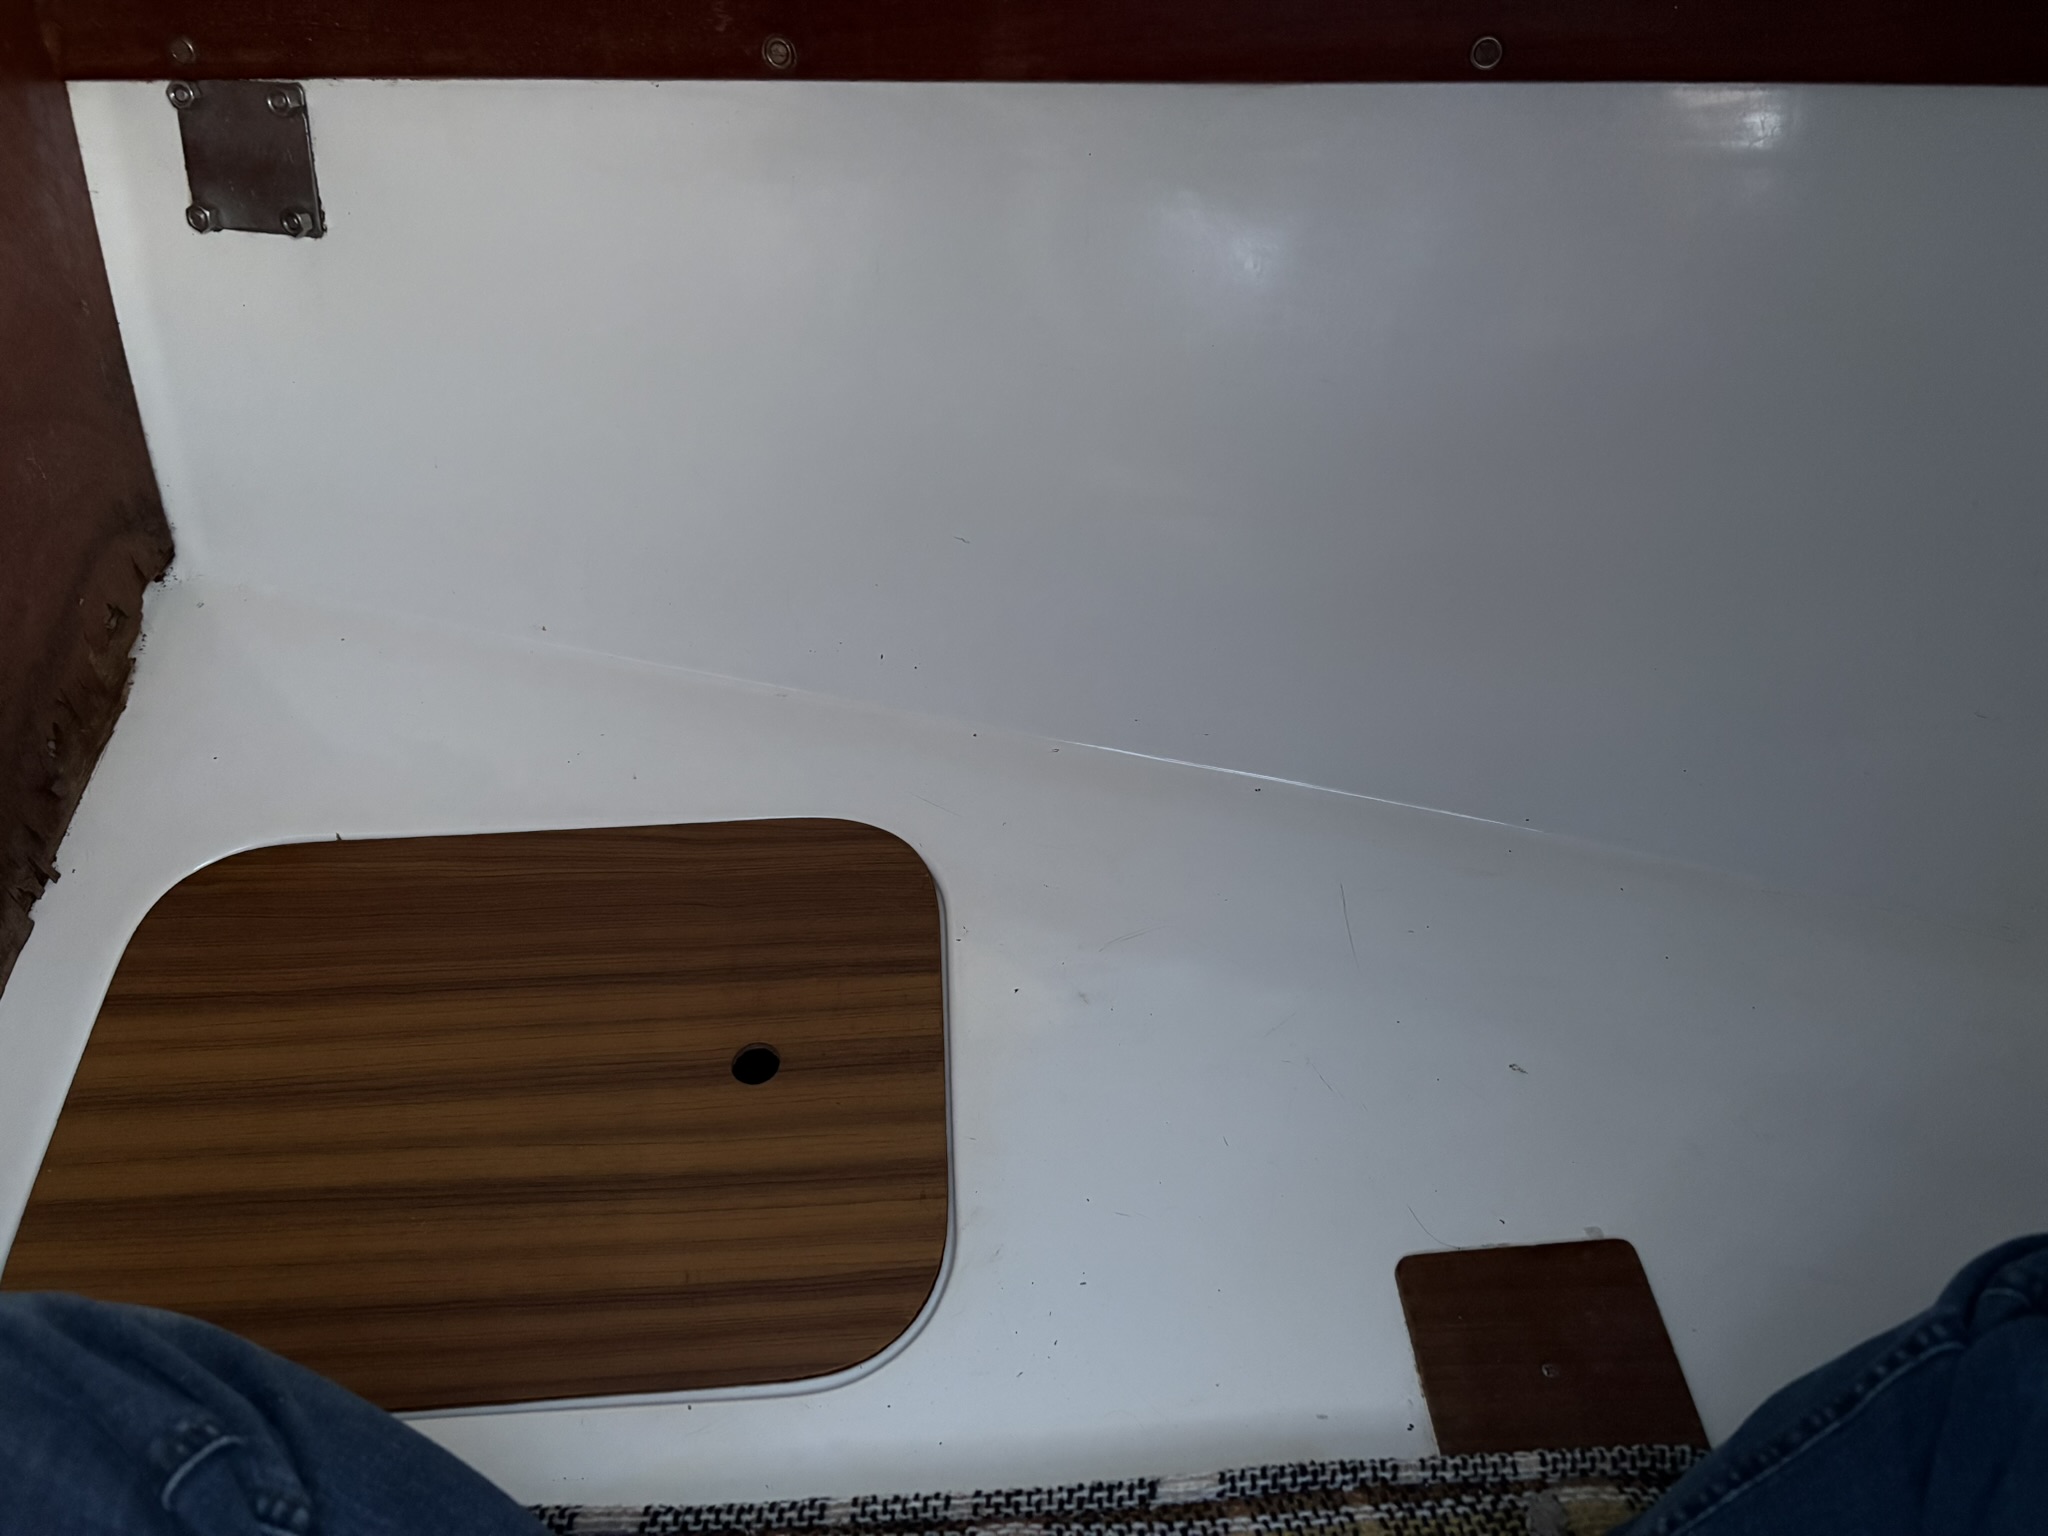
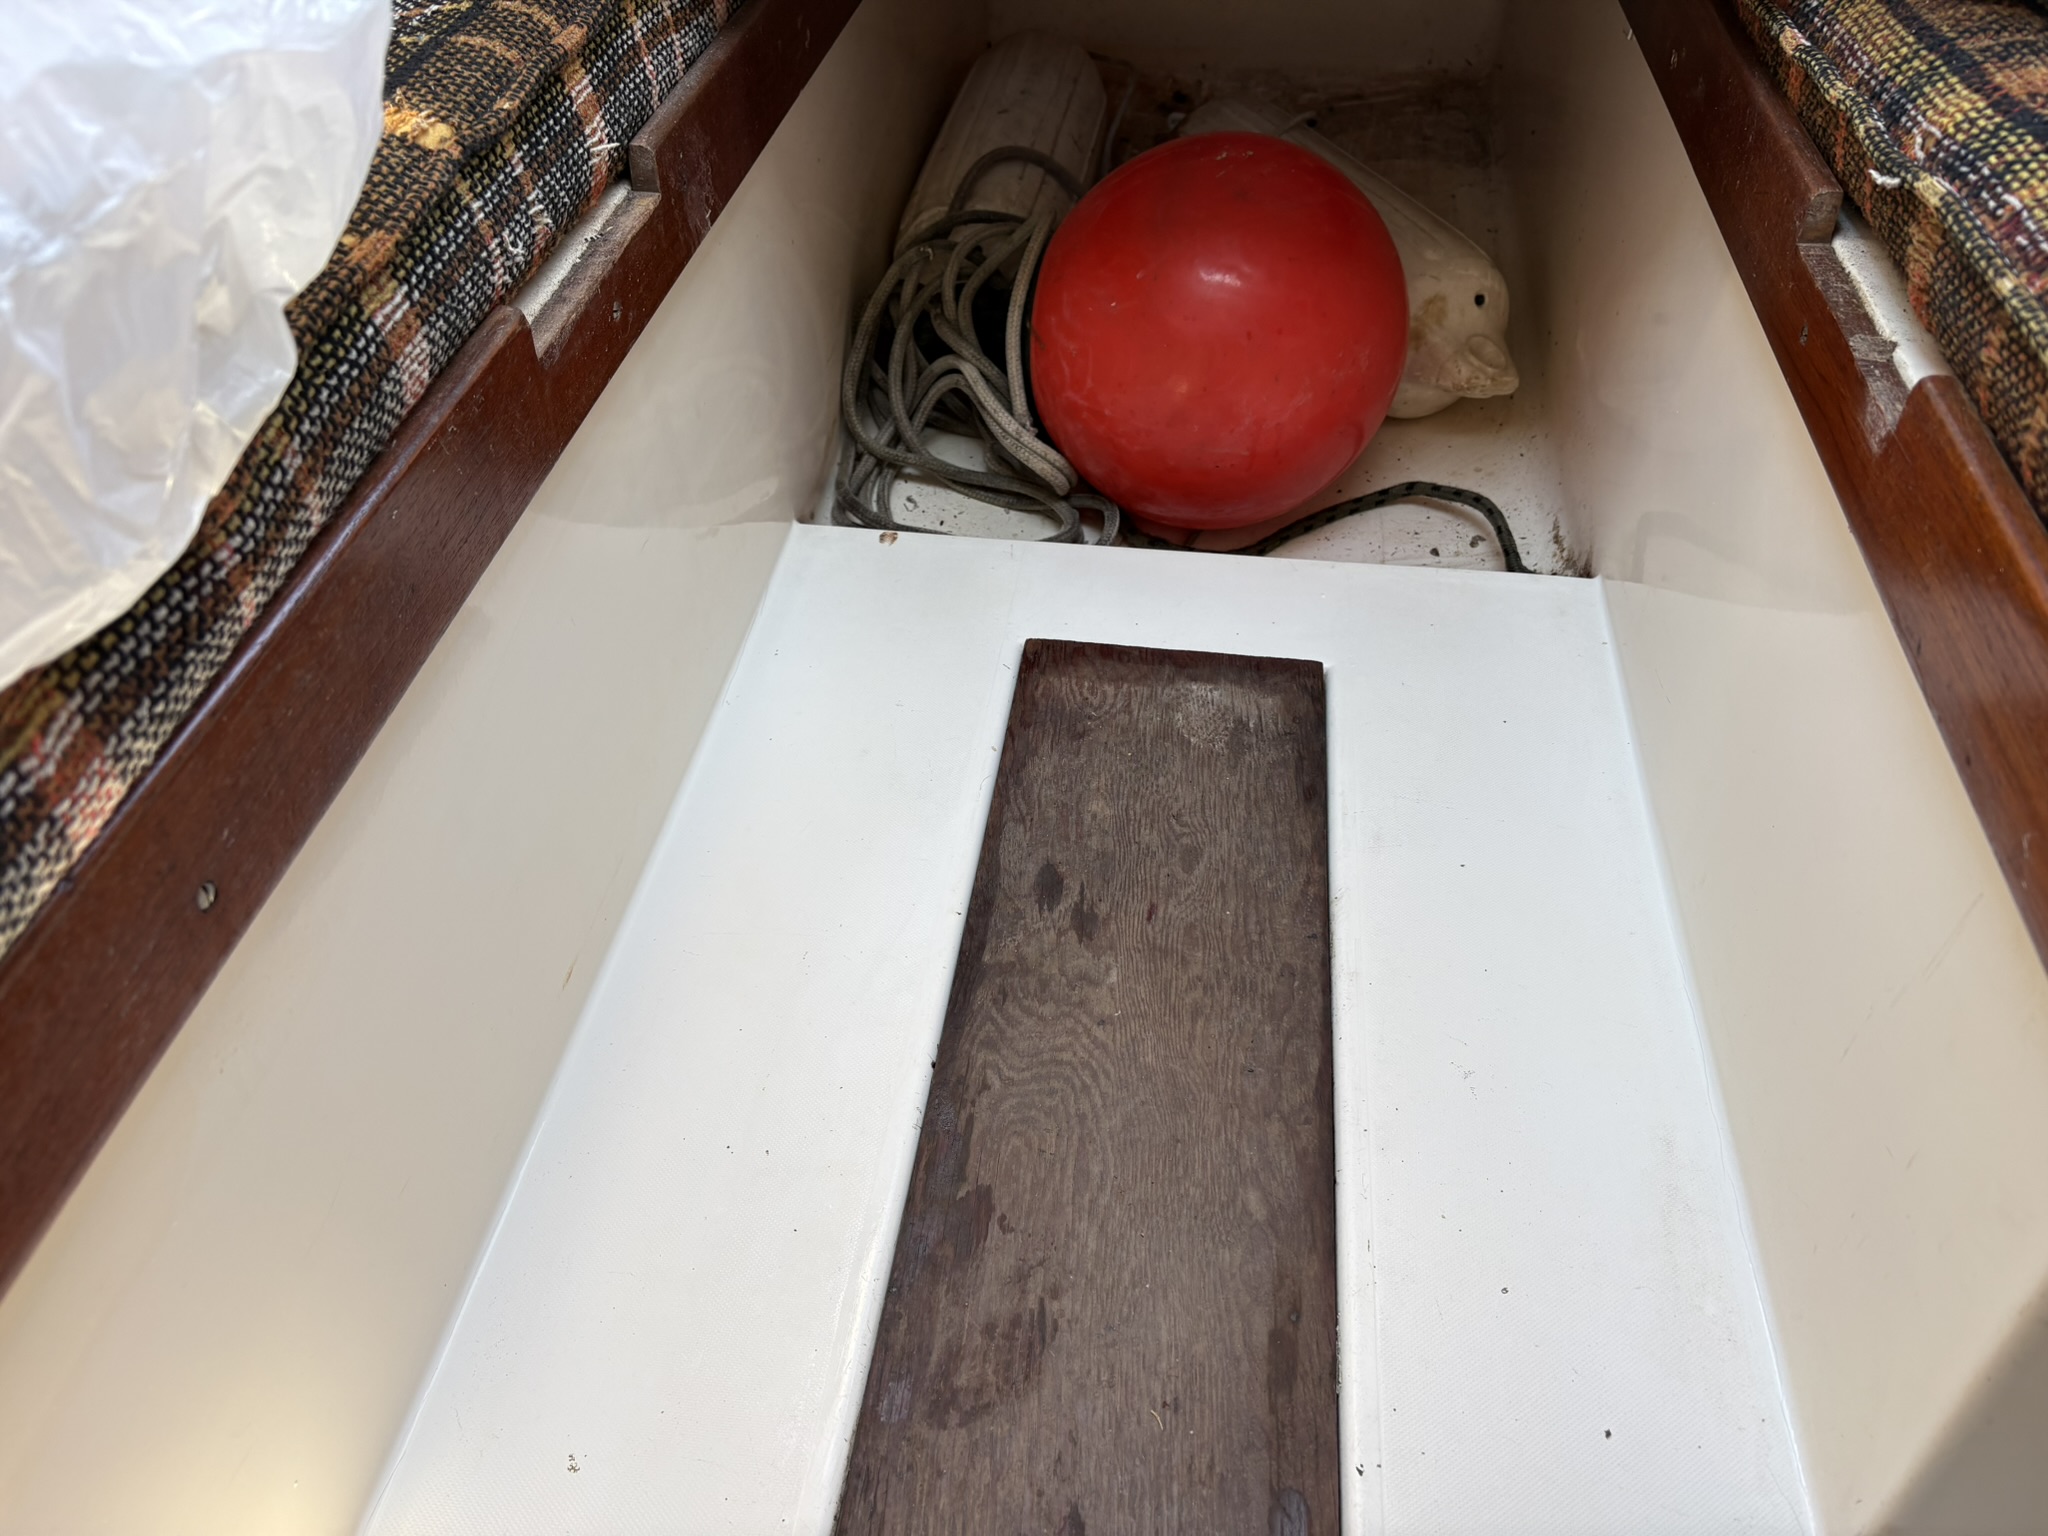
After removing the toilet I was left with an area that likely hadn’t been cleaned in years…. if ever.
In case you haven’t read the post about removing the toilet, the picture to the left shows the mess left.
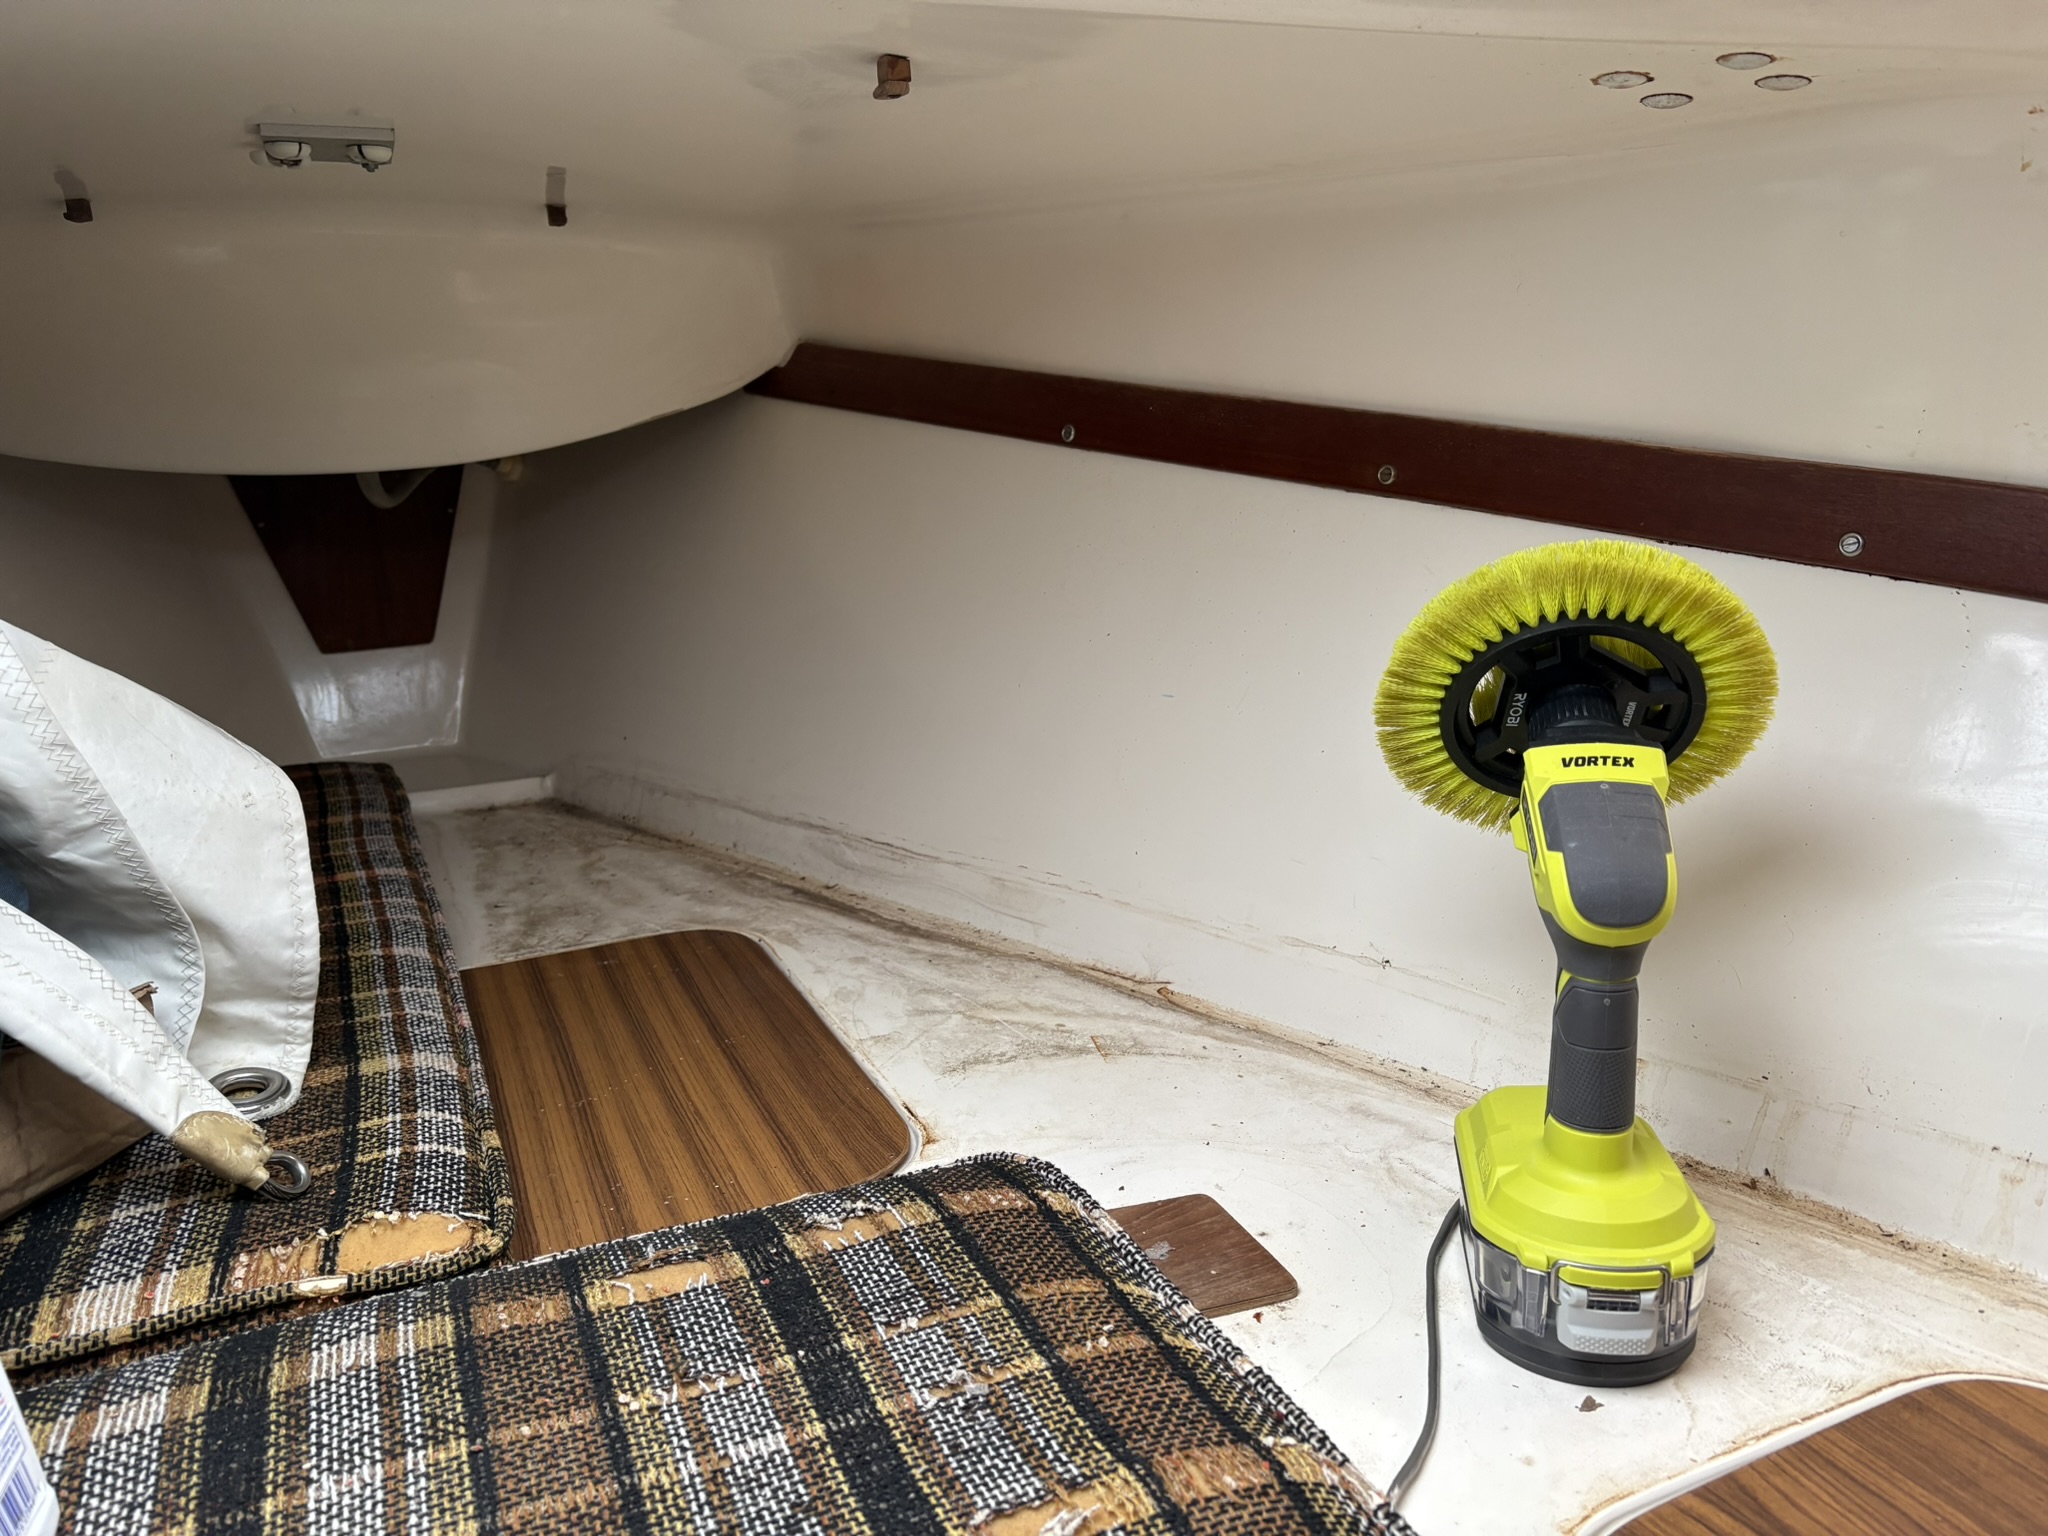
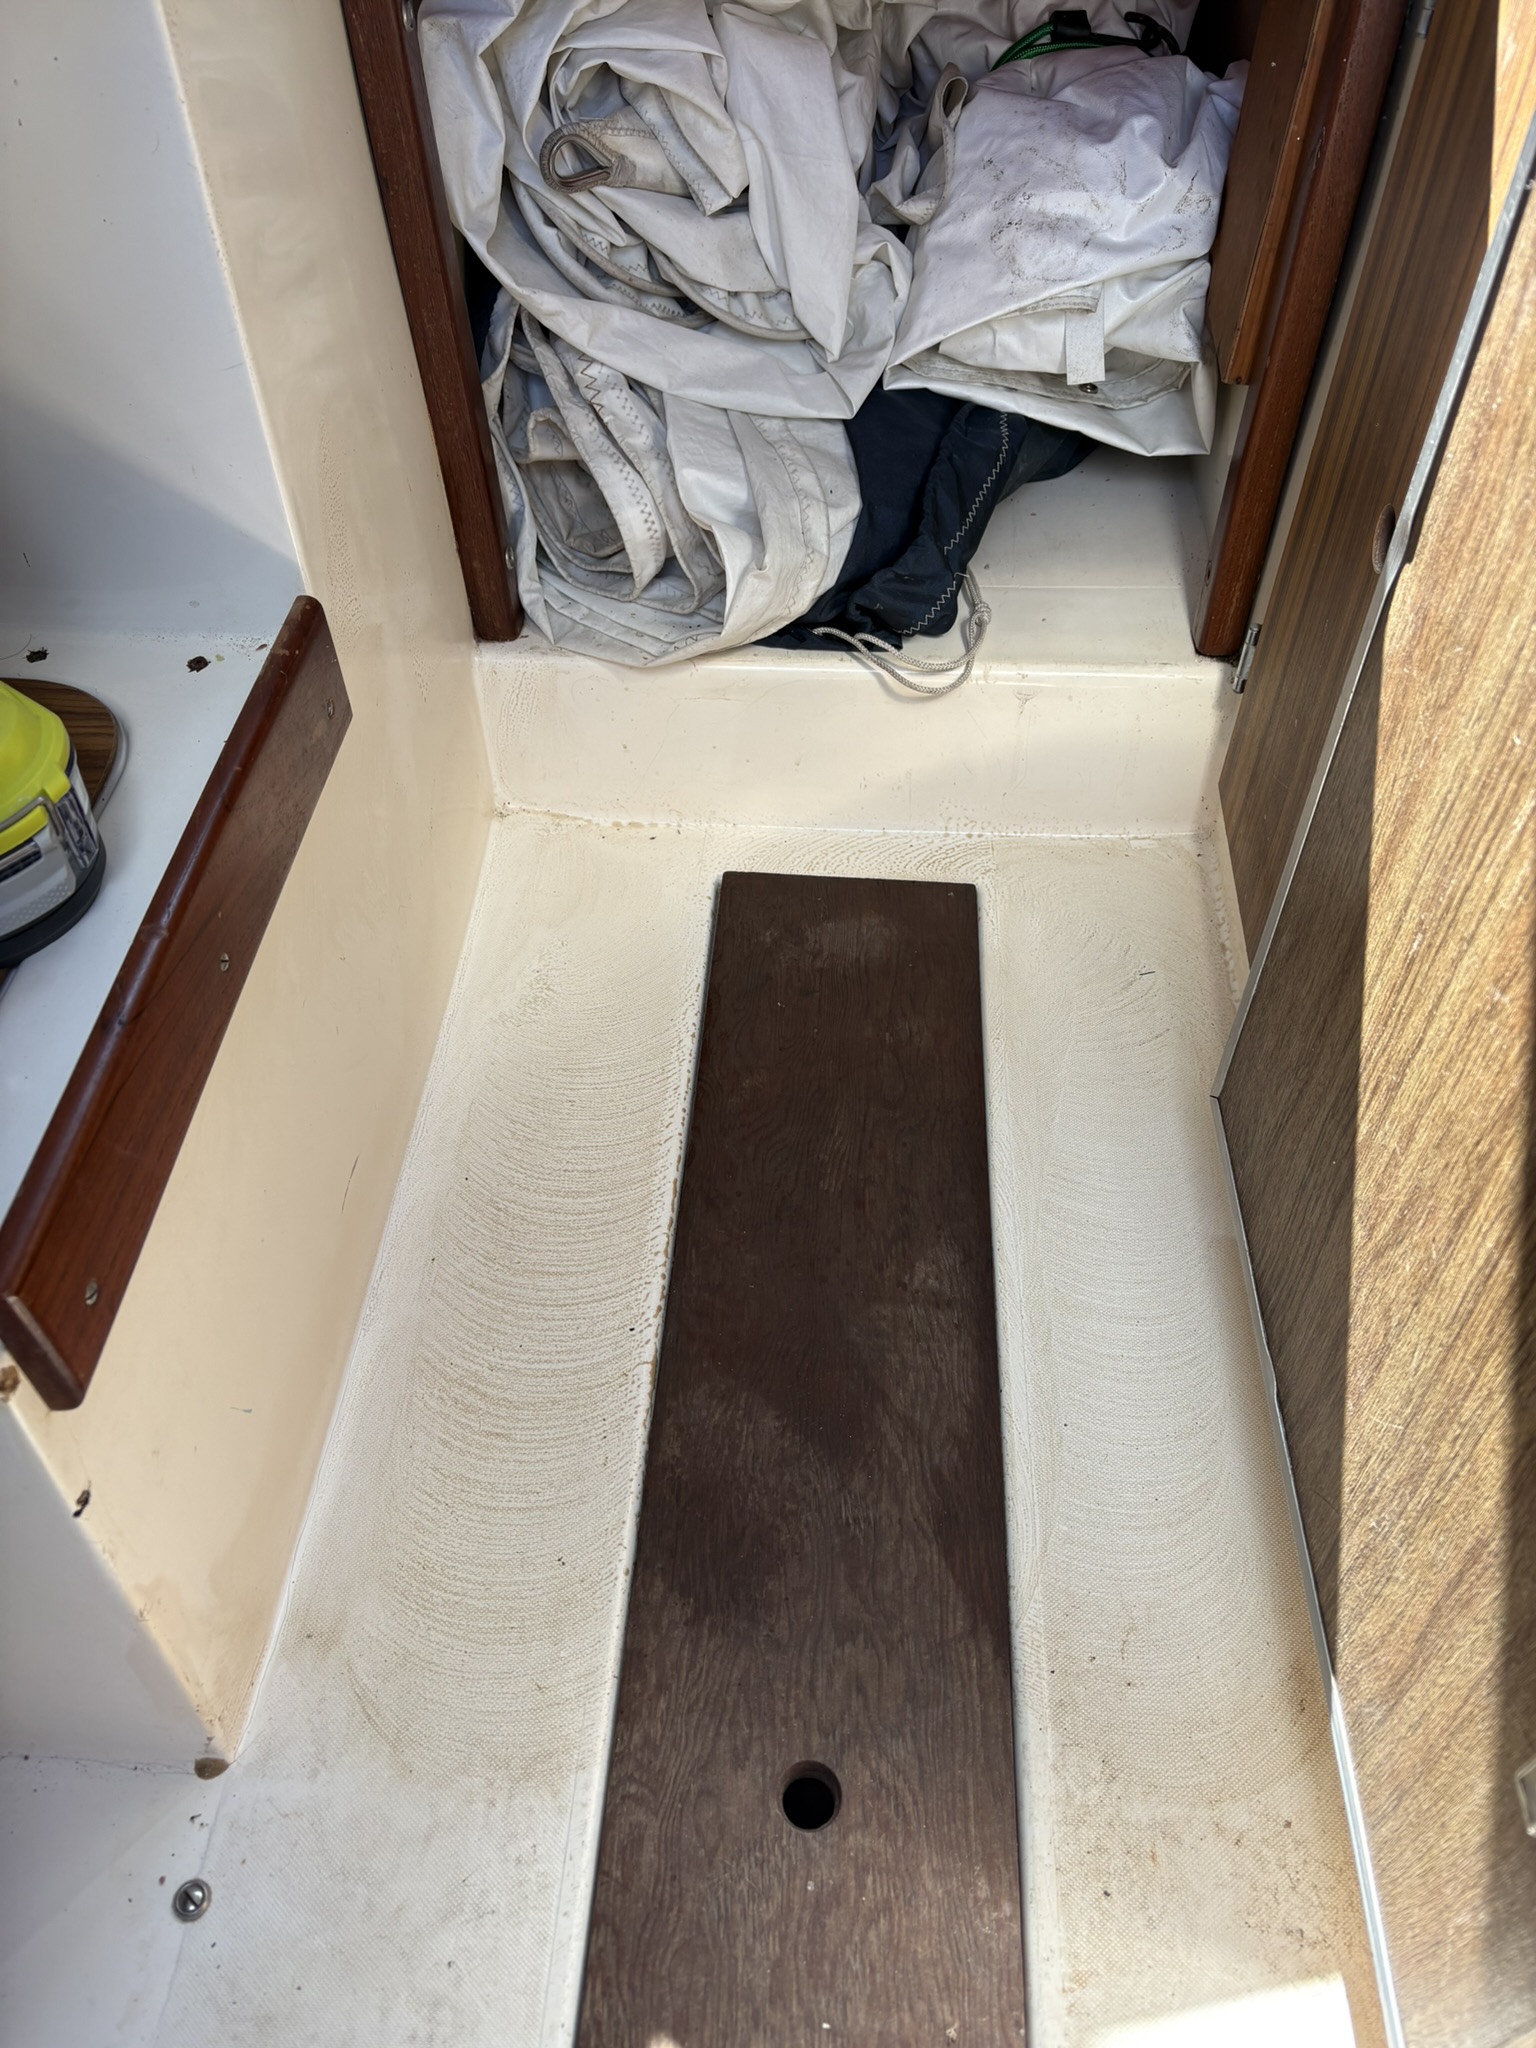
I wasn’t sure how well this area would clean up or how long it would take. But it absolutely had to be cleaned, so I got to work. I pulled out the Marine Spray Nine Heavy Duty cleaner I used last year to clean the cockpit seat. You can read more about this cleaner here.
With the cleaner and my Ryobi power cleaner I got to work. The cleaning wasn’t quick, I was well over an hour getting just this area clean. I don’t want to think how long it would have taken without the power cleaner, and even worse how sore my arm(s) would have been.
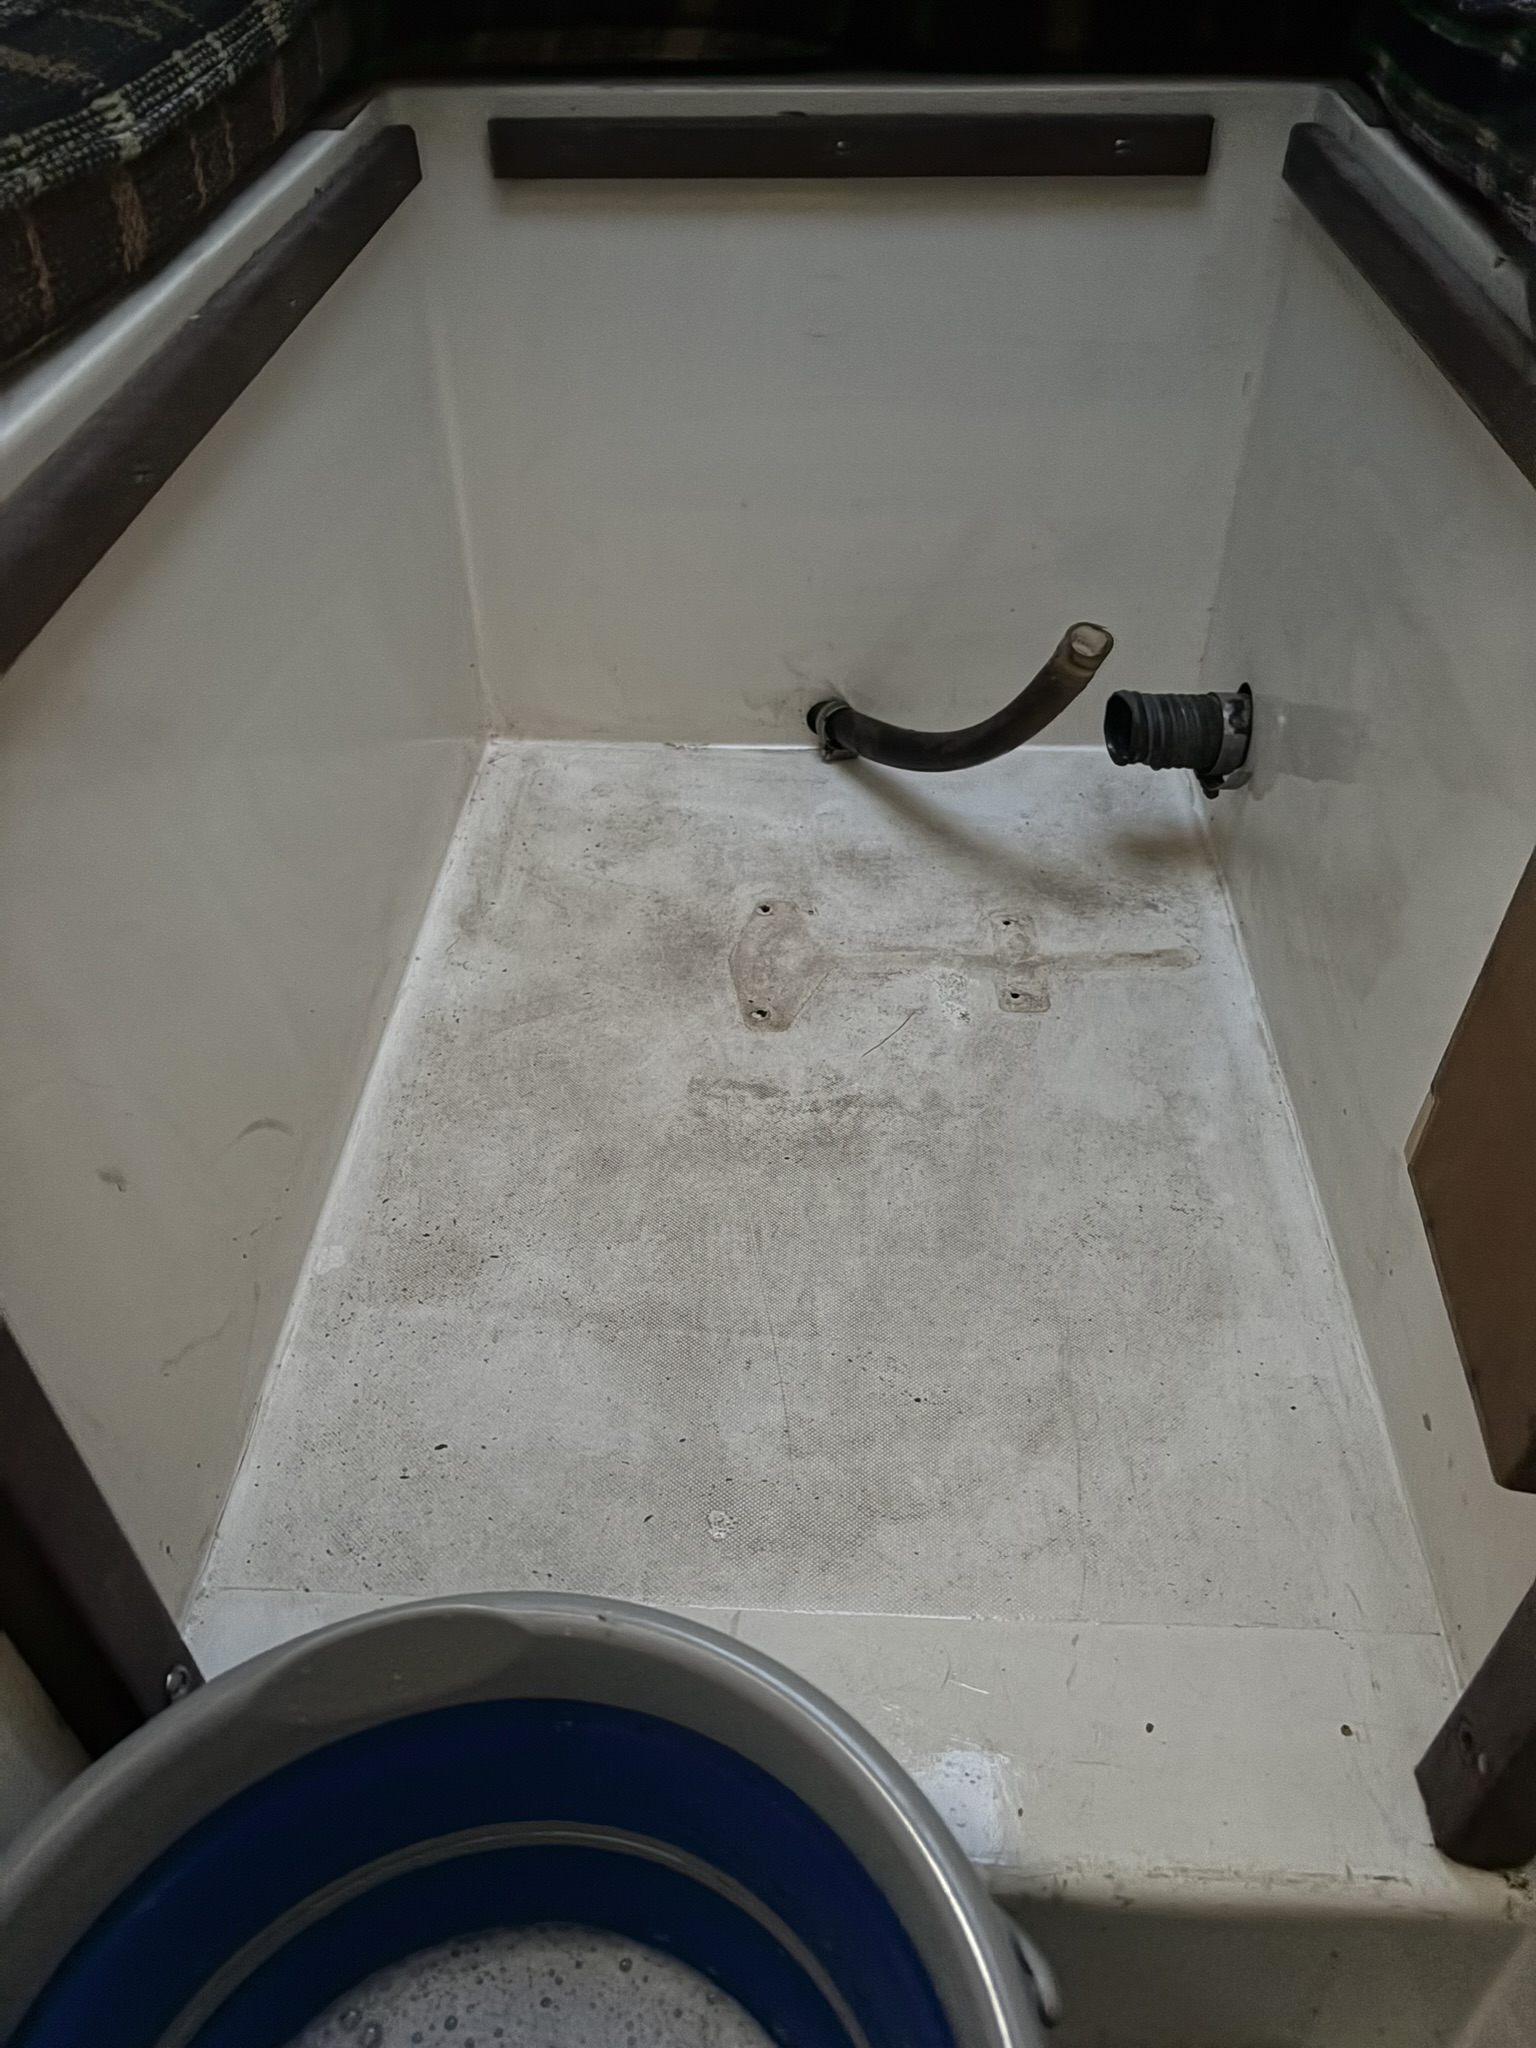
(taken with flash on)

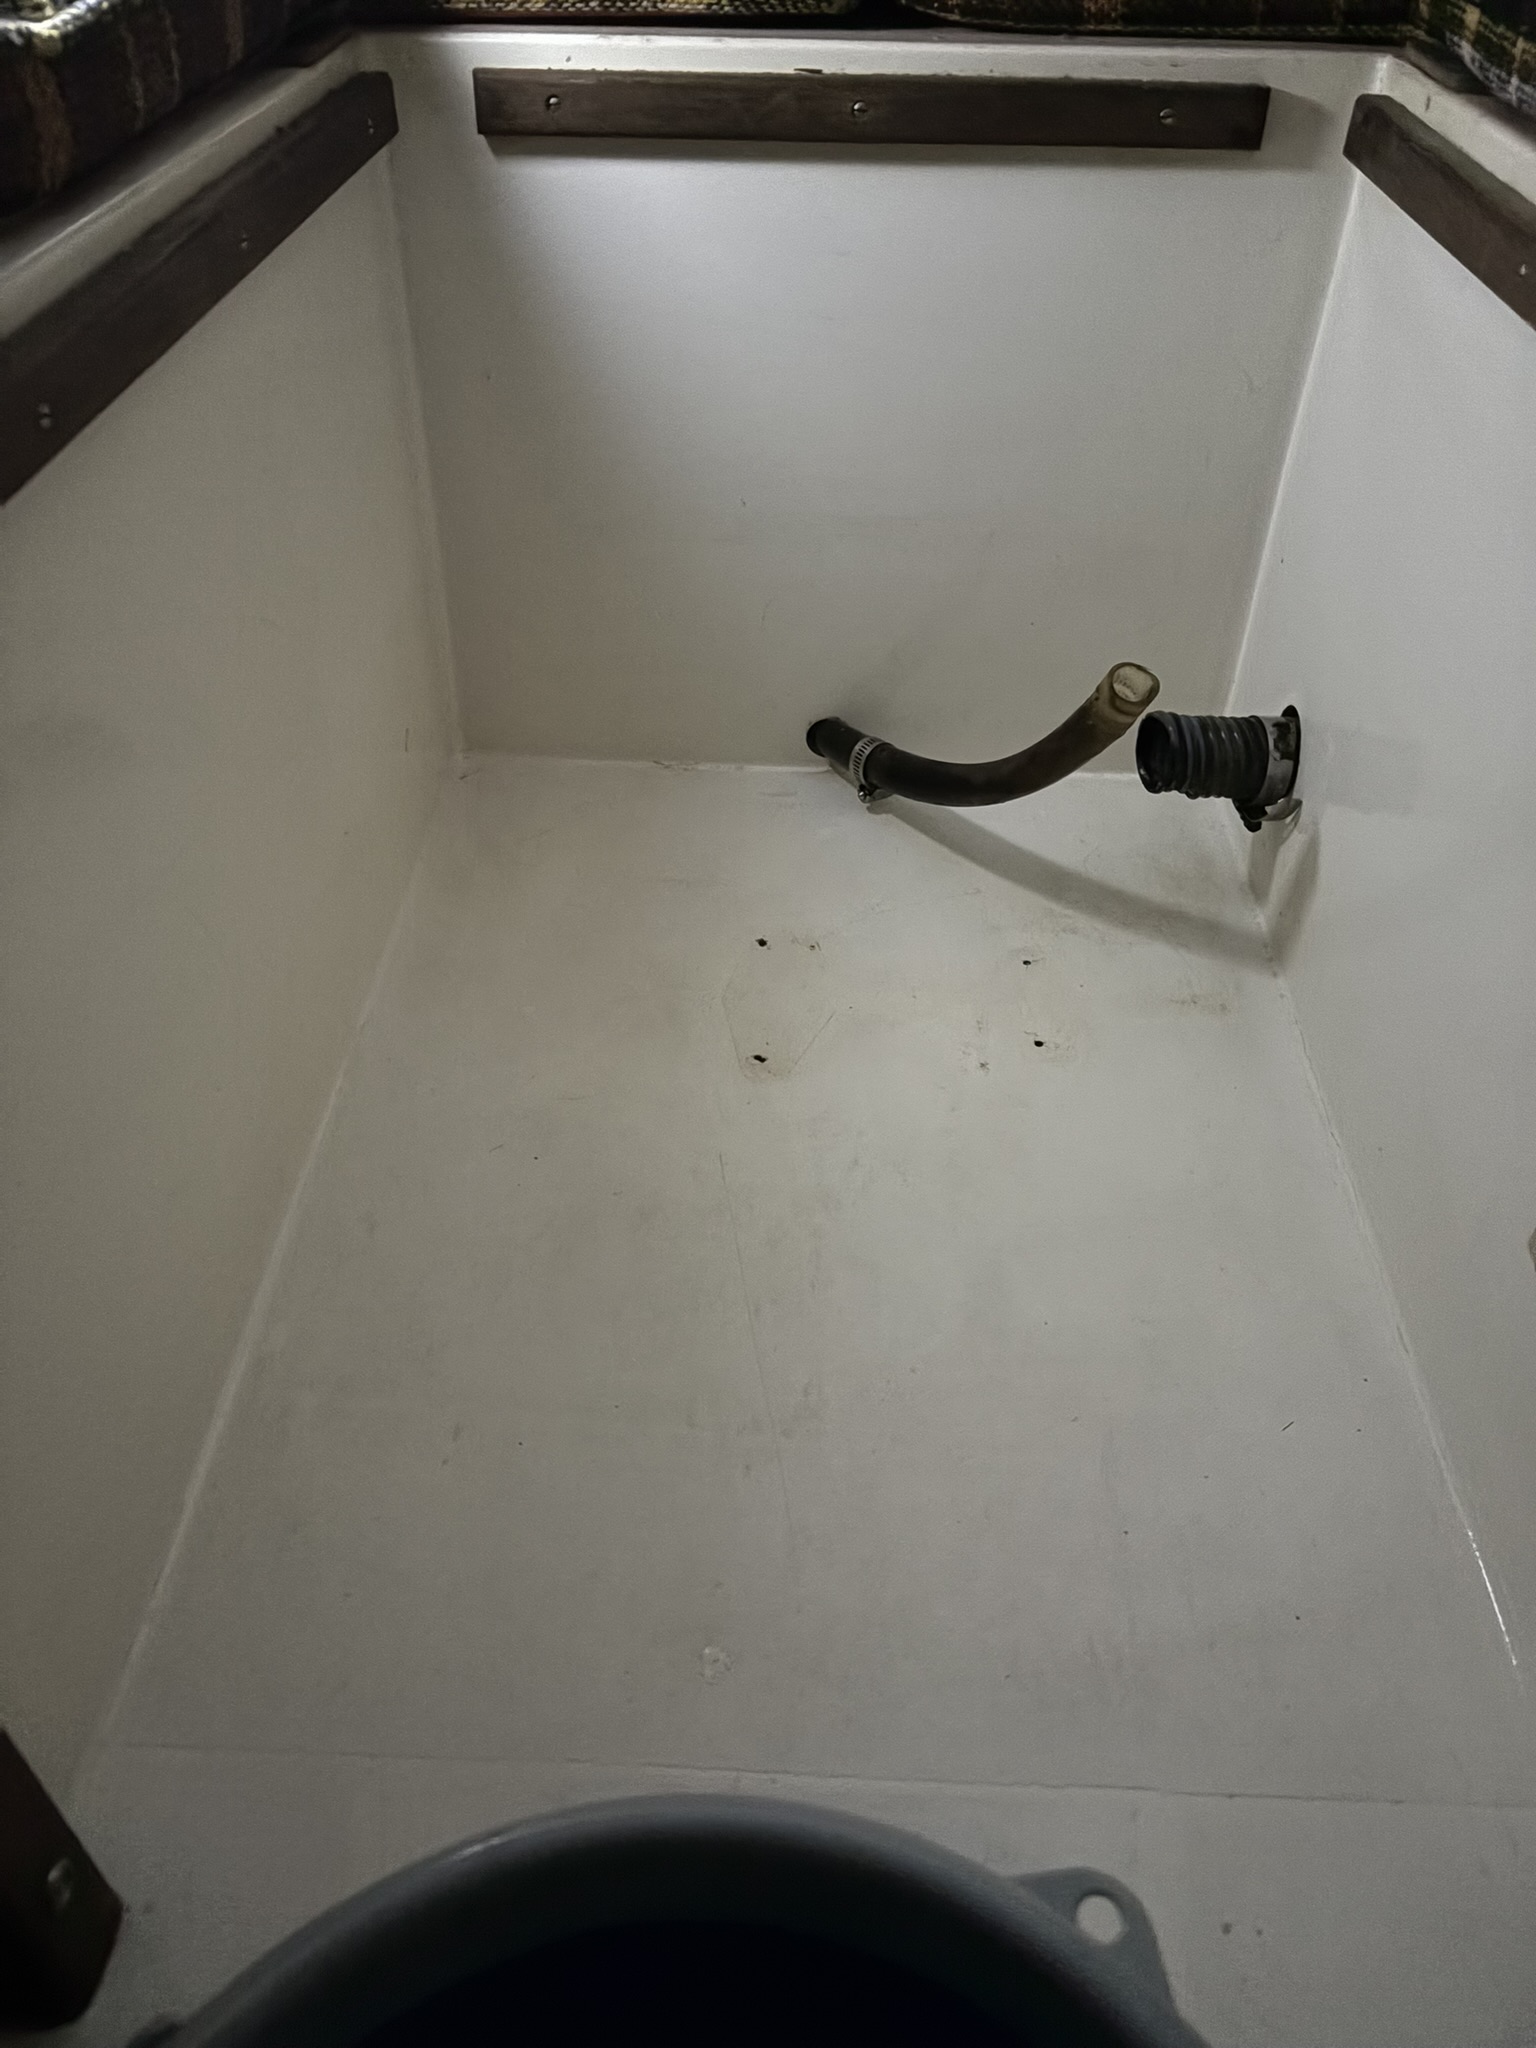
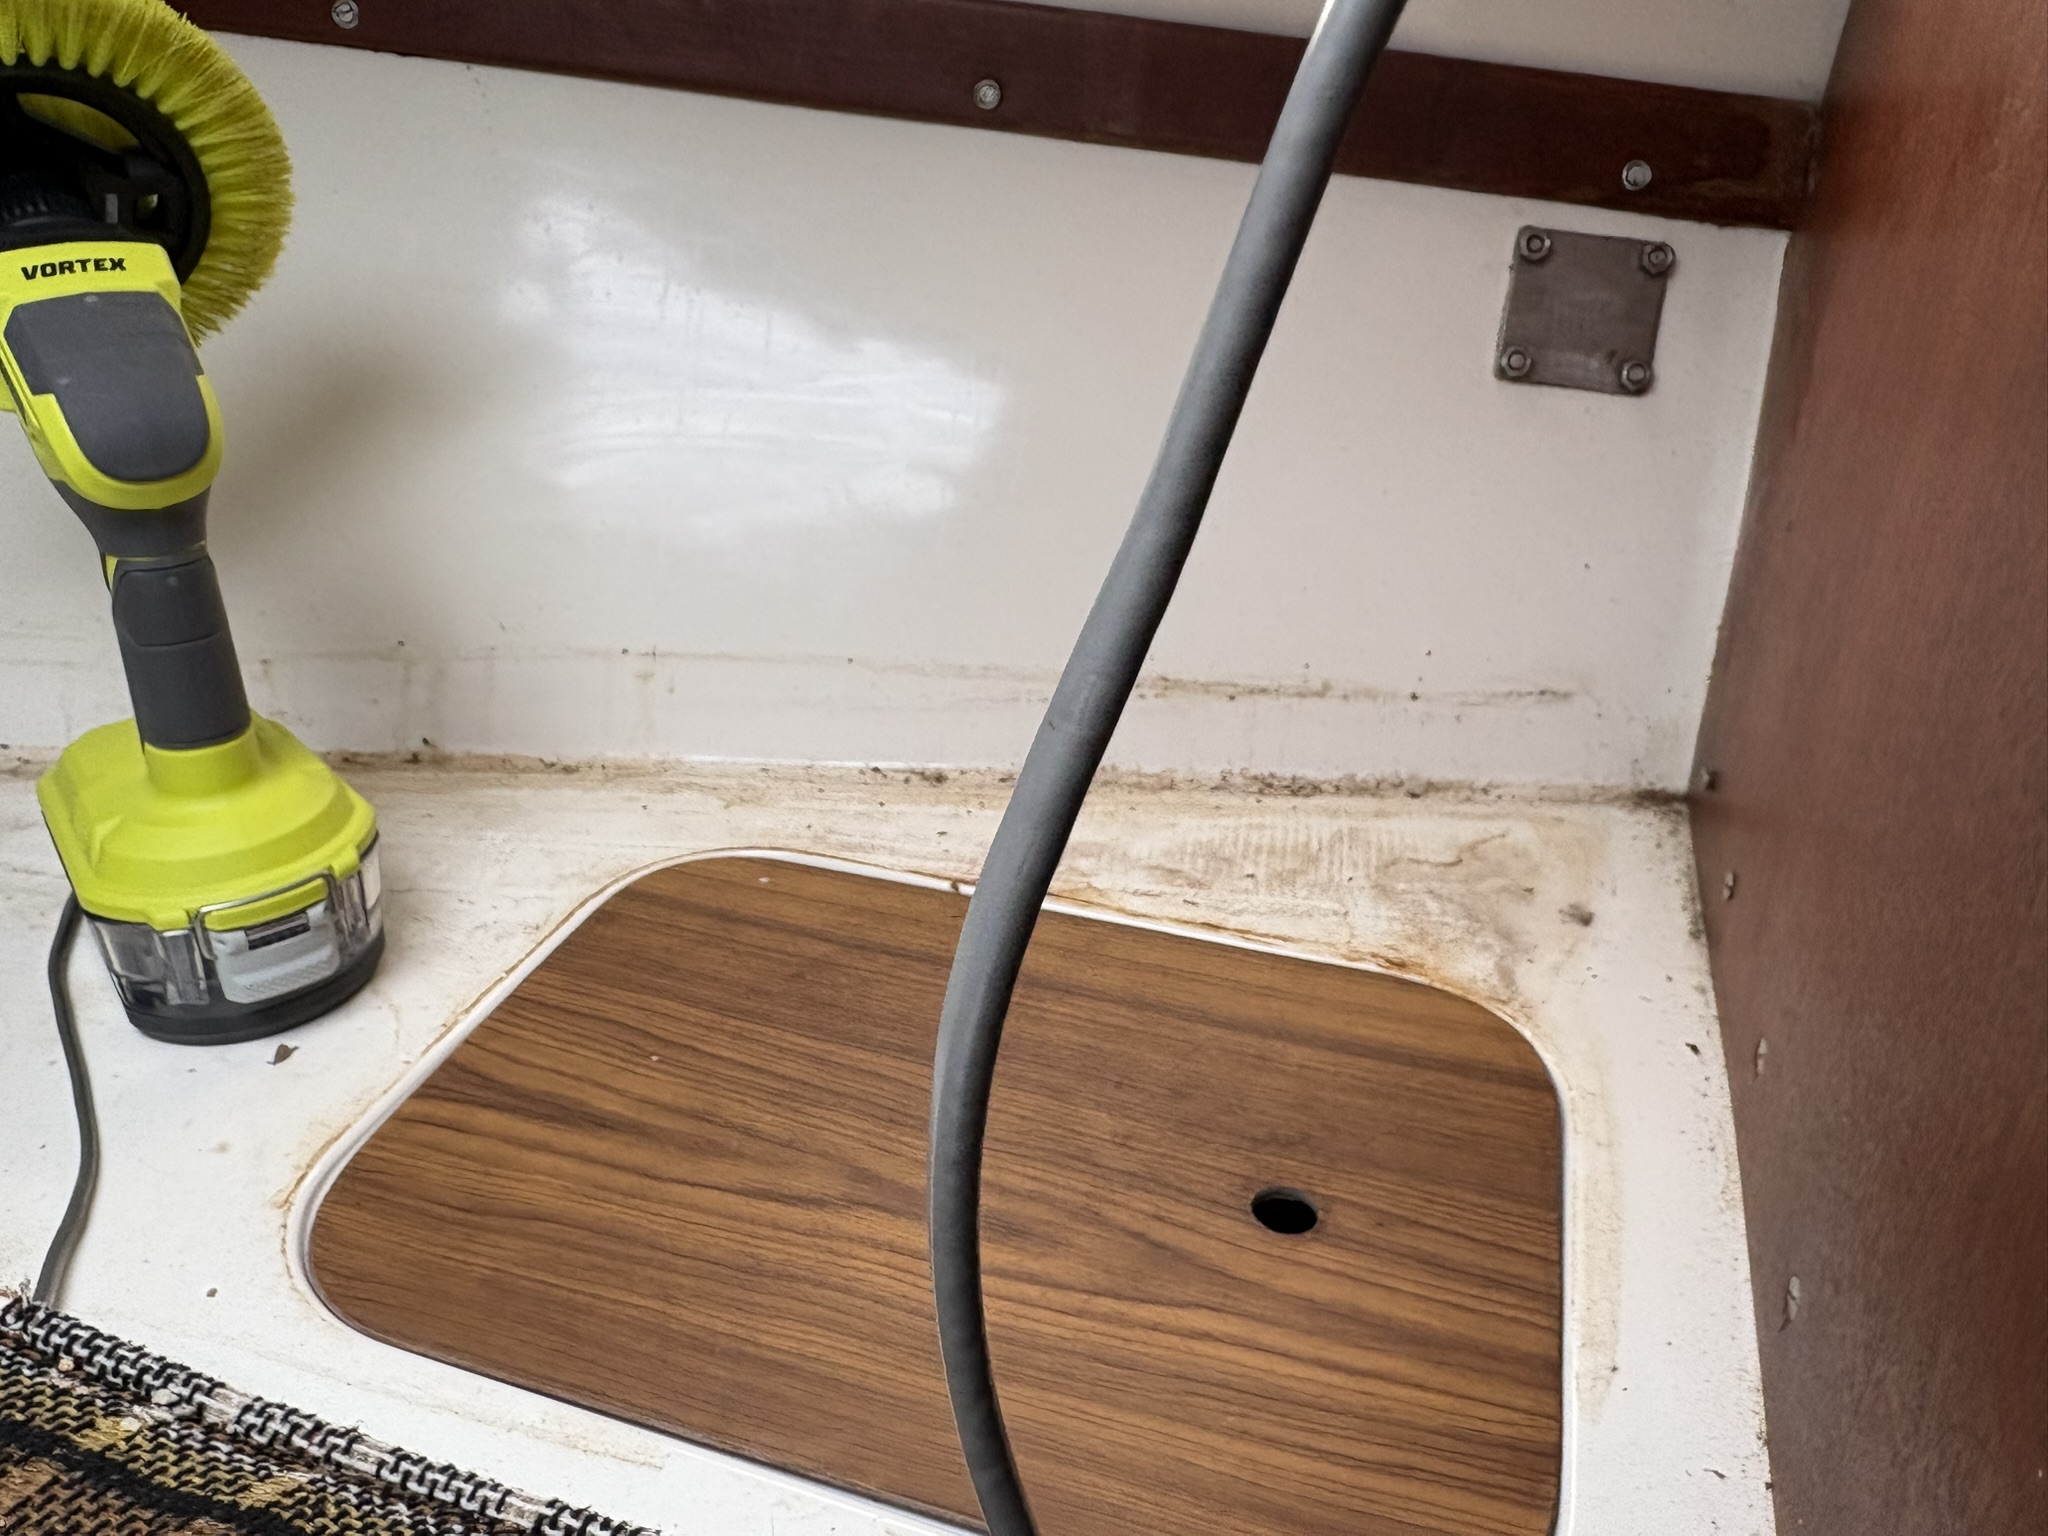
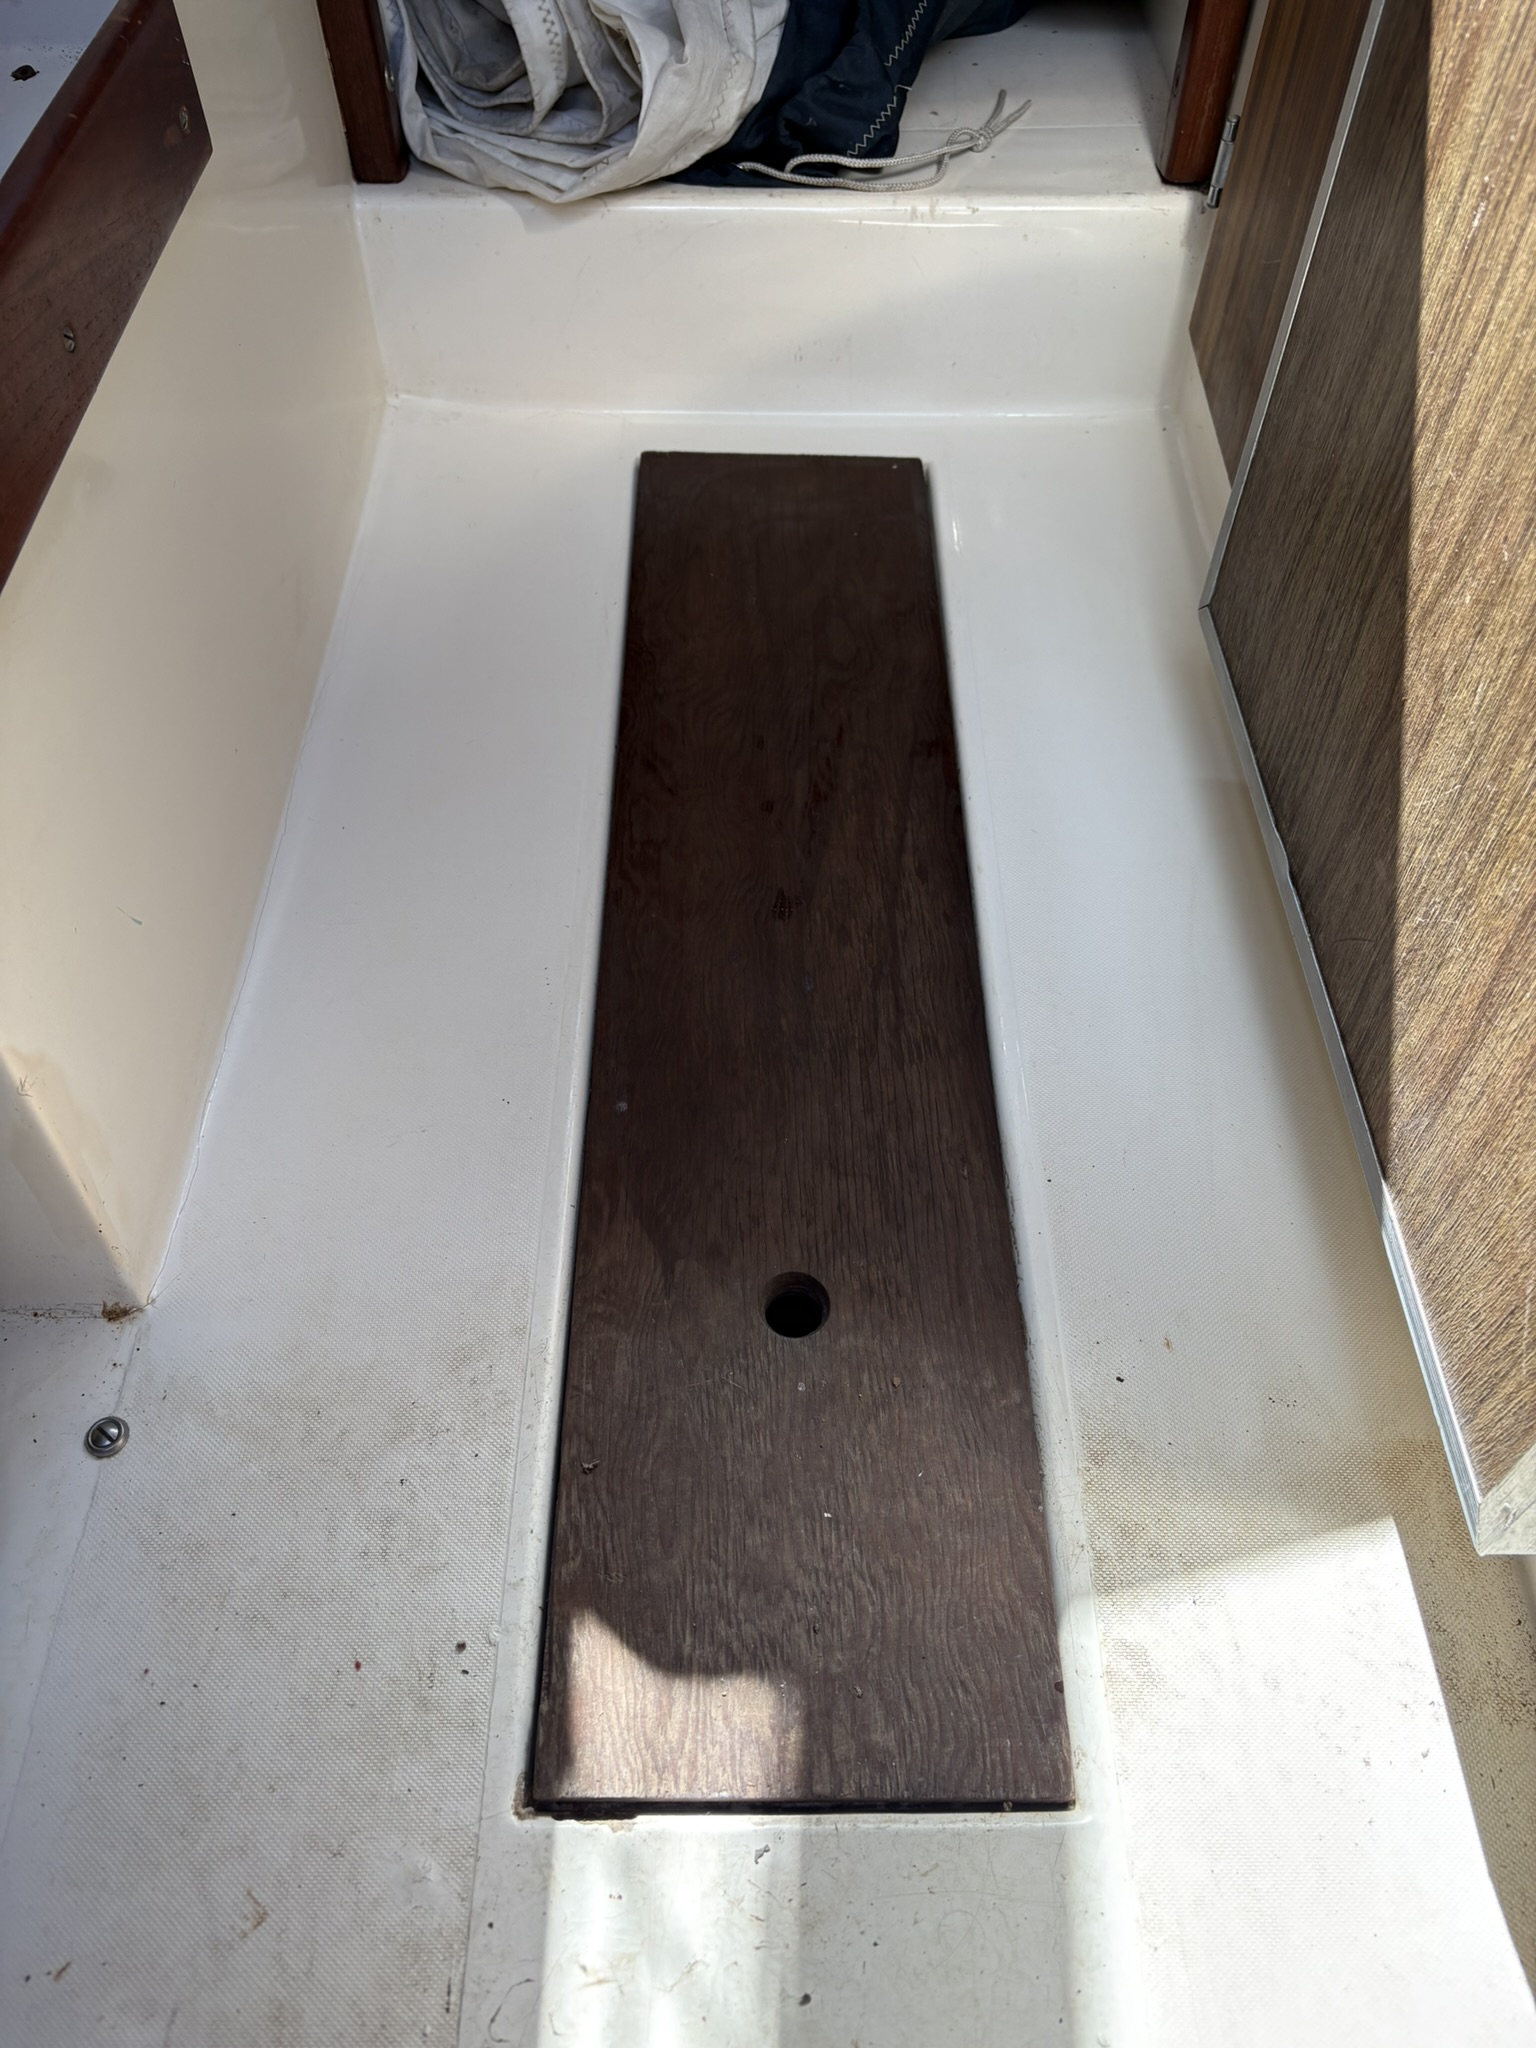
As you can see above it took a lot of work to get the area clean. There is still some staining, or hopefully just some really stubborn dirt that I will be able to get off as I keep cleaning.
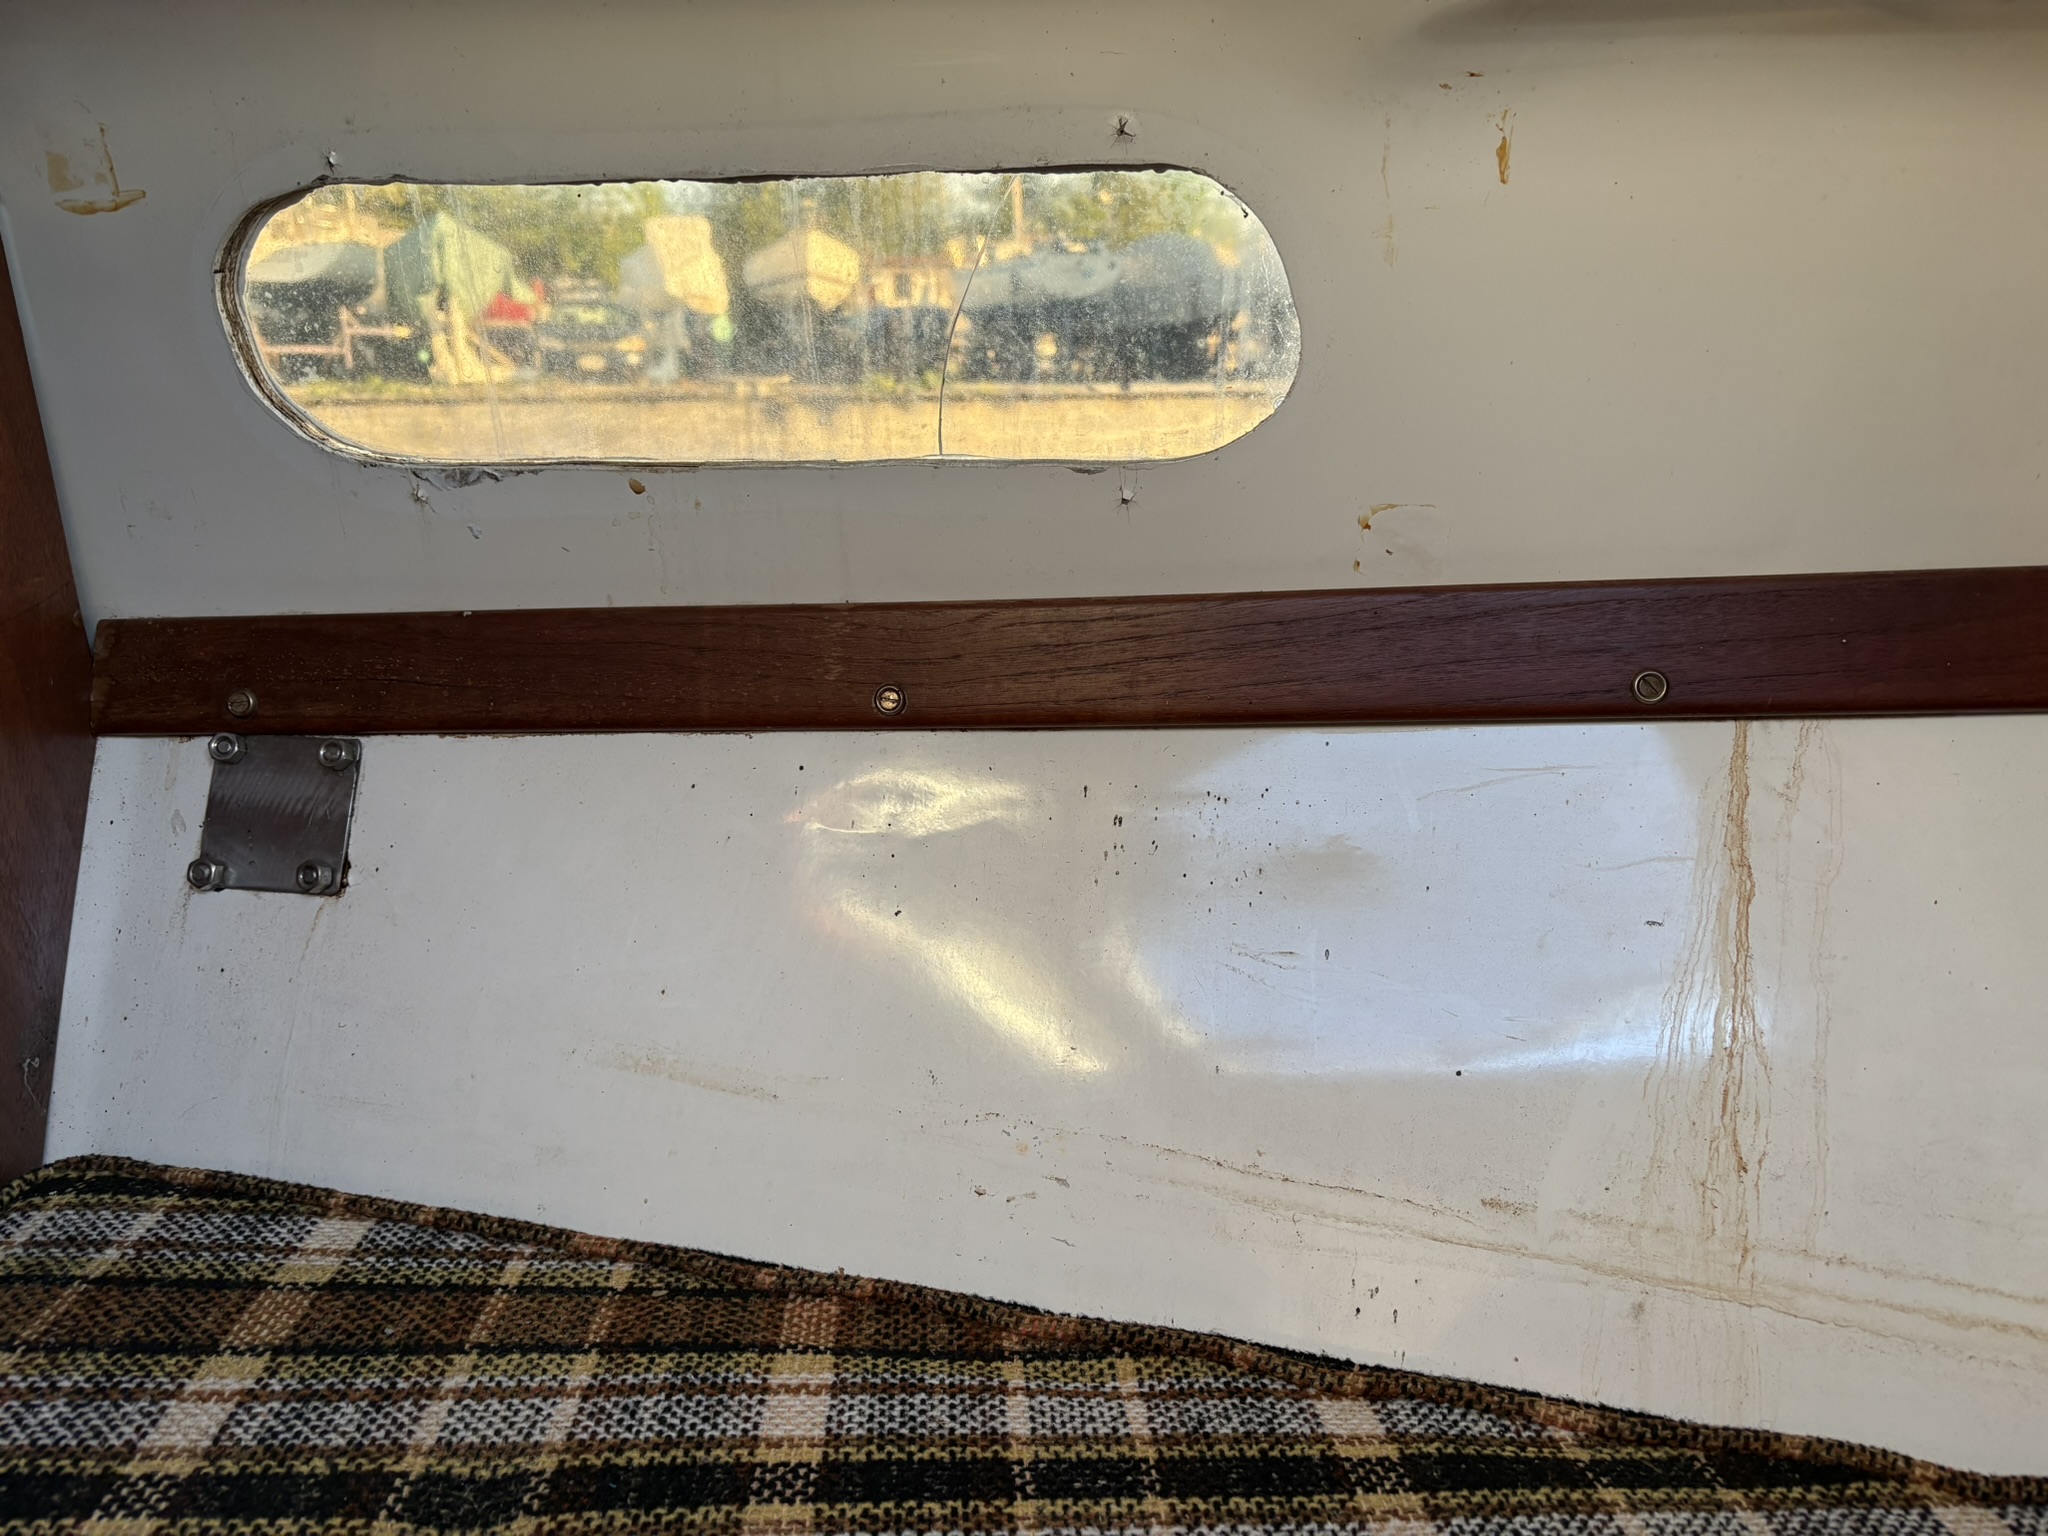
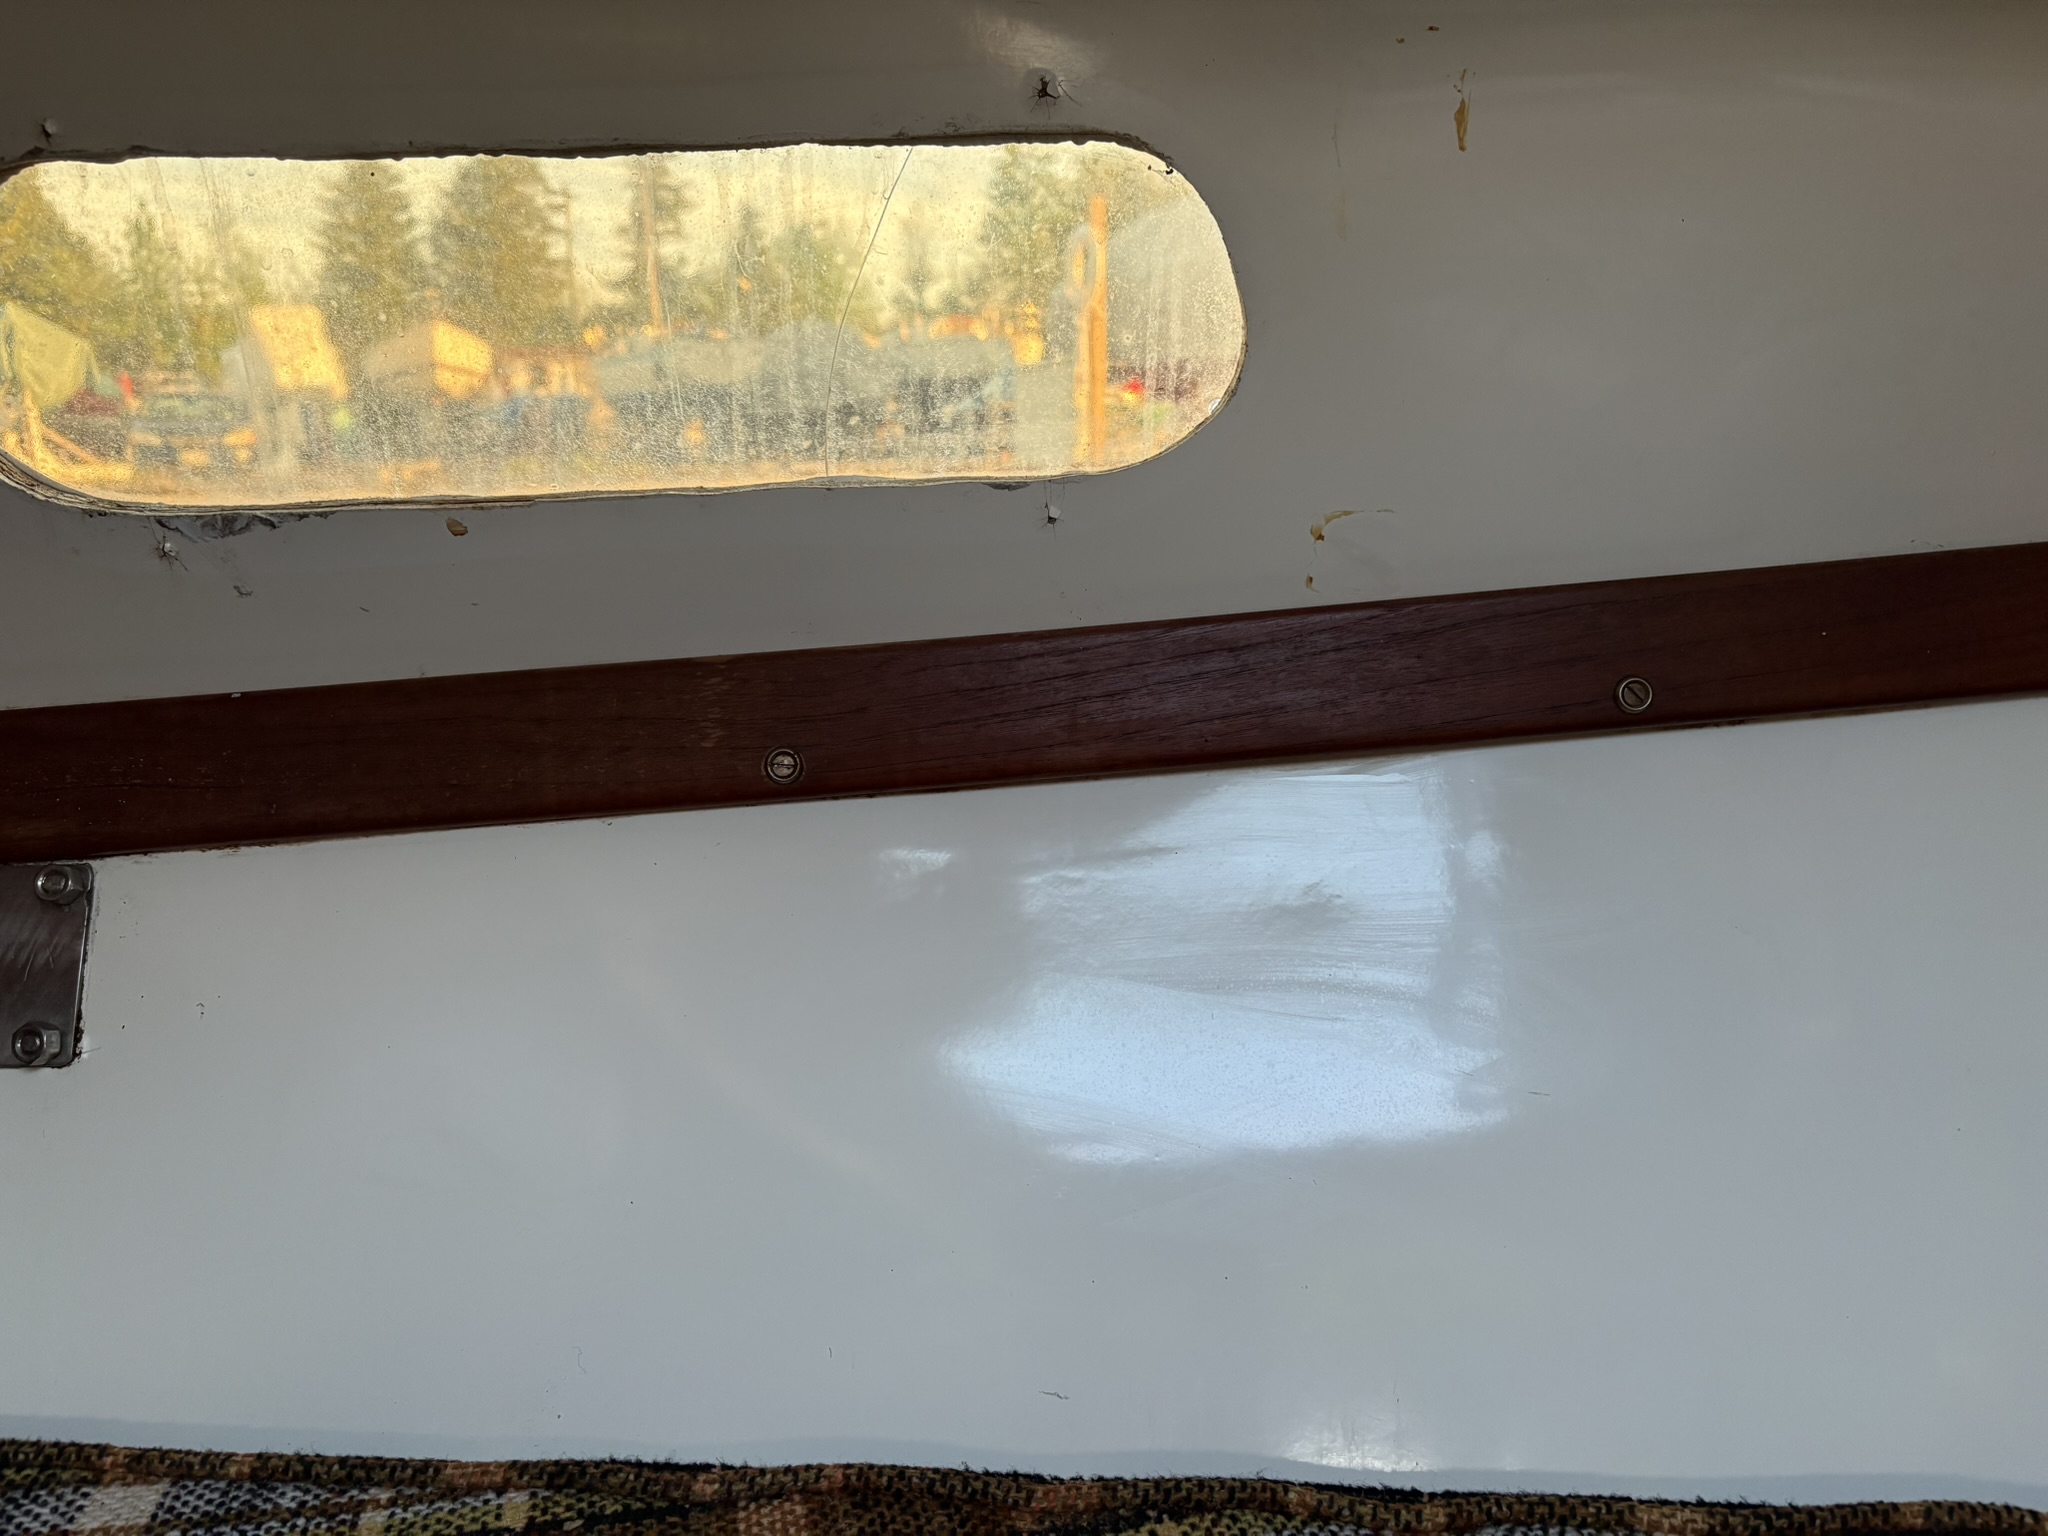
It took a few days to be able to get back to Miss Megan to continue cleaning. I started in the v-berth and started working my way back towards the stern. I haven’t quite got the v-berth fully cleaned yet. I ran into an issue that I will cover in my next post, needless to say it’s a problem that is going to take a while to solve. But like I said, that’s another post so back to cleaning.
Again I got to work with the Spray Nine and the Ryobi Vortex cleaner, maybe I should ask them to sponsor me? As you can see the v-berth walls were dirty. It’s pretty clear that water had been getting in through the portlights. I say had because I haven’t seen any evidence of any recent water coming in the v-birth portlights. If I am right that means this nasty wasn’t cleaned up when one of the portlights was replaced. ICK.
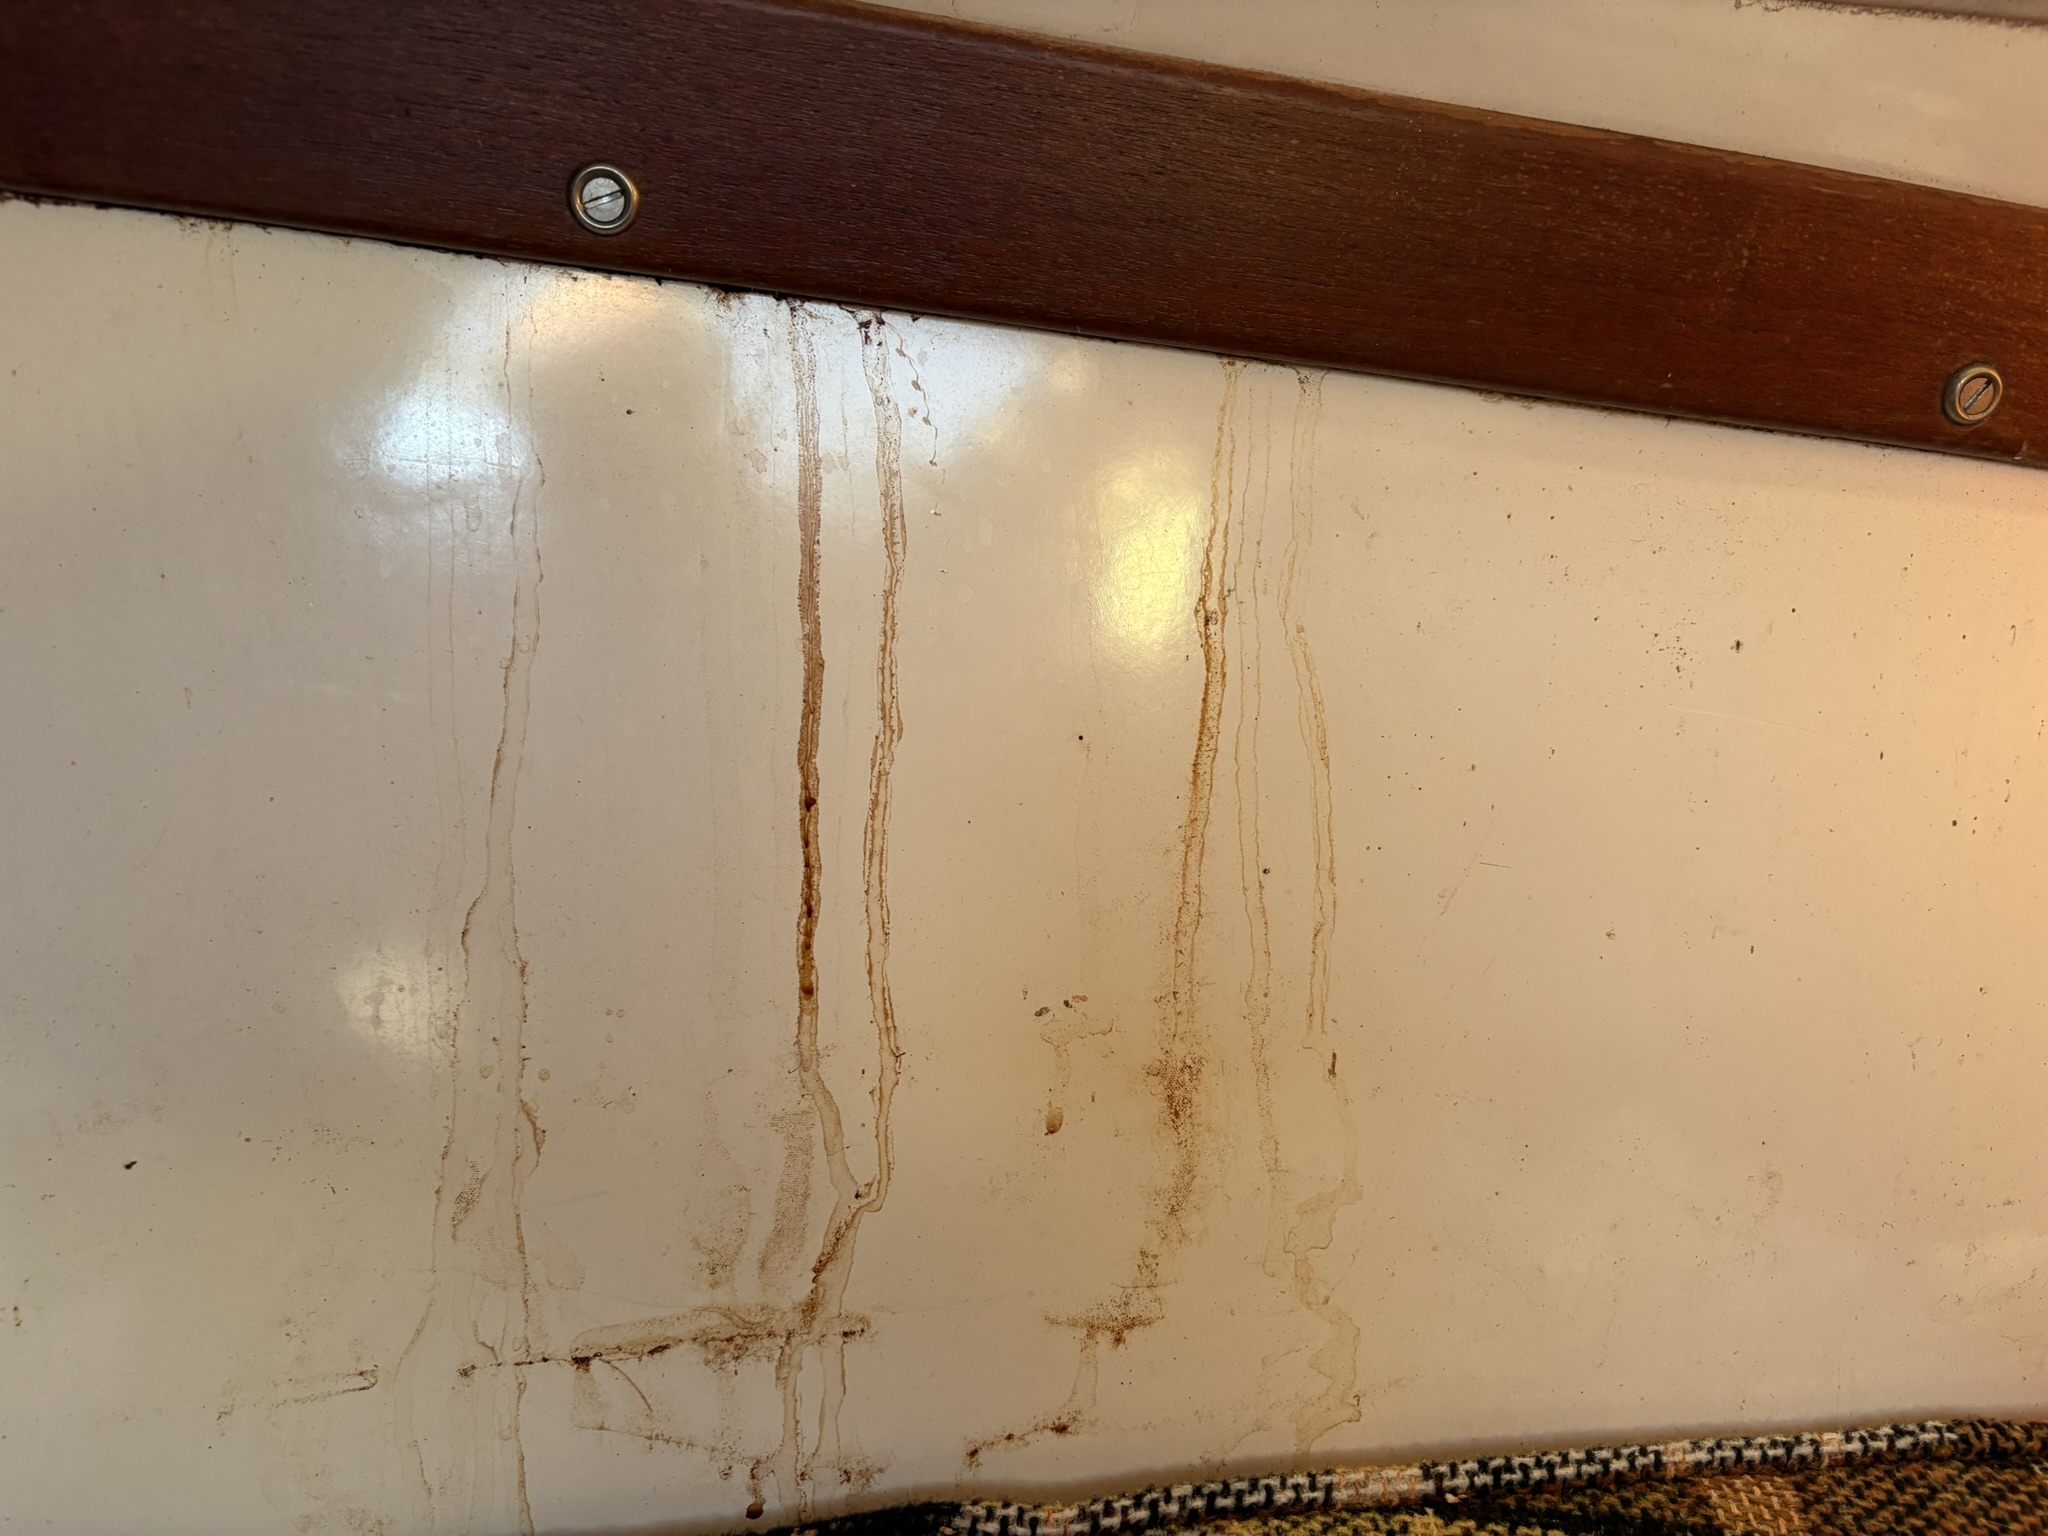
The Spray Nine and Vortex combination made short work of this mess. It still took 2 passes but I am incredibly happy with the results of the cleaning. Unfortunately I forgot to take an after picture of the v-berth “bed” area, so you will just have to trust me when I say it’s squeaky clean. The ceiling of the v-birth which is textured was dirty with just regular dirt and grime. Using the Vortex I was able to scrub the ceiling in just a few minutes. Hand scrubbing that would have killed my arms for sure.
May 29th Update:
I finished up cleaning the v-birth bulk last night. I pulled up the port side cushion which was kind of stuck, stuck like bare skin on a p/leather or vinyl seat. Not a completely stuck but stuck enough that there was resistance and it made that peeling noise. Well when I pulled the cushion up I was surprised and grossed out at the same time.
Black, so much black
I am not sure if this was black mold or just dirt enhanced by the rot in the port bulkhead, Yes you read that right, bulkhead rot… you can read about that wonderful surprise here. I’m leaning towards it being enhanced dirt since there isn’t and hasn’t been a moldy smell in the cabin. I’ll have a better sense when I get to cleaning the vinyl underside of the cushion.
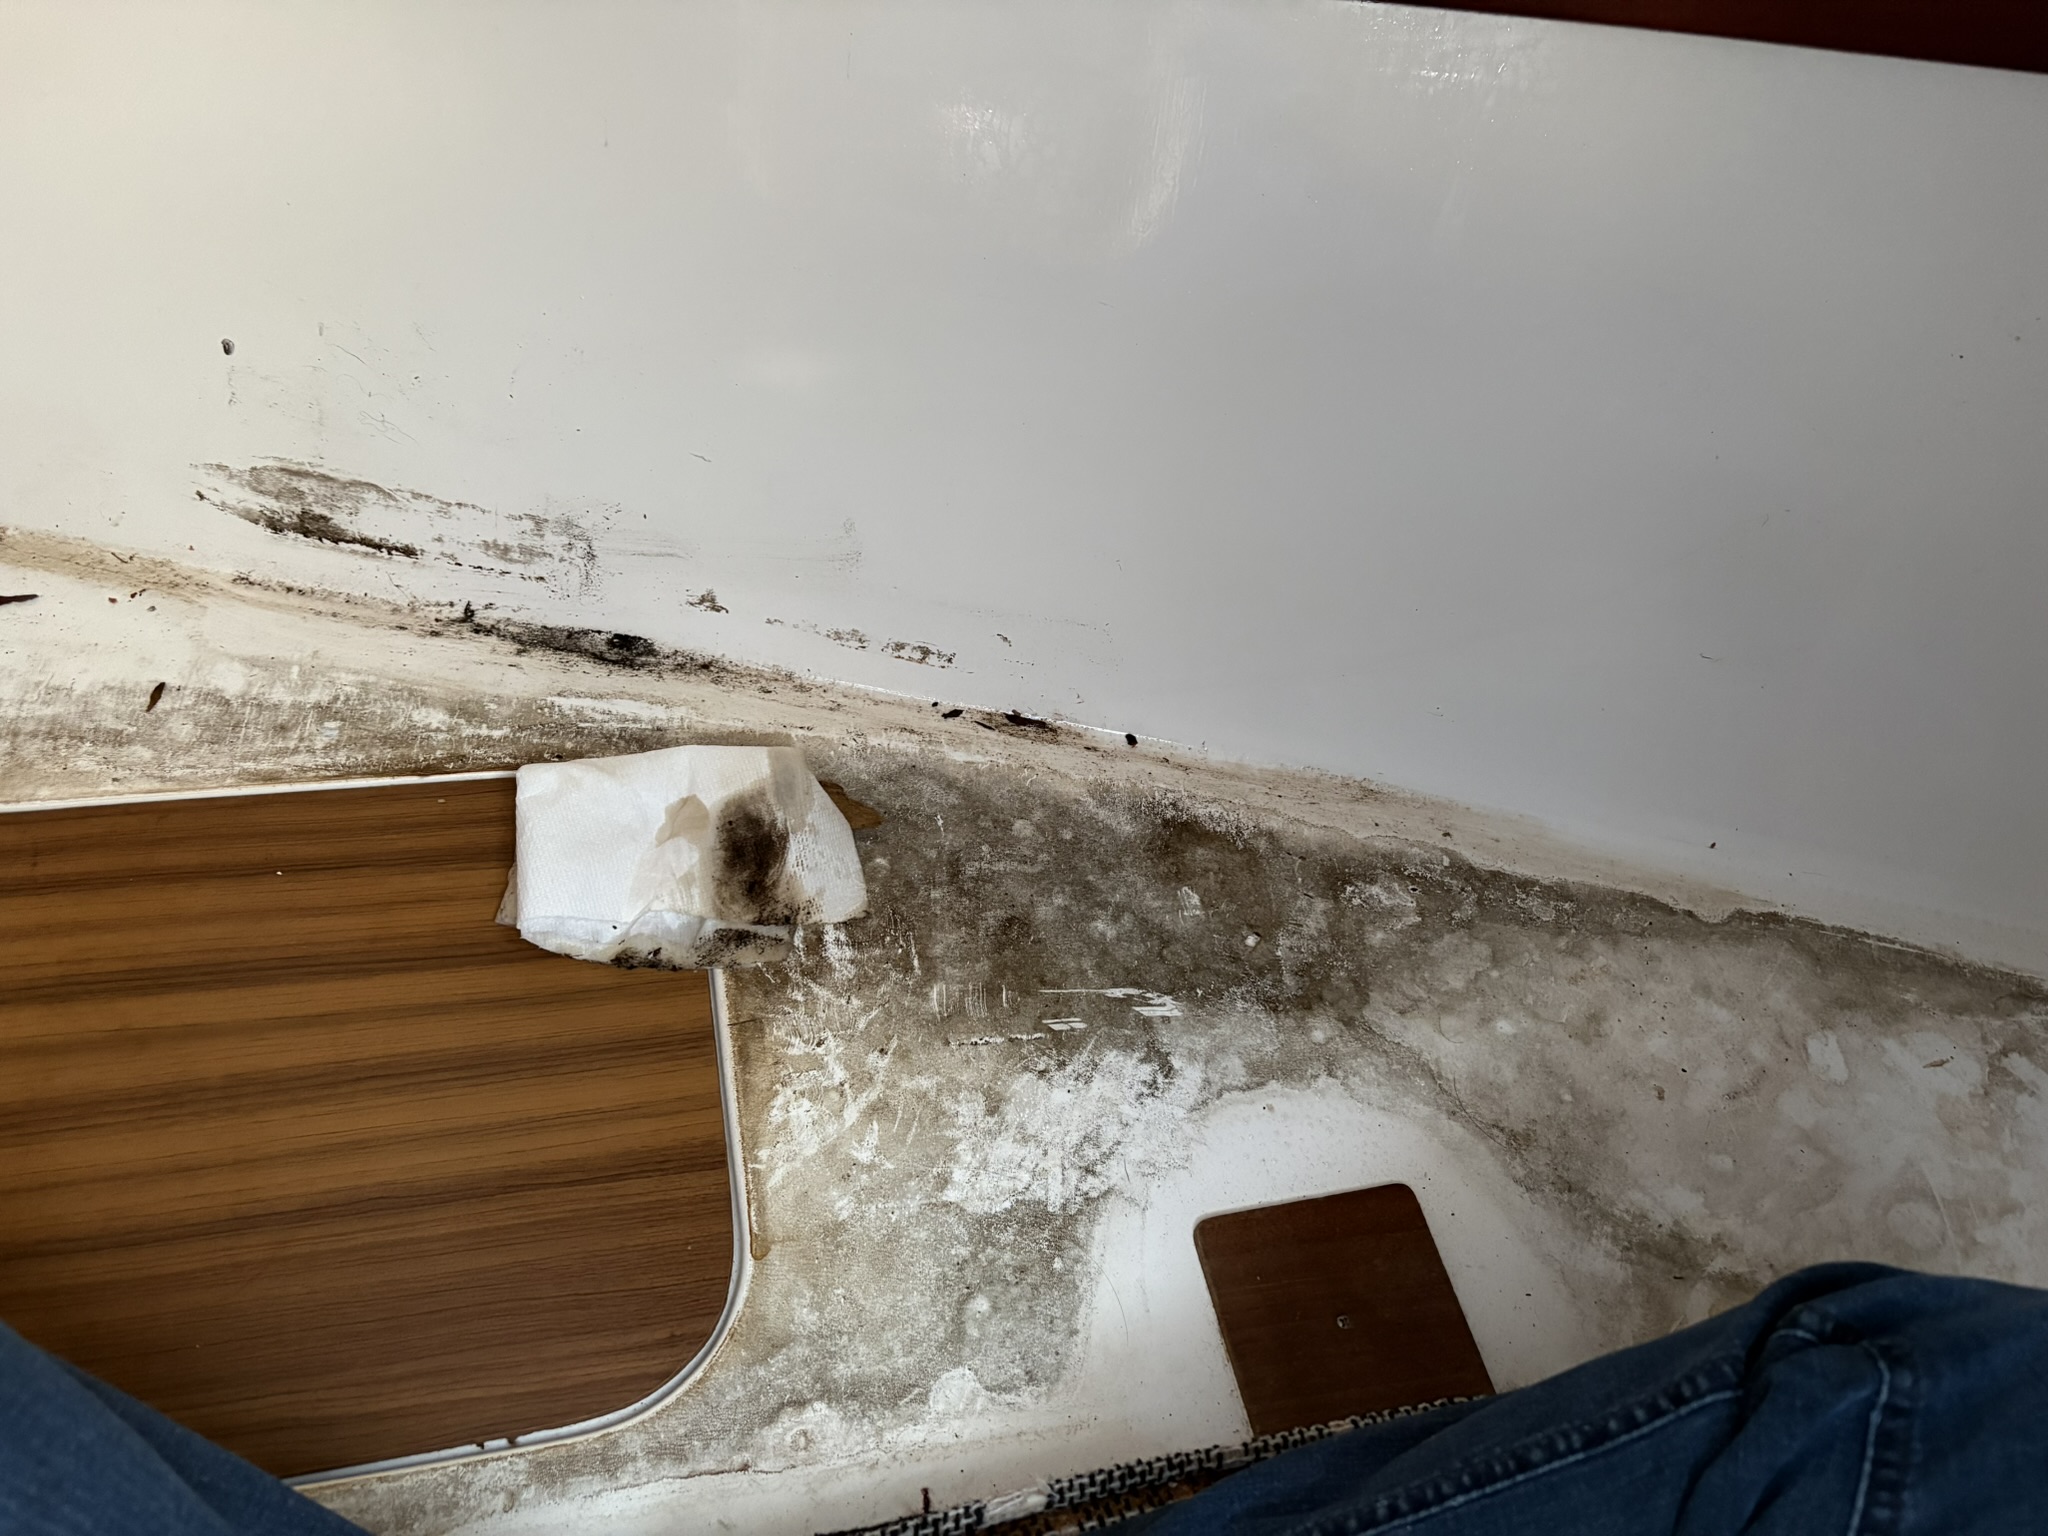
I’m sure you can see why I was surprised and grossed out. I forgot to bring the Vortex with me but I’m kind of glad I did. I’m not sure I would get that black stuff out of the brush wheel. Spray Nine, paper towels, and multiple passes later and all the black stuff is gone and it looks wonderful. You can just see in the left edge of the after photo the bulkhead rot I mentioned.
Next cleaning stop, the main cabin.
June 2nd Update:
This past Saturday I got over to Miss Megan to do some more cleaning, but before that I stopped in to the local boat supply store for some needed mounting hardware and I asked about possible sources of Marine Plywood. They mentioned that Rona+ carries it in store now as well as two local lumber/wood supply centres. With the local ones closed on the weekends I quickly headed to Rona+ to see if they had what I needed.
While they did have marine plywood in the store it was 3/4″ and good only on one side. I did ask if they could special order other marine plywood but I was told to call during the week and speak with the pro desk. I’ve tried but I haven’t been able to get a hold of anyone.
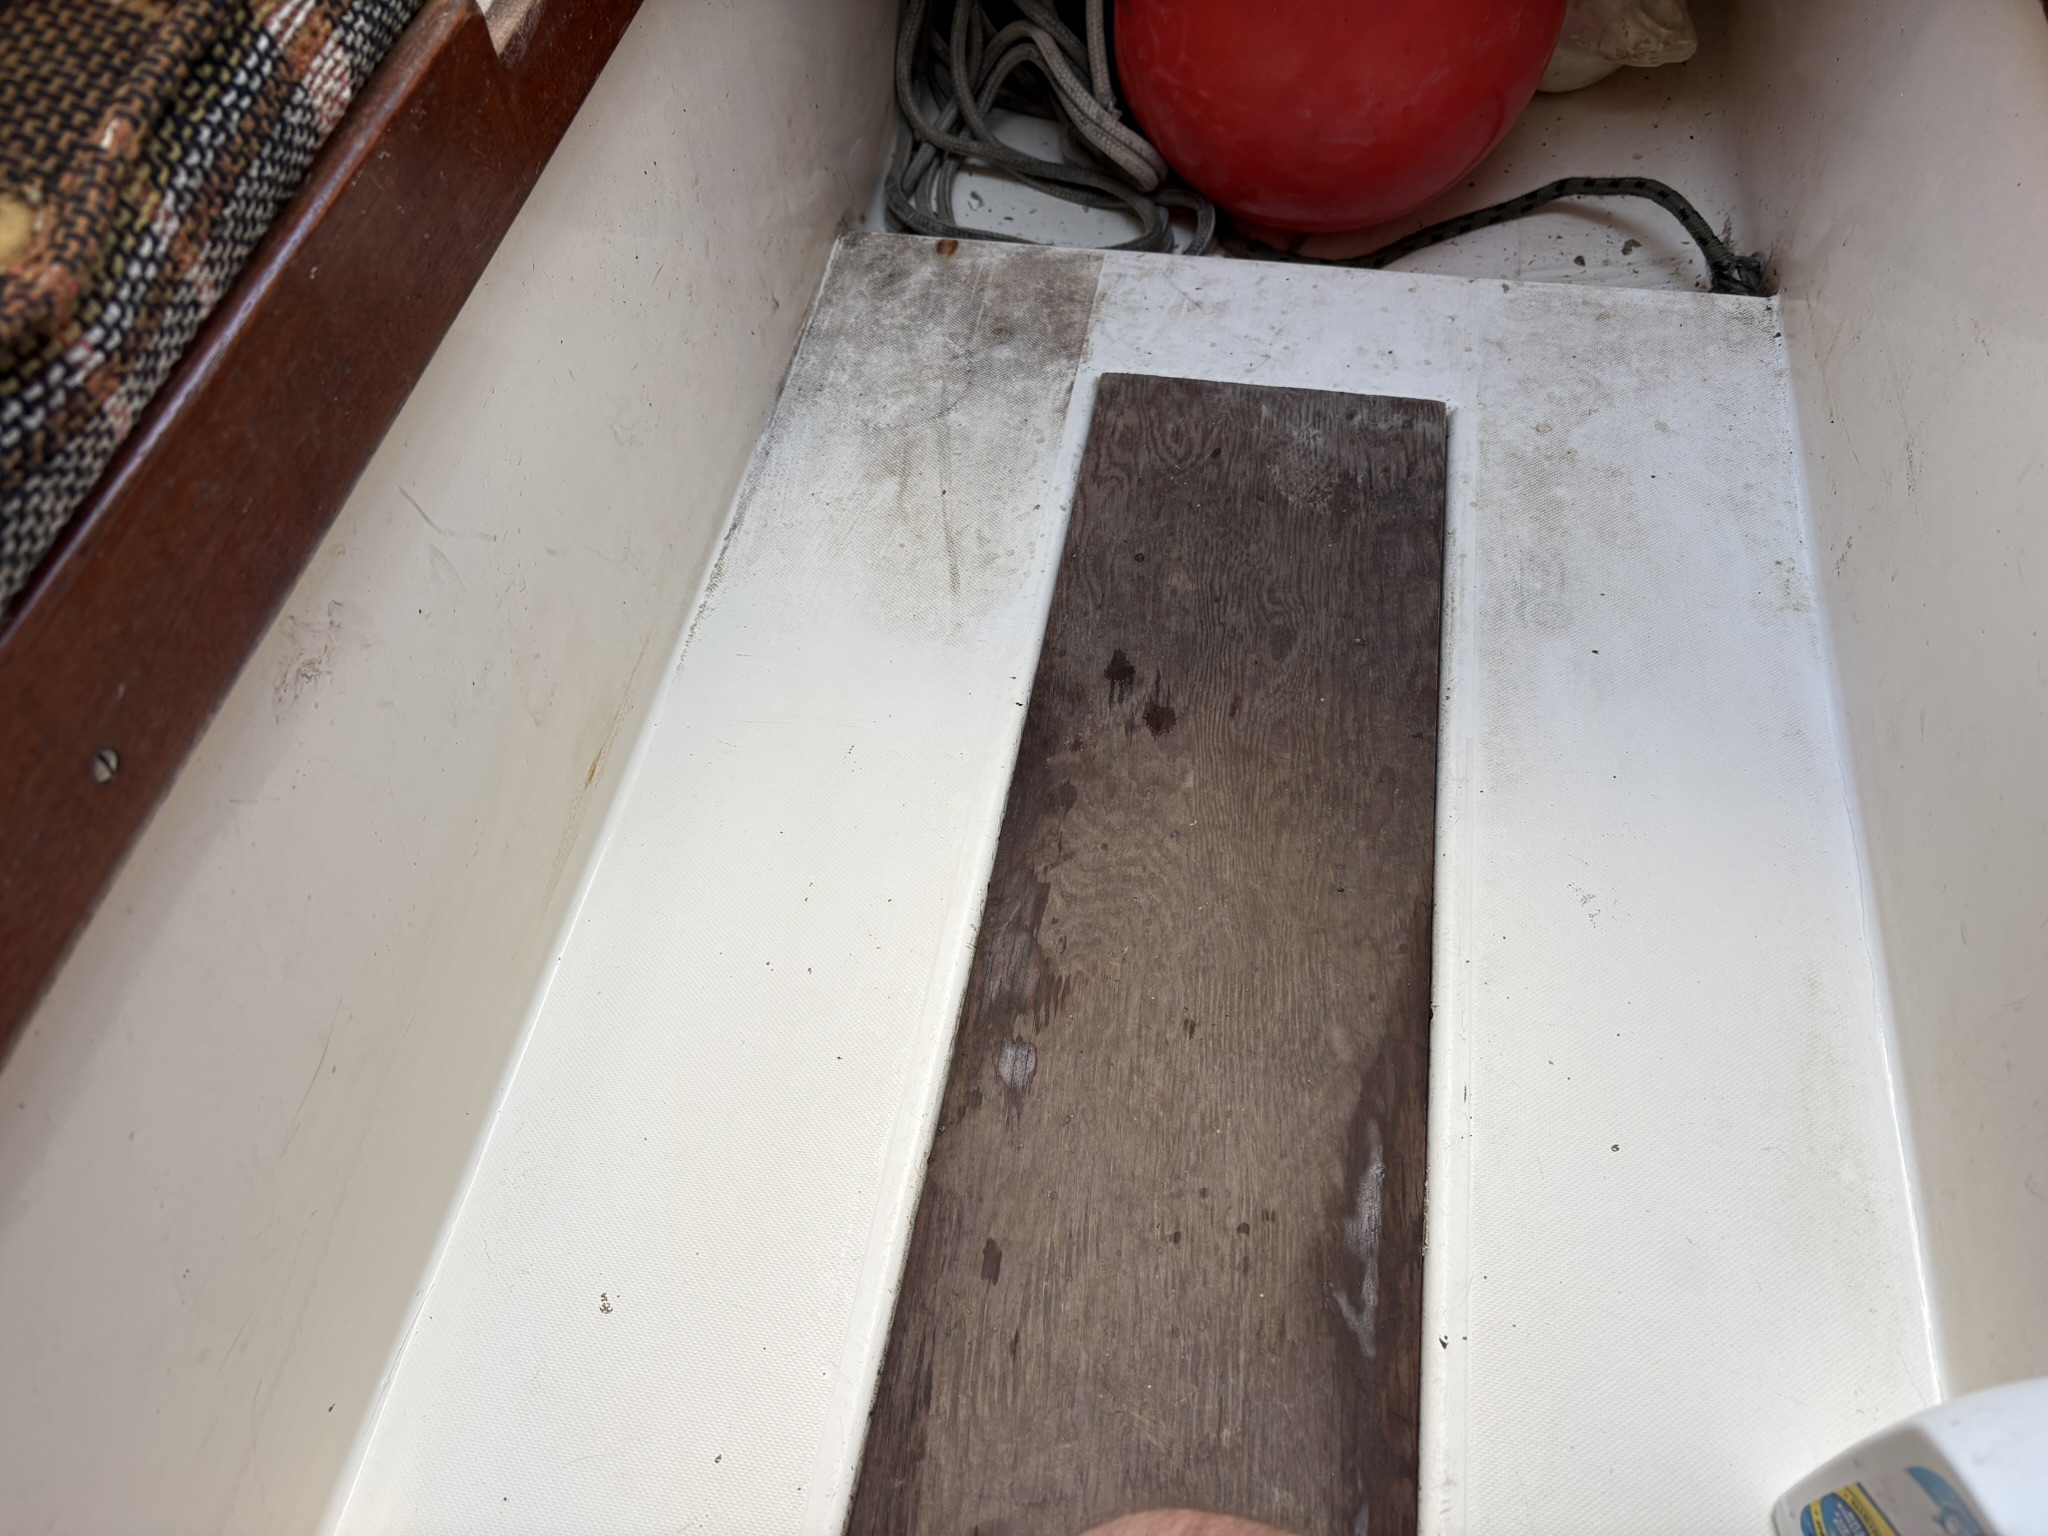
So with the search on going for Marine plywood and still needing to fabricate the mast mount for the Windex, Anchor light, and Antenna I decided to try to finish up the interior cleaning. Unfortunately I didn’t quite make it to the finish line but I did make a sizable dent in remaining cleaning.
I didn’t do a great job of taking photos, I didn’t get a before of the floor right in front of the where the toilet sat. It was pretty dirty, I did take a picture on the second scrubbing with my Vortex. I am impressed with how well the cleaning has been going, I had expected there to much more staining so I take the win whenever I can.
Not only did I clean the cabin’s main floor area I cleaned the bench and the port side shelf. Both of which I failed to take pictures of. The shelf was a gross mess of I don’t want to know. My arm could only reach so far back so there is a bit still left to clean that I need to figure out how to get that far back.
I also cleaned out the ice box. You can see below that it was pretty gross, I honestly didn’t think it would clean up. Before cleaning it I was all set to pull it out and replace it with something. I still might do that, but I’m not sure what I would replace it with. So until I know what I’m going to put in there and I complete the more pressing issues the ice box will stay. Besides, it’s clean now.
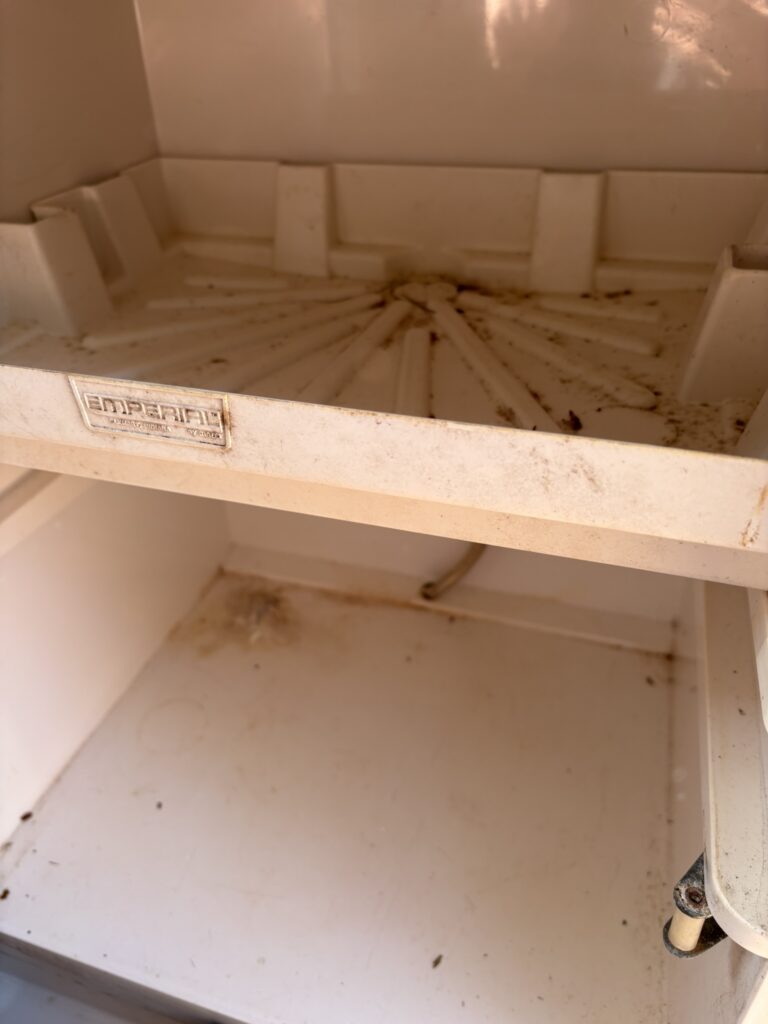
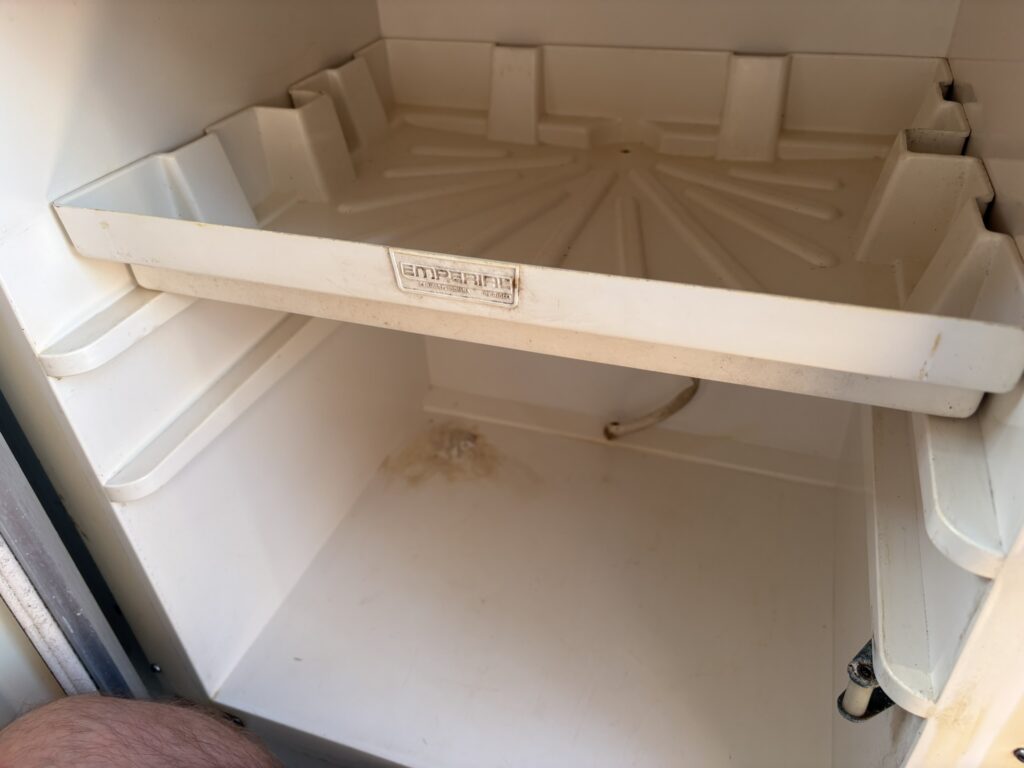
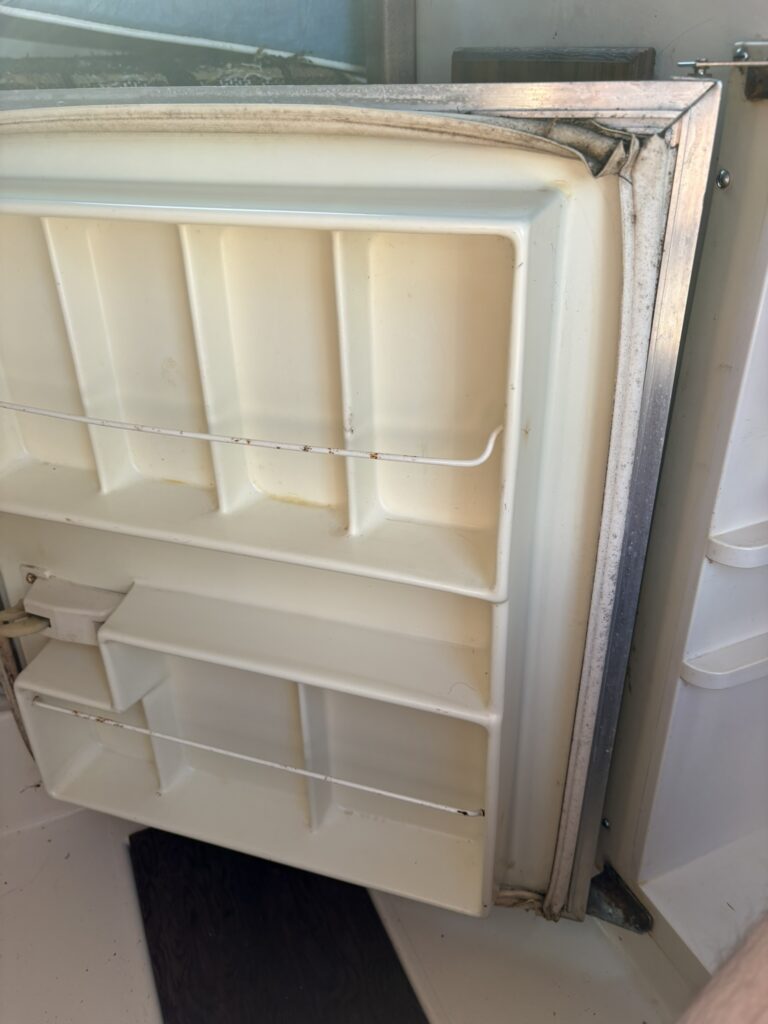
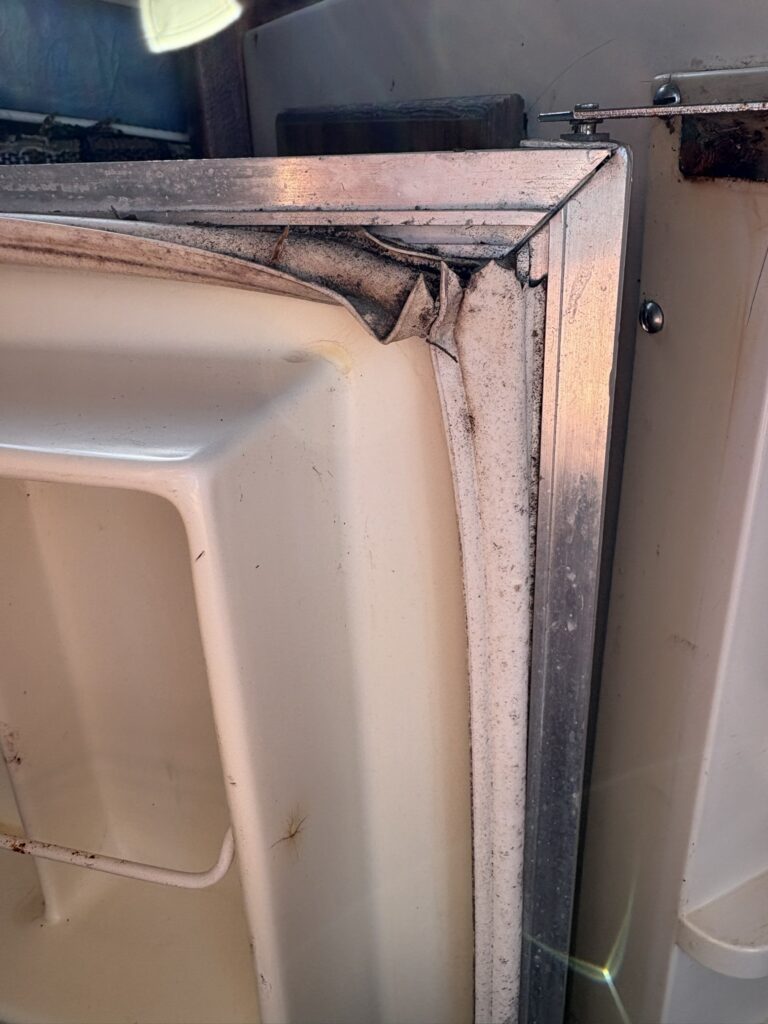
So there is some staining in the ice box. The back left corner, and the front of the ice bloc tray are stained. I’ll come back to these later and try some other cleaning options, the important part is the dirt and mold are gone. As it stands the ice box isn’t really usable for it’s intended purpose for 2 reasons. The first being that the door seal is completely shot. I might try removing the existing seal and replacing it with an self adhesive one, but I’ll look at that later on. The second less obvious reason is the ice shelf drain line. I don’t exactly know where it goes right now, nor do I know if it actually drains water. The drain line doesn’t have much structure to it and because of this it has a few potential kinks in it inside the ice box, there might be more wherever it goes.
